
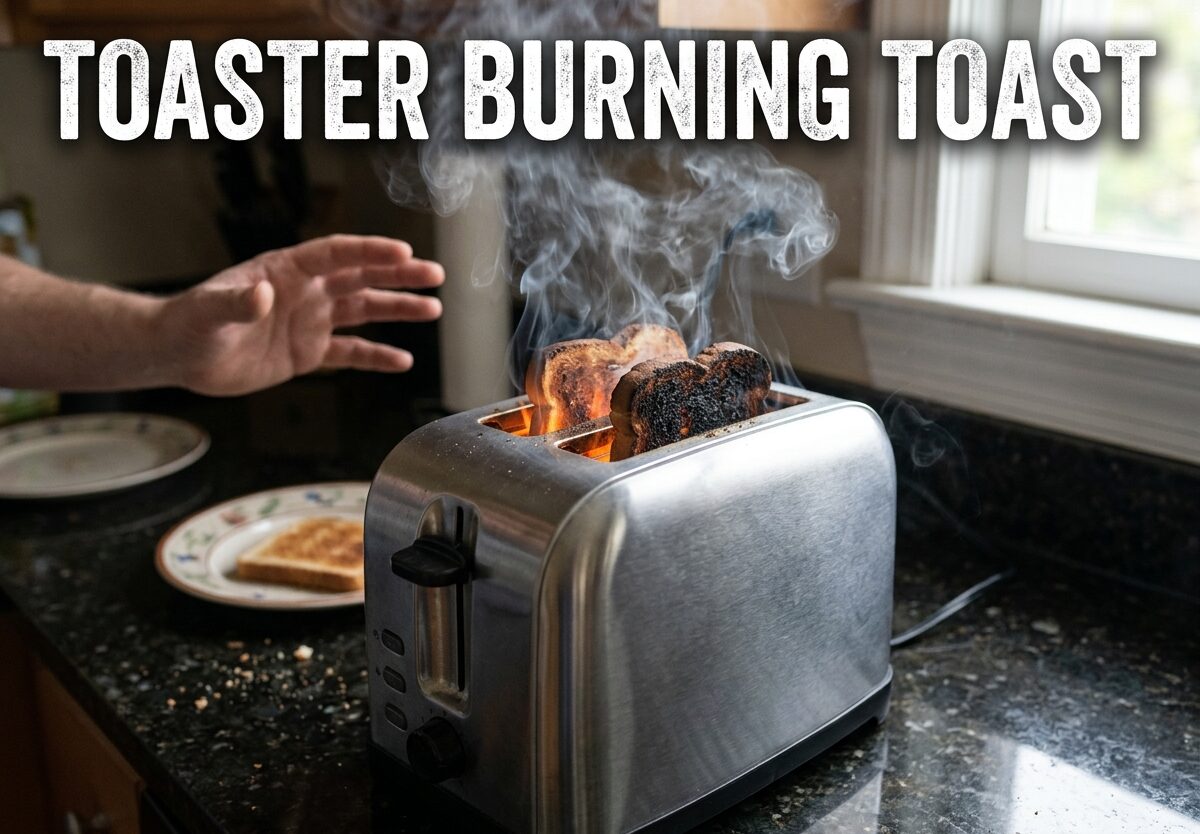
You pop in two slices of bread, press down the lever, and wait for that satisfying ding. Instead, you’re greeted by the acrid smell of smoke and two pieces of charcoal where your breakfast should be. A toaster burning toast is one of the most frustrating kitchen mishaps, but the good news is that most causes are simple to fix once you understand what’s happening inside your appliance.
After researching hundreds of user complaints and testing various troubleshooting methods, I’ve compiled everything you need to know about why toasters burn toast and how to stop it from happening. Whether your toaster is brand new or has seen better days, this guide will help you get back to perfectly browned bread.
Quick Overview: Why Your Toaster Is Burning Toast
The most common reasons for a toaster burning toast are usually simple issues that you can fix yourself:
- Crumb buildup – Accumulated breadcrumbs at the bottom create hot spots and continuously burn, making the entire toaster run hotter
- Incorrect browning settings – The dial might be set higher than you realize, or the settings have drifted over time
- Dirty heating elements – Food residue and carbon buildup on the nichrome wires cause uneven heating and hot spots
- Thermostat calibration issues – The bimetallic strip that controls toasting time may be damaged or miscalibrated
- Malfunctioning timer or solenoid – The mechanism that should release your toast isn’t working properly
How Toasters Work: The Science Behind the Browning
Understanding how your toaster functions helps diagnose problems. When you press down the lever, you’re engaging a carriage mechanism that locks into place. This action activates the heating elements – typically nichrome wires that glow red-hot due to electrical resistance.
The thermostat, a bimetallic strip made of two different metals bonded together, monitors the temperature. As heat increases, the metals expand at different rates, causing the strip to bend. At the right moment, this bending triggers the solenoid – an electromagnet that releases the carriage and pops up your toast.
The browning control dial adjusts how much the thermostat must bend before triggering release. When this system fails or gets dirty, you end up with burnt toast instead of perfectly browned bread.
Crumb Buildup: The Number One Cause of Burning Toast
After analyzing user complaints from Reddit and appliance forums, crumb buildup is by far the most common cause of toaster burning toast. Here’s why it’s such a problem:
When breadcrumbs accumulate at the bottom of your toaster, they don’t just sit there harmlessly. Each time you use the toaster, these old crumbs heat up and eventually carbonize. This creates what technicians call “hot spots” – areas of concentrated heat that can raise the overall temperature inside the toaster by 50-75 degrees.
The carbonized crumbs also produce smoke that coats the heating elements, reducing their efficiency and causing them to work harder and hotter. It’s a vicious cycle: more crumbs mean more burning, which creates more carbon buildup, which leads to even more burning.
Users often report that their toaster “suddenly started burning everything” when in reality, the crumb buildup has been accumulating for months and finally reached a tipping point.
Thermostat Calibration: When Your Temperature Sensor Fails
The thermostat is the brain of your toaster, and when it fails, you’ll get inconsistent results. Thermostat issues typically fall into three categories:
Miscalibration: Over time, the bimetallic strip can become less sensitive to temperature changes. This means it takes more heat to trigger the release mechanism, resulting in darker toast. Users often notice this gradually – their usual setting of 3 now produces burnt toast, so they move to 2, then eventually to 1, which still burns.
Physical damage: If you’ve ever jammed a knife into your toaster (don’t do this!), you might have bent or damaged the thermostat. Even minor impacts from dropping the toaster can throw off the calibration.
Age-related failure: Thermostats typically last 8-12 years with normal use. After that, the metal fatigue sets in, and the bimetallic strip stops responding accurately to temperature changes.
Dirty Heating Elements: The Hidden Cause of Uneven Browning
The nichrome wire heating elements in your toaster are designed to glow red-hot and produce consistent heat. But when food residue, oil, or carbon buildup coats these wires, several problems occur:
First, the coating acts as insulation, requiring the elements to work harder to reach the same temperature. This stress can cause hot spots where certain sections become significantly hotter than others.
Second, the residue itself can burn and smoke, creating that unpleasant burning smell even when your bread isn’t actually burnt yet.
Users often report one side of their toast burning while the other side is barely warm – this is almost always caused by uneven buildup on the heating elements.
Timer and Solenoid Malfunction: When Your Toaster Won’t Let Go
The timer and solenoid work together to release your toast at the right moment. When either component fails, your toast keeps cooking until it burns. Here’s how to identify which component is the problem:
Timer issues: If your toast burns inconsistently – sometimes perfect, sometimes burnt – the timer mechanism may be failing. Mechanical timers can jam or slip, causing the toaster to run longer than intended.
Solenoid problems: If the lever stays down and won’t pop up at all, or if you hear a clicking sound but the toast doesn’t release, the solenoid or its associated circuitry is failing. This is common in toasters over 10 years old.
These issues typically require professional repair or replacement, as they involve electrical components that shouldn’t be serviced by inexperienced users.
Step-by-Step Guide: How to Fix a Toaster That’s Burning Toast
Follow these steps in order, from easiest to most complex. Most toaster burning issues are resolved by step 2 or 3.
Step 1: Check Your Browning Settings
Before diving into cleaning or repairs, verify your settings aren’t the problem. Many users accidentally bump the dial while cleaning or moving the toaster. Try setting it to the lowest position and test with a single slice. If it still burns, move to step 2.
Step 2: Empty and Clean the Crumb Tray
Remove the crumb tray (usually located at the bottom of the toaster) and empty it into the trash. Wash it with warm, soapy water and dry completely before replacing.
For toasters without removable trays, turn the toaster upside down over a sink or trash can and shake vigorously. You’ll be surprised how many crumbs come out. Use a brush or compressed air to dislodge stubborn crumbs from the heating elements.
Step 3: Perform a Deep Clean
Unplug the toaster and let it cool completely. Turn it upside down and shake out loose crumbs. Use a soft brush or compressed air to clean around the heating elements. For stubborn residue, make a paste of baking soda and water, apply carefully with a cloth, and wipe clean.
Warning: Never insert metal utensils into your toaster. Never submerge your toaster in water. Always unplug before cleaning.
Step 4: Test the Thermostat
Set your toaster to the middle setting (usually 3 or 4) and run a test cycle with a single slice of bread. If it burns, the thermostat is likely miscalibrated. Some toasters have a calibration screw near the base that can be adjusted, but this varies by model.
For toasters without user-accessible calibration, you may need to compensate by using lower settings or consider professional recalibration.
Step 5: Inspect Heating Elements
Look closely at the heating elements while the toaster is unplugged. They should appear uniform in color and thickness. If you notice breaks, thin spots, or significant discoloration, the elements are failing and need replacement.
Safety First: Fire Hazard Prevention
A toaster that consistently burns toast isn’t just annoying – it’s a potential fire hazard. According to fire safety data, toasters and toaster ovens account for thousands of kitchen fires annually. Here’s how to stay safe:
- Never leave a running toaster unattended – Especially if it’s already showing signs of malfunction
- Keep away from flammable materials – Curtains, paper towels, and plastic containers should be at least 3 feet away
- Replace damaged cords immediately – Frayed cords can spark and ignite nearby materials
- Don’t use extension cords – Toasters draw significant current and can overheat lightweight extension cords
- Install a smoke detector – Every kitchen should have a working smoke detector near the cooking area
Repair vs Replace: Making the Right Decision
Not every toaster that burns toast needs to be replaced. Use this decision matrix to determine whether repair or replacement makes more sense:
Repair if:
- Toaster is less than 5 years old and cost more than $75 originally
- Issue is clearly crumb buildup or minor thermostat miscalibration
- Replacement parts are available and reasonably priced
- You’re comfortable with basic DIY repairs
Replace if:
- Toaster is over 10 years old
- Heating elements are visibly damaged or broken
- Replacement cost would exceed 50% of a new toaster price
- There are signs of electrical issues (sparking, unusual smells, inconsistent heating)
Most modern toasters cost between $25-75, and professional repairs typically run $50-100 plus parts. For toasters over 8 years old, replacement is almost always the more economical choice.
Prevention Tips: Keep Your Toaster Burning Bread, Not Toast
Preventing burnt toast is easier than fixing a malfunctioning toaster. Follow these maintenance tips to keep your appliance running smoothly:
Daily: Empty the crumb tray after every use. This takes 5 seconds and prevents 90% of toaster problems.
Weekly: Turn the toaster upside down and shake out loose crumbs. Wipe the exterior with a damp cloth.
Monthly: Perform a visual inspection of the heating elements and cord. Check for any signs of wear or damage.
Quarterly: Do a deep clean following the steps in this guide. This prevents carbon buildup and keeps heating elements working efficiently.
Yearly: Test all settings with a timer to ensure your toaster is still browning consistently. If you notice gradual changes, it might be time for recalibration or replacement.
FAQs
How to fix a burning toaster?
Start by unplugging the toaster and removing the crumb tray. Empty it completely and wash with warm, soapy water. Turn the toaster upside down and shake out loose crumbs. Use a soft brush or compressed air to clean around heating elements. For stubborn residue, make a paste of baking soda and water, apply carefully with a cloth, and wipe clean. Test with a lower setting before returning to normal use.
Is it normal for a toaster to smoke the first time?
Yes, slight smoking or burning smell is normal when using a new toaster for the first time. This is caused by manufacturing oils and dust burning off the heating elements. Run the toaster empty on a medium setting for 2-3 cycles to burn off any residue. If smoking continues after this initial period, unplug immediately and check for stuck food or defective components.
Why does my toaster smell like something is burning?
Burning smells usually indicate crumb buildup at the bottom of the toaster. Old breadcrumbs carbonize and continuously burn, creating smoke and odors. Food residue on heating elements can also cause burning smells. Empty the crumb tray, turn the toaster upside down and shake out debris, and clean around the heating elements with a soft brush. If the smell persists after cleaning, there may be an electrical issue requiring professional inspection.
What causes a toaster to burn toast on the lowest setting?
This typically indicates a serious thermostat malfunction. The bimetallic strip that controls toasting time has likely failed or become severely miscalibrated. Other causes include a stuck carriage mechanism that doesn’t release properly, or a malfunctioning solenoid that won’t disengage. If your toaster burns on the lowest setting, it’s usually more cost-effective to replace the appliance than repair it, especially for models over 5 years old.
When should I replace my toaster instead of repairing it?
Replace your toaster if it’s over 10 years old, if heating elements are visibly damaged, if repair costs exceed 50% of replacement cost, or if you notice electrical issues like sparking or inconsistent heating. For toasters under 5 years old with minor issues like crumb buildup or thermostat miscalibration, repair or cleaning is usually worth the effort. Most modern toasters cost $25-75, while professional repairs run $50-100 plus parts.
Conclusion: Don’t Let Toaster Burning Toast Ruin Your Morning
A toaster burning toast is almost always fixable with basic cleaning and maintenance. The vast majority of cases stem from crumb buildup that’s easily remedied in minutes. For more persistent issues, understanding how thermostats, heating elements, and release mechanisms work helps you determine whether repair or replacement is the smart choice.
Regular maintenance is key – emptying that crumb tray after every use prevents 90% of toaster problems. When troubleshooting always start with the simplest solutions first before moving to more complex repairs.
If you’re looking for more kitchen appliance maintenance guides, check out our kitchen appliance guides for tips on keeping all your cooking equipment running smoothly.
Remember: a well-maintained toaster should last 8-12 years. With proper care and attention, you can stop burning toast and start enjoying perfectly browned bread every morning.

Leave a Comment