
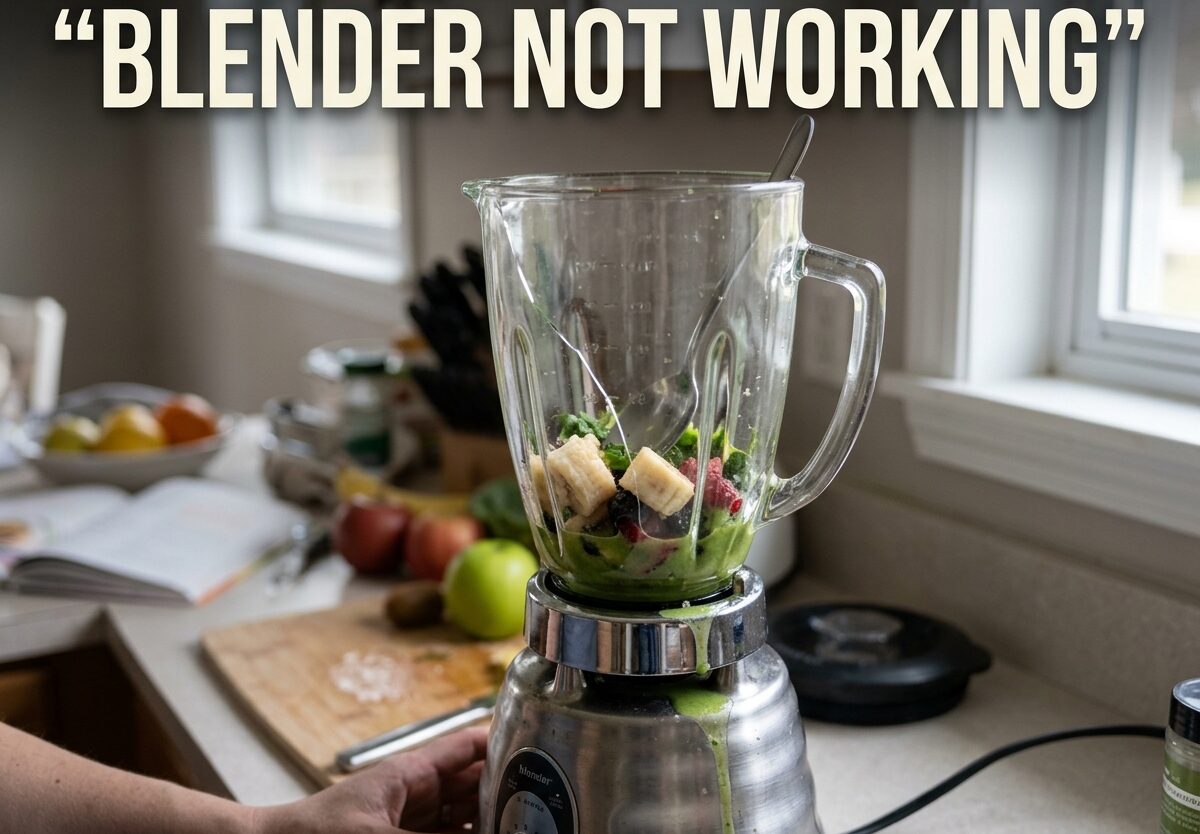
Your blender just stopped working and you need it fixed now. I’ve been there – right in the middle of making a smoothie or prep for dinner, and suddenly silence. Most blender problems are actually fixable at home without calling a repair service. This guide will walk you through everything from quick fixes to more advanced repairs.
The majority of blender issues stem from three main causes: power supply problems, motor overheating, or triggered safety mechanisms. Manufacturers build in multiple safety features that can make your blender appear broken when it’s actually protecting itself. I’ll help you diagnose the real issue and get your blender running again.
This troubleshooting guide works for all major brands including Ninja, NutriBullet, Vitamix, Oster, and KitchenAid. Always start with the simplest fixes before moving to more complex repairs.
Quick Diagnosis: Why Your Blender Is Not Working
Understanding the type of failure helps pinpoint the problem faster. Here are the four main categories of blender issues:
Power Issues
Your blender won’t turn on at all. This usually indicates an electrical problem rather than a mechanical failure. The issue could be as simple as a loose connection or as serious as a blown internal fuse. Check your outlet first with another device to rule out household electrical problems.
Motor Problems
The motor may have overheated and shut down temporarily, or it could be permanently burned out. Overheating typically happens after extended use or when blending tough ingredients. A burned-out motor often produces a burning smell before failing completely.
Safety Mechanisms
Modern blenders have multiple safety switches that prevent operation when components aren’t properly aligned. The jar must sit correctly on the base, and the lid must be locked in place. Many models also have a thermal reset button that trips when the motor gets too hot.
Mechanical Issues
The blades might be jammed, the coupler connecting the motor to the blades could be worn, or the drive stud might be broken. These issues often cause the motor to hum without the blades spinning.
Quick Fixes: Try These First
Before diving into complex repairs, try these simple fixes. These solve the majority of blender problems and take less than five minutes:
- Check the power source: Verify the outlet is working by plugging in another device. For portable blenders, ensure the battery is charged or try a different USB cable.
- Reset the GFCI outlet: Kitchen outlets often have ground fault circuit interrupters that can trip. Press the reset button on the outlet if it’s popped out.
- Locate and press the reset button: Many blenders have a reset button on the base bottom. It’s usually small and recessed – you may need a paperclip to press it. Wait 15 minutes before pressing if the blender just stopped.
- Verify jar alignment: Remove the jar and place it back on the base firmly. The jar must sit flat and engage the safety switch. Listen for a click when positioning the jar.
- Check the lid lock: Most blenders won’t run unless the lid is properly locked. Remove and reattach the lid, ensuring it clicks into place. Some models require you to press firmly on the lid while operating.
- Let it cool down: If you were blending for a long time or tough ingredients, the motor may have overheated. Unplug the blender and wait at least 30 minutes before trying again.
Power Supply Troubleshooting
If your blender won’t turn on at all, the issue is likely electrical. Here’s how to systematically check the power supply:
Start by testing the outlet with a lamp or phone charger. This rules out problems with your home’s electrical system. If the outlet works, inspect the entire length of the power cord for damage, fraying, or kinks. Cord damage often occurs where the cord enters the base or near the plug.
For blenders that have worked fine previously, check if any GFCI outlets in your kitchen have tripped. These safety outlets can cut power without warning. Look for outlets with test and reset buttons, and press reset if the button is extended.
If you’re comfortable with basic electrical testing, you can check the blender’s internal fuse. Unplug the blender and remove the base cover. Look for a small cylindrical fuse near where the power cord enters. A blown fuse will have a broken filament or darkened glass. Replace with an identical fuse rated for your blender.
Warning: Internal electrical repairs require caution. If you’re not comfortable working with electrical components, this is the point to contact a repair service or consider replacement.
Motor Overheating Issues
Overheating is the most common cause of sudden blender failure. Modern blenders have thermal protection that shuts down the motor before damage occurs. Here’s how to handle overheating:
Signs of overheating include a hot base, burning smell, or the blender stopping mid-cycle. The thermal protection is doing its job – preventing permanent motor damage. Wait at least 30 minutes for the motor to cool completely before attempting to use it again.
Prevent future overheating by not running the blender longer than 60 seconds at a time. Most home blenders aren’t designed for continuous operation. If blending frozen ingredients or thick mixtures, pulse in short bursts rather than running continuously.
If your blender overheats frequently, you may be overloading it. Reduce batch sizes and add more liquid to help the blades move freely. Some ingredients like nut butters and frozen fruit require intermittent blending – run for 20 seconds, wait 10 seconds, then repeat.
Permanent motor damage is indicated if the blender never works again after cooling, or if there was a strong burning smell before failure. At this point, the motor windings have likely burned out and replacement is usually more cost-effective than repair.
Blade Jam Troubleshooting
When the motor runs but the blades don’t spin, something is preventing blade movement. This commonly happens with food debris, ice chunks, or mechanical failures:
First, unplug the blender for safety. Remove the jar and inspect the blades from underneath. Look for food particles lodged around the blade assembly. Use a wooden spoon or skewer to carefully dislodge any debris – never use metal utensils that could damage the blades.
If the blades appear stuck and won’t move at all, the problem might be mechanical. Remove the blade assembly from the jar bottom (usually unscrews counterclockwise) and check the gasket and blade shaft. Food can get stuck in the bearing, preventing rotation.
Check the coupler on the blender base – this is the small plastic or metal piece that connects to the jar blades. It should spin freely when the jar is removed. If it’s loose, wobbly, or stripped, it won’t transfer power to the blades. This part is replaceable on most models.
The drive stud inside the coupler can become loose over time. If you can wiggle the coupler excessively, the drive stud may need tightening. This requires opening the base and using a wrench to secure the stud – advanced repair that varies by brand.
Safety Switch and Component Testing
For blenders that power on but won’t run, the issue is often a safety switch. These switches prevent operation when the jar isn’t properly seated. Testing these requires some technical skill:
The most common safety switch is located under the base where the jar sits. It’s a small microswitch that activates when the jar is in place. To test it, you’ll need a multimeter to check for continuity. With the jar removed, press the switch manually – the multimeter should show connection when pressed.
Another hidden safety feature is the thermal fuse, which cuts power if the motor overheats severely. This fuse is typically located near the motor and can be tested with a multimeter. No continuity means the fuse has blown and needs replacement.
Safety note: Always unplug the blender before opening the base or testing components. Internal components can carry electrical charge even when the blender is off. If you’re not comfortable with multimeter testing and disassembly, this level of repair is best left to professionals.
For advanced DIYers, replacement parts are available for most major brands. The coupler, thermal fuse, microswitch, and power cord are all replaceable. Search your model number plus “replacement parts” to find compatible components.
Repair vs Replace: When to Call It Quits
Not every blender problem is worth fixing. Here’s how to decide whether to repair or replace:
Consider the original cost of your blender. Budget models under $50 typically aren’t worth professional repair – parts and labor cost more than replacement. Mid-range blenders ($50-150) may warrant repair if the issue is simple like a blown fuse or worn coupler. Premium blenders ($200+) are almost always worth repairing due to their initial investment.
Age matters too. Blenders over 7 years old may have multiple failing components. If you’ve already replaced parts once or twice, another failure likely means the end of its service life. Newer blenders also benefit from improved efficiency and safety features.
Some problems signal it’s time to replace: a completely burned-out motor, cracks in the jar that can’t be fixed, or unavailable replacement parts. When the repair cost exceeds 50% of a new blender’s price, replacement makes more financial sense.
Preventive Maintenance Tips
Regular maintenance prevents many common blender problems. Here’s how to keep your blender running smoothly:
Clean your blender immediately after each use. Food residue hardens and can jam blades or strain the motor. For sticky residues, fill the jar halfway with warm water and a drop of dish soap, then run for 30 seconds. Rinse thoroughly and let all parts air dry completely before reassembling.
Avoid overfilling the jar. Most blenders work best when filled no more than two-thirds full. Overfilling strains the motor and can cause leaks. When blending hot liquids, fill only halfway and remove the center cap of the lid to allow steam to escape.
Store the blender properly. Keep the jar separate from the base when not in use to relieve pressure on the coupler. If storing assembled, place the jar on a towel to prevent the blade from resting directly on the counter surface.
Periodically check the blade assembly for tightness. The blade assembly can loosen over time from regular use and cleaning. Hand-tighten it monthly, but don’t over-tighten – this can damage the gasket and cause leaks.
Frequently Asked Questions
Why is my blender on but not working?
If your blender has power but won’t run, check that the jar is properly seated on the base. Most blenders have a safety switch that prevents operation unless the jar makes full contact. Also verify the lid is locked in place – many models won’t start without the lid engaged. If these check out, the thermal fuse may have blown from overheating, requiring replacement.
Why isn’t my blender blending anything?
When the motor runs but ingredients don’t blend, the blades likely aren’t spinning. This usually means the coupler connecting the motor to the blades is worn or stripped. Remove the jar and inspect the coupler on the base – it should spin when the blender is on. If it spins freely without the jar but won’t turn with the jar attached, the coupler needs replacement.
How do I reset my blender?
Most blenders reset automatically after cooling down for 15-30 minutes. If your blender has a dedicated reset button, it’s usually located on the bottom of the base. You may need a paperclip to press the small recessed button. For portable blenders, try holding the power button for 10 seconds to perform a hard reset, then recharge fully before using again.
Why did my blender randomly stop working?
Sudden blender failure usually means the thermal protection activated. This happens when the motor overheats from extended use or tough ingredients. Unplug the blender and let it cool for at least 30 minutes. Other causes include a tripped GFCI outlet, blown internal fuse, or a safety switch that thinks the jar isn’t properly seated.
Can a burned-out blender motor be fixed?
Technically yes, but it’s rarely cost-effective for home blenders. Motor replacement requires complete disassembly, sourcing the exact replacement motor, and often soldering. For premium blenders like Vitamix or Blendtec, professional motor replacement may be worth it. For budget and mid-range blenders, replacement is typically more economical than motor repair.
How long should I let my blender cool down?
Wait at least 30 minutes after your blender stops from overheating. The internal thermal fuse needs time to reset below its trigger temperature. For best results, let the blender sit completely unplugged for a full hour. Rushing this process can cause repeated overheating and potentially permanent motor damage.
Conclusion
Most cases of a blender not working have simple solutions you can handle at home. Start with the quick fixes – checking power, pressing the reset button, and verifying jar alignment. These solve the majority of problems in under five minutes.
For more complex issues like blown fuses, worn couplers, or safety switch failures, assess your comfort level with electrical repairs. Simple part replacements are manageable for many DIYers, but motor problems usually mean it’s time to replace.
Regular cleaning and proper use prevent most blender problems. Don’t overload the jar, avoid continuous operation over 60 seconds, and clean immediately after use. Your blender will reward you with years of reliable service.
If you’ve tried all troubleshooting steps and your blender still isn’t working, consult the manufacturer’s warranty. Many blenders come with 1-5 year warranties that cover motor and electrical failures. Contact customer service with your model number and purchase date before replacing a potentially covered unit.



Leave a Comment