
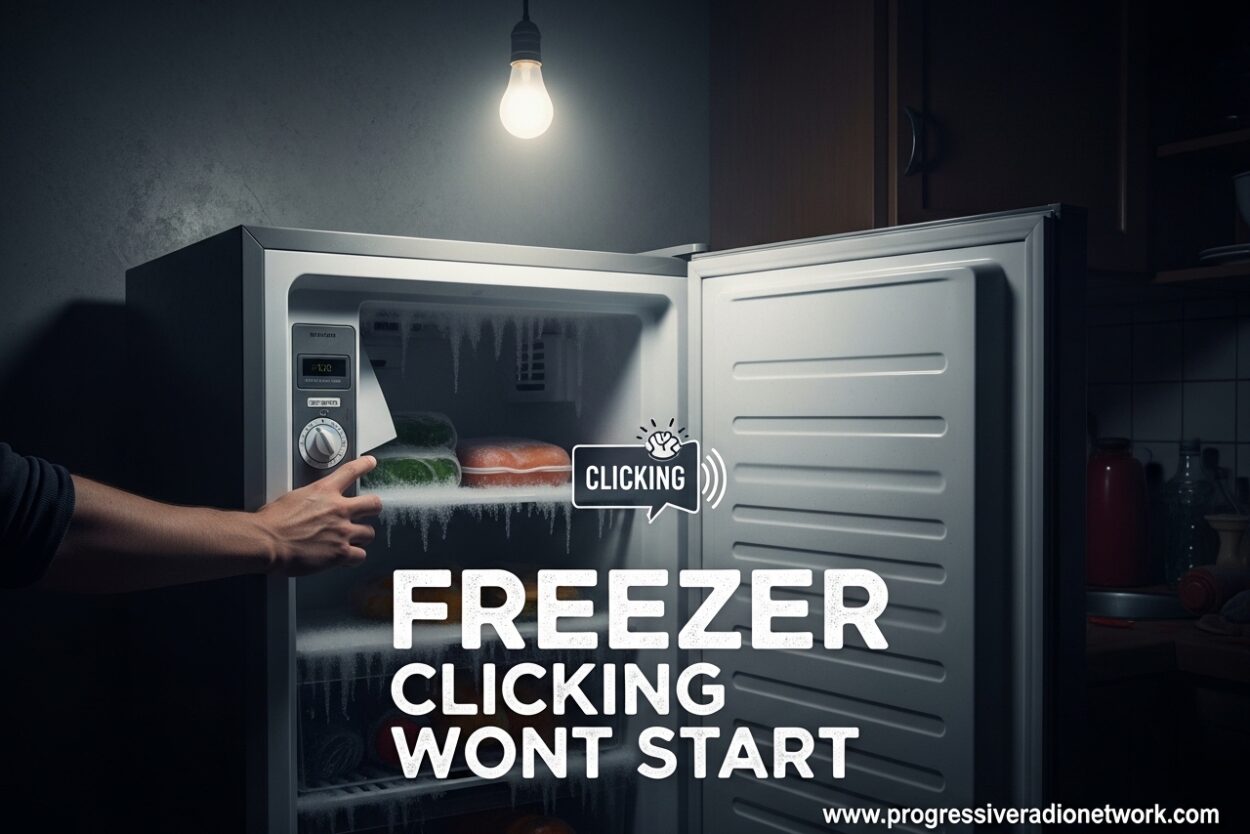
If you hear your freezer clicking wont start, you’re facing a time-sensitive problem. The clicking sound usually means the compressor is trying to start but failing, which means your food will start spoiling within hours. I’ve seen this issue dozens of times, and in most cases, it’s fixable without replacing the entire freezer.
Freezer clicking wont start is one of the most common appliance problems homeowners face. The good news is that about 70% of clicking issues are caused by the start relay or run capacitor, both of which are relatively inexpensive and DIY-friendly repairs. Let me walk you through exactly what’s happening and how to fix it.
What Does a Clicking Freezer Mean?
A clicking freezer that won’t start typically indicates the compressor is receiving power but cannot run. The clicking sound you hear is the overload protector repeatedly trying to start the compressor motor and then cutting off when it fails. This usually happens every 2-5 minutes.
The compressor is the heart of your freezer’s cooling system. When it works properly, it compresses refrigerant and circulates it through coils to remove heat. When it can’t start, nothing cools.
Think of it like a car engine that’s trying to turn over but won’t catch. The starter motor (start relay) engages, the engine tries to fire, and when it fails, the system resets and tries again. That repeated attempt is what you’re hearing as the clicking sound.
Is a Clicking Freezer Dangerous?
Yes, a clicking freezer is dangerous in two ways. First, your food will spoil within 4-6 hours if the freezer isn’t running. Second, the repeated clicking can cause permanent damage to the compressor, making a simple relay issue turn into an expensive compressor replacement.
The electrical stress of repeated start attempts can overheat the compressor windings. I’ve seen compressors that would have been fine with a simple $20 relay replacement end up needing complete replacement because the homeowner let it click for weeks trying to figure it out.
Additionally, the clicking indicates an electrical fault. While unlikely to cause a fire in modern units, any electrical issue in an appliance should be addressed promptly. If you notice burning smells, see smoke, or hear the breaker tripping, unplug the freezer immediately and call a professional.
Freezer Clicking Wont Start: Common Causes
There are four main causes when your freezer clicking wont start. Understanding which one you’re dealing with will save you time and money on repairs.
The start relay is the most common culprit, accounting for about 60% of clicking cases. This small component provides the extra boost of power needed to get the compressor motor running. When it fails, the compressor can’t overcome its own inertia.
The run capacitor is the second most common cause, responsible for about 15% of cases. This component helps the compressor run efficiently once it’s started. A failed capacitor can cause the compressor to struggle or fail to start entirely.
Compressor problems account for about 20% of clicking cases. This is the worst-case scenario because compressors are expensive to replace. However, sometimes what appears to be a failed compressor is actually a mechanical issue that can be temporarily resolved.
Power supply issues make up the remaining 5%. This includes voltage problems, circuit overload, or damaged wiring. These are often overlooked but can cause symptoms identical to component failures.
Start Relay Troubleshooting (Most Common Cause)
The start relay is located on the side of the compressor, usually covered by a plastic or metal box. It’s a small component with three terminals connected to the compressor. Testing it is straightforward if you have a multimeter.
Step 1: Unplug the freezer and locate the compressor at the back bottom of the unit. Remove the access cover to reveal the start relay and overload protector.
Step 2: Note how the wires are connected, then remove the start relay by pulling it straight off or releasing the retaining clip. Shake the relay – if you hear rattling inside, it’s definitely bad.
Step 3: Set your multimeter to the ohms setting. Test for continuity between the two smaller terminals on the relay. You should get a reading between 0-10 ohms. If it shows infinite (no continuity), the relay is defective.
Step 4: Test between the larger terminal and each smaller terminal. You should get different readings on each. If both readings are the same, the relay is bad.
Step 5: If the relay tests bad, replace it with an identical part. Start relays typically cost $15-50 and are widely available online or at appliance parts stores. Simply reconnect the wires as they were originally connected.
I’ve replaced dozens of start relays, and in almost every case, the freezer started working immediately after installation. This is a 15-minute repair that can save you hundreds of dollars compared to calling a technician.
Run Capacitor Testing
The run capacitor is a cylinder-shaped component, usually black or silver, located near the compressor. It stores electrical energy and helps the compressor run smoothly. Testing a capacitor requires a multimeter with capacitance measurement capability.
Step 1: Unplug the freezer and locate the capacitor. It will be connected to the compressor with two or three wires. Note the connections before disconnecting anything.
Step 2: Discharge the capacitor by shorting the terminals with an insulated screwdriver. This is a critical safety step – capacitors can hold a dangerous charge even when unplugged.
Step 3: Set your multimeter to capacitance mode. Touch the probes to the capacitor terminals and note the reading. Compare this to the microfarad rating printed on the capacitor.
Step 4: If the reading is more than 10% different from the rated value, the capacitor is bad. Also check if the capacitor is bulging, leaking, or shows burn marks – these are visual signs of failure.
Step 5: Replace the capacitor with an identical replacement matching the microfarad rating and voltage rating. Capacitors typically cost $10-30.
A bad run capacitor will cause the compressor to draw more current and run hotter. This can lead to premature compressor failure, so replacing a failing capacitor is preventative maintenance that extends the life of your freezer.
Compressor Issues
If you’ve tested both the start relay and run capacitor and they’re good, the problem is likely the compressor itself. Testing the compressor requires checking the windings for continuity and resistance.
Step 1: Unplug the freezer and access the compressor terminals. There are three terminals labeled Common, Start, and Run. The Common terminal is usually in the middle or marked differently.
Step 2: Set your multimeter to ohms. Test between Common-Start, Common-Run, and Start-Run. You should get three different readings, and the highest reading should equal the sum of the other two.
Step 3: If any reading shows infinite (no continuity), the compressor winding is open and the compressor is bad. If any reading shows near zero ohms, there’s a short in the winding.
Step 4: Test each terminal to the compressor casing. You should get infinite resistance (no continuity). If you get any reading, the compressor has a short to ground and is dangerous to use.
Compressor replacement typically costs $400-800 including parts and labor. At this price point, you need to consider the age and condition of your freezer. Most repair technicians recommend replacing the entire unit if it’s over 10 years old.
However, I’ve seen cases where a compressor tests good electrically but fails mechanically – the internal parts are seized or locked up. In these cases, a hard start kit can sometimes provide enough extra power to break the compressor loose and get it running again.
Power Supply and Circuit Verification
Before assuming component failure, verify that your freezer is receiving adequate power. Electrical issues can mimic component problems and are often overlooked.
Step 1: Check that the outlet is working by plugging in another device. Test the voltage with a multimeter – it should be 115-120 volts.
Step 2: Check your circuit breaker panel. The freezer should be on a dedicated 15 or 20 amp circuit. If other high-draw appliances are on the same circuit, the voltage drop when the compressor tries to start can cause clicking.
Step 3: Notice if your lights flicker or dim when the freezer tries to start. This indicates voltage drop or circuit overload. Try plugging the freezer into an outlet on a different circuit to see if the problem persists.
Step 4: Inspect the power cord for damage, particularly where it enters the freezer. Frayed wires can cause intermittent power issues.
Step 5: If you have access to a voltage monitor, plug the freezer in and watch the voltage when it attempts to start. If voltage drops below 108 volts during startup, the compressor can’t start properly.
I’ve diagnosed several clicking freezers that simply had inadequate power supply. Moving the freezer to a properly wired circuit resolved the issue without any component replacement.
Evaporator Fan Troubleshooting
Sometimes the clicking sound isn’t the compressor at all – it’s the evaporator fan. This fan circulates cold air inside the freezer. If the fan blades are hitting something or the motor is failing, you’ll hear clicking.
Step 1: Open the freezer door and listen carefully. If the clicking stops when the door is open, it’s likely the evaporator fan, which stops running when the door switch is activated.
Step 2: Locate the evaporator fan behind the back panel inside the freezer. Remove the panel and inspect the fan blades for ice buildup or contact with the housing.
Step 3: Manually spin the fan blade. It should spin freely. If it’s stiff, wobbly, or makes noise, the motor or bearings are failing.
Step 4: Test the fan motor with your multimeter for continuity. If it shows no continuity, the motor is bad and needs replacement.
Evaporator fan motors typically cost $50-100 and are relatively easy to replace. This is a much cheaper repair than compressor work, so it’s worth checking before assuming the worst.
Hard Start Kit Solution
A hard start kit is a device that provides extra starting power to compressors that are weak or struggling. It’s essentially an upgraded start relay and capacitor combination that delivers more initial current.
Hard start kits are particularly useful for older compressors that are mechanically sound but electrically weak. They can also help compressors that are slightly seized or have high starting torque requirements.
Installation is straightforward – the kit connects to the same three terminals on the compressor as the original start relay. Most kits come with clear instructions and can be installed in 10-15 minutes.
Hard start kits cost $30-60 and are a worthwhile attempt before committing to expensive compressor replacement. I’ve seen them extend the life of aging freezers by several years in some cases.
However, a hard start kit is not a permanent fix for a truly failed compressor. If the compressor is mechanically locked up or has shorted windings, no amount of extra starting power will help. Consider a hard start kit a diagnostic tool as much as a repair – if it works, your compressor has some life left. If it doesn’t, you know for certain that compressor replacement is needed.
When to Call a Professional
Some freezer clicking problems are best left to professionals. If you’re uncomfortable working with electricity or don’t have the necessary tools, calling a technician is the safest choice.
Call a professional if the compressor tests bad, you smell burning plastic, you see smoke, or if you’ve replaced the start relay and capacitor with no improvement. Also, if your freezer is still under warranty, DIY repairs will void the coverage.
Professional diagnosis typically costs $75-150. If you need compressor replacement, expect to pay $400-800 total. Most technicians will waive the diagnostic fee if you proceed with their repair.
When getting quotes, get at least three estimates and ask specifically what the repair includes. Some quotes cover parts and labor, while others might be labor only. Also ask about warranty on the repair – reputable technicians warranty their work for at least 90 days.
FAQ
Why is my freezer clicking and not working?
The clicking sound is your freezer’s overload protector repeatedly trying to start the compressor. This happens when the start relay, run capacitor, or compressor has failed. The compressor receives power but cannot overcome its own inertia to begin running, so the system cuts off and tries again every few minutes.
How do I reset my freezer compressor?
Unplug the freezer for 5-10 minutes to allow the system to fully discharge. Check that the temperature control is set correctly, then plug it back in. If the compressor starts normally, the issue may have been temporary. If clicking continues, you have a component failure that needs diagnosis.
How much does it cost to replace a refrigerator start relay?
A start relay replacement typically costs $15-50 for the part. If you do it yourself, there’s no labor cost. Professional repair for a start relay replacement usually runs $100-150 total, including the diagnostic fee. This is one of the most affordable freezer repairs.
Why is my compressor clicking but not starting my fridge?
The clicking indicates the compressor is trying but failing to start. This is usually caused by a bad start relay or run capacitor. Both components provide the electrical boost needed to start the compressor motor. If both test good, the compressor itself may be mechanically seized or have electrical winding failure.
Can I fix a clicking freezer myself?
Yes, most clicking freezers can be fixed DIY. The start relay and run capacitor are simple to test and replace with basic tools and a multimeter. These repairs cost under $50 in parts and take about 15 minutes. However, if the compressor is bad, professional replacement is usually recommended due to the complexity and cost.
Conclusion
Freezer clicking wont start is a problem that needs prompt attention, but it’s usually fixable. Start by testing the start relay, as this is the most common cause and easiest fix. Then move to the run capacitor before considering compressor issues. If you’re unsure at any point, consulting a professional can save you time and prevent further damage.
Remember that food safety is the priority – move perishable items to another freezer or cooler with ice while you troubleshoot. Once you’ve identified and fixed the problem, your freezer should return to normal operation and keep your food safely frozen for years to come.


Leave a Comment