
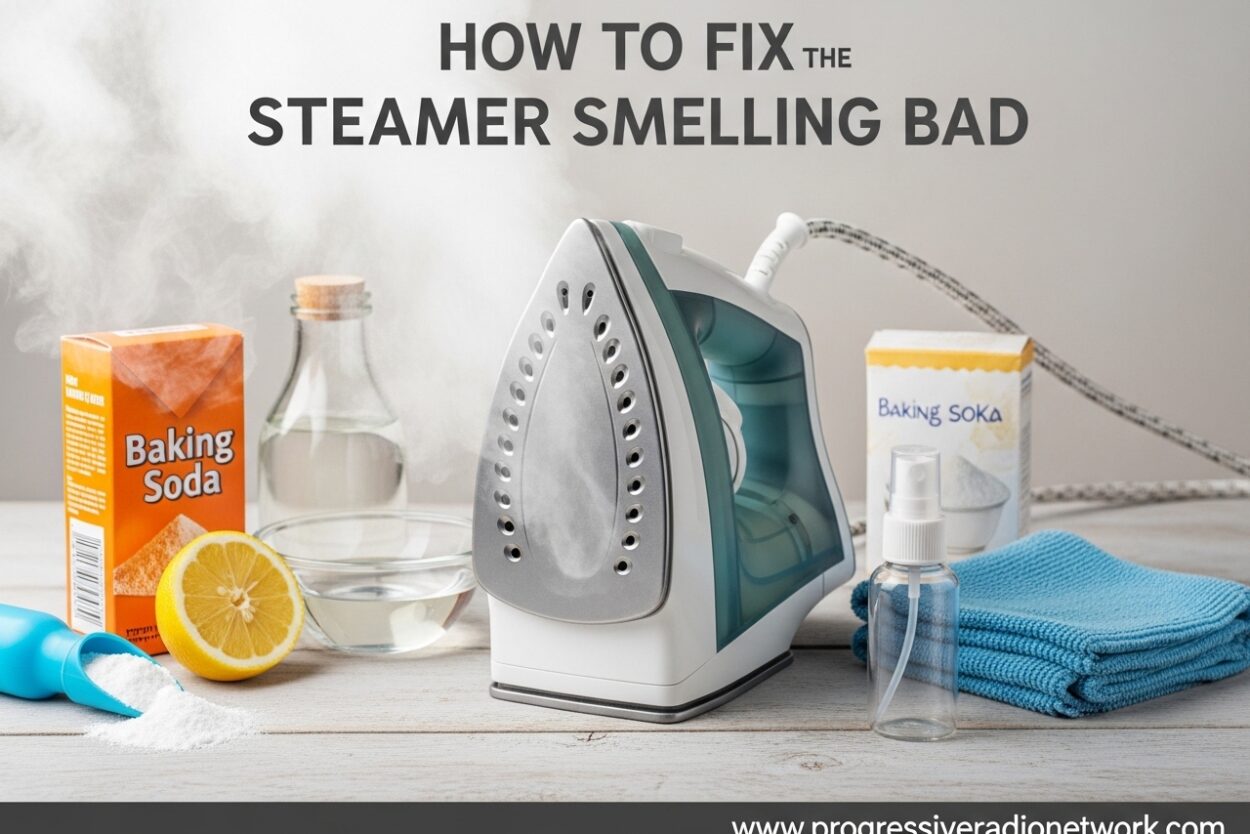
You grab your favorite garment steamer, ready to de-wrinkle that shirt for your meeting, and suddenly you’re hit with a smell that makes you question if something died inside. A steamer smelling bad is more than just annoying, it can actually transfer those odors to your clothes and signal that your appliance needs attention. I’ve dealt with this issue multiple times over the years, and I’m going to walk you through exactly why it happens and how to fix it.
The good news is that most steamer odors are completely fixable with the right approach. Whether you have a handheld garment steamer, a standing unit, or even a steam closet, the causes are usually similar and the solutions are straightforward. Let me break down what’s causing that smell and exactly how to eliminate it for good.
Why Does My Steamer Smell Bad?
A smelly steamer is almost always caused by one of three culprits: mineral buildup from hard water, bacterial growth in the water tank, or accumulated residue from fabrics and cleaning products. Understanding which one you’re dealing with will help you choose the right solution.
Mineral buildup is the most common cause. When you use tap water in your steamer, the minerals in that water (calcium, magnesium, and others) don’t evaporate with the steam. Instead, they accumulate inside your machine, forming crusty deposits that create a metallic or musty odor when heated. This is especially common if you live in an area with hard water.
Bacterial growth is another major factor. If you leave water sitting in your steamer’s tank between uses, bacteria can multiply and create that distinctive sour or sewage-like smell. I learned this the hard way when I left my steamer unused for a month and came back to something that smelled like a swamp.
Lint and fabric residue can also contribute to odors. Your steamer pulls air through it as it operates, and tiny fibers from your clothes can accumulate inside. Combined with moisture and heat, these create the perfect environment for unpleasant smells to develop.
New steamers sometimes have a manufacturing smell that dissipates after a few uses. This typically smells like plastic or chemicals and is normal, but if it persists beyond 5-10 uses, you may need to take action.
Signs Your Steamer Needs Cleaning
Before we dive into the cleaning process, let’s make sure your steamer actually needs attention. Here are the clear signs I look for:
1. Unusual odors during use – Any smell that’s not just clean steam (metallic, musty, sour, or burnt)
2. Reduced steam output – Weak steam or sputtering that wasn’t there before
3. Visible mineral deposits – White or crusty buildup around the steam nozzle or in the water tank
4. Discolored water – Brown or dark water when you empty the tank
5. Longer heating time – Your steamer takes longer to produce steam than it used to
If you’re experiencing any of these symptoms, it’s time to clean your steamer. The good news is that the solutions below work for all these issues.
How to Clean a Steamer with Vinegar (Step-by-Step)
Vinegar is the gold standard for cleaning steamers because it’s acidic enough to dissolve mineral deposits and kill bacteria, but gentle enough not to damage your machine. I’ve used this method successfully dozens of times, and here’s exactly how I do it.
Step 1: Unplug and Let Cool
Safety first. Always unplug your steamer and let it cool completely before cleaning. I typically wait at least 30 minutes after use before starting the cleaning process. This prevents burns and ensures the vinegar solution works effectively (heat can cause it to evaporate too quickly).
Step 2: Empty and Inspect the Water Tank
Remove any remaining water from the tank and take a look inside. You might see mineral deposits, discoloration, or even some slimy residue. Don’t worry, vinegar will take care of all of this. If your water tank is removable, take it out for easier cleaning.
Step 3: Mix Your Cleaning Solution
Fill the water tank with a mixture of equal parts white vinegar and water. For most steamers, this means about one cup of each. If your steamer has a very large tank, adjust the proportions but keep that 50/50 ratio. The vinegar will break down mineral deposits and kill any bacteria causing odors.
Step 4: Run the Cleaning Cycle
Plug in your steamer and let it heat up. Once it’s ready, hold the steam button and let the vinegar solution steam through for 2-3 minutes. You’ll want to do this in a well-ventilated area, as vinegar has a strong smell when heated. I usually open a window or turn on a fan.
Step 5: Let It Sit
After steaming the vinegar solution, turn off your steamer and let it sit for at least 30 minutes. This gives the vinegar time to work on stubborn deposits inside the machine. For particularly smelly steamers, I let it sit for an hour or even overnight.
Step 6: Rinse Thoroughly
Empty the vinegar solution and refill the tank with clean water only. Run the steamer again for 2-3 minutes to flush out any remaining vinegar. You may need to repeat this rinsing step 2-3 times until the steam no longer smells like vinegar. Trust me, you don’t want to skip this step or your clothes will smell like a salad!
Step 7: Final Inspection
Once you’ve rinsed thoroughly, test your steamer on a scrap piece of fabric or an old towel. The steam should now be clean and odorless. If you still detect any smell, repeat the vinegar cleaning process. Some particularly stubborn cases require two full rounds of cleaning.
How to Clean a Steamer Without Vinegar
Not everyone can use vinegar. Maybe you hate the smell, or perhaps your steamer’s manufacturer recommends against it. Whatever your reason, there are effective alternatives. I’ve tested these methods personally, and while they may require a bit more effort or cost, they get the job done.
Commercial Descaling Solutions
Products specifically designed for descaling appliances are readily available and work exceptionally well. They’re formulated to dissolve mineral deposits without damaging internal components. I’ve found these particularly effective for steamers that haven’t been cleaned in a long time. Follow the package directions, but the process is typically similar to the vinegar method.
Lemon Juice Method
Lemon juice is naturally acidic like vinegar but has a more pleasant scent. Mix equal parts lemon juice and water, then follow the same cleaning process. I’ve found this works best for light to moderate mineral buildup, and it leaves your steamer smelling fresh. Plus, it’s completely natural and safe for all steamer types.
Baking Soda Solution
For odors caused by bacteria rather than minerals, baking soda can work wonders. Mix one tablespoon of baking soda per cup of water and run it through your steamer. Let it sit for an hour, then rinse thoroughly. This method is particularly effective for that sour, swampy smell from bacterial growth.
Citric Acid Solution
If you want something stronger than lemon juice but still natural, citric acid powder is an excellent option. Mix one tablespoon per cup of water, dissolve completely, and use it just like the vinegar solution. This is my go-to for seriously neglected steamers with heavy mineral buildup.
Deep Cleaning Specific Steamer Parts
Sometimes the problem isn’t in the internal mechanism but in specific parts that need direct attention. Over years of maintaining various steamers, I’ve learned that targeted cleaning of certain components can make a huge difference.
Water Tank Deep Clean
If your water tank is removable, take it out and clean it separately. Fill it with your chosen cleaning solution, add a tablespoon of uncooked rice (which acts as a gentle abrasive), and shake vigorously. The rice helps scrub away mineral deposits that you can’t reach with a cloth. Rinse thoroughly before reattaching. For non-removable tanks, use a bottle brush or pipe cleaner to reach corners.
Steam Nozzle and Vents
Mineral deposits often accumulate around the steam nozzle, reducing steam output and creating odors. I use a toothbrush dipped in vinegar or cleaning solution to gently scrub away any visible buildup. For stubborn deposits, let the solution sit on the area for 10-15 minutes before scrubbing. A pin or needle can help clear clogged steam holes, but be gentle not to damage the nozzle.
Heating Element Care
The heating element is where the magic happens, but it’s also where minerals love to accumulate. If you can access it (check your manual), wipe it gently with a damp cloth after using cleaning solution. Never use abrasive materials or harsh chemicals on the heating element, as this can damage it and shorten your steamer’s lifespan.
Drain Line Maintenance (For Steam Closets)
If you have a steam closet or standing steamer with a drain line, this can be a hidden source of odors. Bacteria and mold love damp, dark places. Flush the drain line with your cleaning solution using a funnel, then rinse with clean water. Some models have removable drain trays that should be cleaned regularly with hot soapy water.
Exterior Cleaning
Don’t forget the outside of your steamer. Wipe down the exterior with a damp cloth and mild detergent. This removes fabric softener residue, lint, and other contaminants that can transfer to your clothes when you steam. Pay special attention to handles and buttons, which can accumulate grime over time.
Different Steamer Types and Their Specific Issues
Not all steamers are created equal, and each type has its own peculiarities when it comes to odors and maintenance. After working with various steamer types over the years, I’ve learned that understanding these differences can save you time and frustration.
Handheld Steamers
These compact units are prone to overheating, which can cause a burnt plastic smell if used continuously for too long. I’ve found that giving them a break every 5-10 minutes prevents this issue. Their smaller water tanks also mean they need more frequent refilling, which increases the risk of bacterial growth if water is left sitting. Empty your handheld steamer after every use.
Standing Garment Steamers
With their larger water tanks and longer hoses, standing steamers provide more places for problems to hide. Mineral deposits can accumulate in the hose, creating blockages that affect steam output. Run cleaning solution through the hose and nozzle separately for best results. The water reservoir should be cleaned monthly if you use your steamer regularly.
Steam Closets
These luxury appliances are essentially miniature rooms that steam your clothes, and they have more components that can develop odors. Door gaskets, drain lines, and internal vents all need attention. I recommend a quarterly deep cleaning for steam closets, focusing on these often-overlooked areas. The enclosed nature of steam closets also means odors can become concentrated, making regular maintenance even more important.
Steam Irons
While technically different from garment steamers, steam irons suffer from similar odor issues. The soleplate can accumulate fabric residue and minerals that burn when heated. Clean the soleplate with a damp cloth while the iron is warm (not hot), and flush the water reservoir regularly. Irons benefit from the same vinegar treatment as other steamers.
How to Prevent Steamer Odors
The best cure is prevention, and after dealing with one too many smelly steamers over the years, I’ve learned that a few simple habits can keep odors at bay entirely. These practices take just minutes but can extend your steamer’s life significantly.
Use Distilled Water Exclusively
This is the single most important prevention tip. Distilled water has no minerals, so it can’t create the deposits that cause most steamer odors. I made the switch years ago and haven’t had a mineral buildup problem since. Yes, it costs a few dollars more than tap water, but it saves you from cleaning headaches and extends your steamer’s lifespan. It’s one of the best investments you can make for your appliance.
Empty the Tank After Every Use
Never leave water sitting in your steamer between uses. This is the primary cause of bacterial growth and that sour, swampy smell. After each steaming session, I empty any remaining water and leave the tank open to air dry completely before storing. This simple habit takes 30 seconds and prevents most odor problems.
Follow a Regular Cleaning Schedule
Even with distilled water, periodic cleaning is important. I do a light cleaning monthly (flush with distilled water) and a deep cleaning quarterly. If you use your steamer heavily, increase this frequency. Mark your calendar or set a phone reminder, because it’s easy to forget until you smell a problem.
Store Properly
How you store your steamer matters. Always wait until it’s completely cool before putting it away, and store it in a dry place with the tank open to air circulation. Never store a steamer with water in the tank, even for a few days. I learned this the hard way when I packed my steamer away for a move and came back to a smelly mess.
Use Fabric Softener Sparingly
Excess fabric softener on your clothes can build up in your steamer over time, creating its own odors. I use less fabric softener than recommended on clothes I plan to steam, or skip it entirely for these items. This reduces the residue that can accumulate in your steamer and contribute to smells.
When to Repair vs Replace Your Steamer
Sometimes, despite your best efforts, a steamer may be beyond saving. After years of maintaining various models, I’ve learned to recognize when it’s time to let go and invest in a new unit rather than throwing good money after bad.
Signs Your Steamer Might Be Beyond Repair
These symptoms indicate serious problems that cleaning won’t fix: persistent electrical smells, visible corrosion on internal components, cracks in the water tank, heating elements that won’t heat, or repeated failure to produce steam even after thorough cleaning. If you notice any of these issues, it’s likely time to replace your steamer.
Cost Considerations
Basic handheld steamers can be replaced for under $30, making repair rarely economical. However, high-end steam closets and professional-grade steamers can cost hundreds of dollars, making professional repair worthwhile. I typically use the 50% rule: if repair costs more than 50% of replacement, I replace instead.
Safety First
If your steamer is showing signs of electrical problems, unusual sparking, or anything that seems unsafe, stop using it immediately. No amount of cleaning is worth risking your safety. When in doubt, consult a professional or replace the unit.
FAQ
Why does my steamer smell weird?
The most common causes of weird steamer smells are mineral buildup from hard water, bacterial growth from stagnant water, or accumulated lint and fabric residue. Mineral deposits create a metallic odor, bacteria cause sour smells, and lint residue can produce musty odors. New steamers may also have a temporary manufacturing smell that should dissipate after a few uses.
Can I run vinegar through my steamer to clean it?
Yes, vinegar is one of the most effective and safe cleaning solutions for steamers. Mix equal parts white vinegar and water, run it through your steamer for 2-3 minutes, then let it sit for at least 30 minutes. Rinse thoroughly with clean water until the vinegar smell is gone. This method works for all steamer types including handheld, standing, and steam closets.
What can I put in my steamer to make it smell nice?
For pleasant scents, add a few drops of essential oil to distilled water in your steamer tank. Lemon, lavender, or tea tree oils work well and have antibacterial properties. However, never add perfume, fabric softener, or scented oils directly to the water tank as these can cause buildup and clog your steamer. Always clean your steamer thoroughly before adding any scents.
How do I clean mold out of my steamer?
To clean mold from your steamer, mix a solution of one part white vinegar to one part water and run it through the machine. Let it sit for at least an hour to kill mold spores. For stubborn mold, add a tablespoon of baking soda to the solution. After cleaning, rinse multiple times with distilled water until all traces of vinegar are gone. Leave the tank open to air dry completely in sunlight if possible.
How often should I clean my steamer?
For regular users, perform a light cleaning monthly by flushing with distilled water. Do a deep clean with vinegar or descaling solution every 3 months. If you use tap water instead of distilled, increase this to monthly deep cleaning. Always clean immediately if you notice odors, reduced steam output, or visible mineral buildup. Empty the water tank after every use to prevent bacterial growth.
Is it normal for a new steamer to smell?
A slight plastic or chemical smell is normal for new steamers and should dissipate within 5-10 uses as manufacturing residues burn off. Run the steamer in a well-ventilated area until the smell disappears. However, if the smell persists beyond 10 uses or seems unusual (like burning rubber), contact the manufacturer as this may indicate a defect. Never ignore persistent unusual smells from a new appliance.
Why does my steamer smell like burnt plastic?
A burnt plastic smell usually indicates overheating or internal component damage. Stop using the steamer immediately if you notice this smell. It can be caused by using the steamer too long without a break, a failing heating element, or electrical issues. If the smell persists after the unit has cooled and been cleaned, discontinue use and contact the manufacturer or consider replacement.
Conclusion
A steamer smelling bad is a fixable problem that doesn’t mean you need to buy a new appliance. Whether you’re dealing with mineral buildup, bacterial growth, or just a neglected machine that needs attention, the solutions I’ve covered will get your steamer back to producing clean, fresh steam. The key is identifying the cause, choosing the right cleaning method, and establishing good maintenance habits going forward.
Remember that distilled water is your best friend when it comes to preventing steamer odors. It’s the single most effective prevention strategy I’ve found, and it costs very little compared to the headache of dealing with a smelly steamer. Combine that with regular cleaning, proper storage, and emptying the tank after each use, and you’ll rarely have odor issues.
Dealing with a steamer smelling bad is frustrating, but with the right approach, it’s completely manageable. Your clothes deserve better than to smell like a swamp, and with these tips, you can keep your steamer running smoothly and odor-free for years to come.





Leave a Comment