
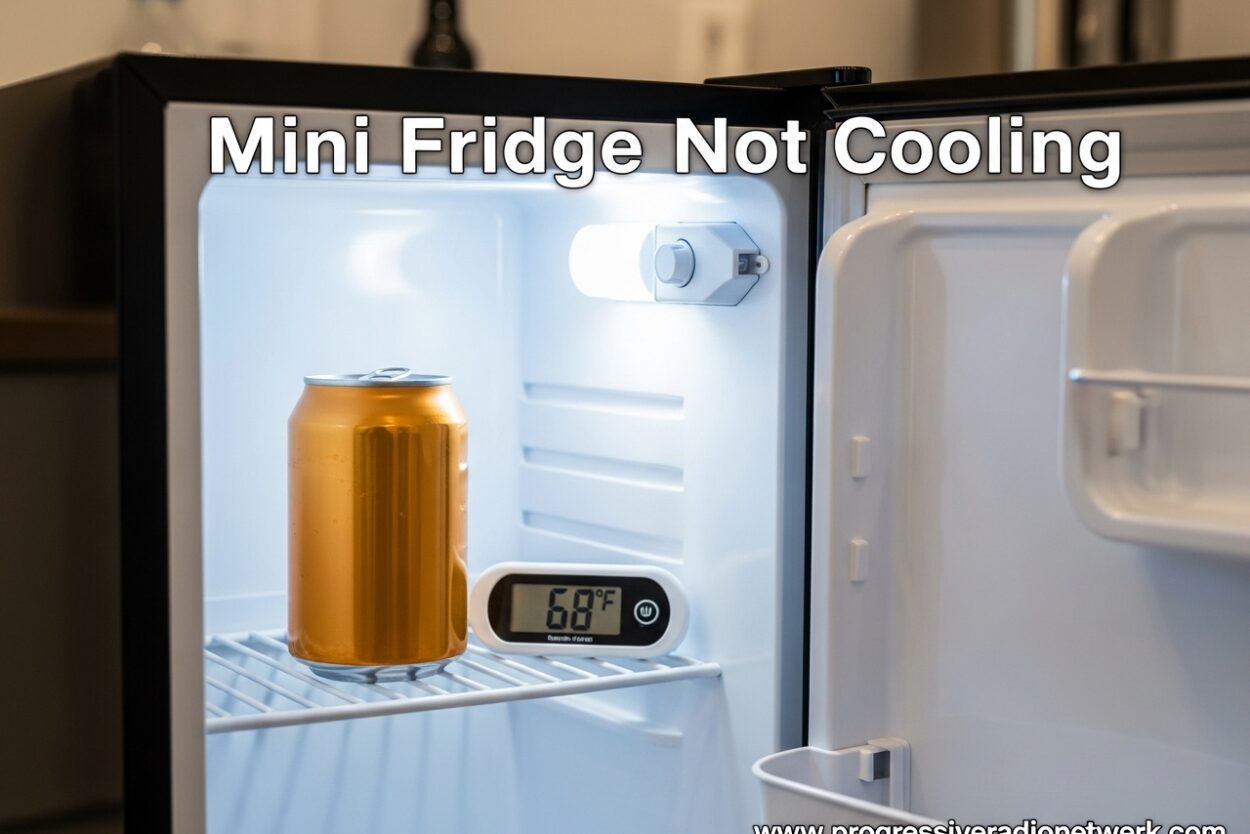
There’s nothing more frustrating than discovering your mini fridge not cooling when you reach for a cold drink. Whether it’s in your dorm room, office, or man cave, a compact refrigerator that stops working can ruin your day and spoil your food.
I’ve spent years troubleshooting small appliances, and I’ve found that most cooling issues stem from a handful of common problems. The good news? Many of these fixes take less than 30 minutes and cost next to nothing.
In this guide, I’ll walk you through exactly why your mini fridge stopped cooling and how to fix it. You’ll learn simple diagnostic steps anyone can do, plus know when it’s time to call a professional or replace the unit entirely.
Quick Diagnostic Checklist
Before diving into repairs, let’s quickly assess what’s happening with your mini fridge. These five questions will help pinpoint the problem:
- Is the mini fridge getting power? Check if the light turns on when you open the door
- Is the compressor running? Listen for a humming sound from the back or bottom
- How long has it been since you noticed the issue? Recent problems might be simple fixes
- Did you recently move the fridge? Transport can cause temporary issues
- Is the condenser coil dirty? Dust buildup is a leading cause of cooling problems
These simple checks will guide you toward the right solution. Now let’s dive into the specific causes and fixes.
Why Is My Mini Fridge Not Cooling?
A mini fridge not cooling typically points to one of these five culprits: dirty condenser coils blocking heat release, insufficient airflow around the unit, a faulty thermostat misreading temperatures, worn door gaskets letting cold air escape, or compressor system failure.
The most common issue I encounter is actually the easiest to fix. Dust and debris accumulate on the condenser coils over time, preventing your fridge from releasing heat properly. When this happens, the compressor works overtime without achieving proper cooling.
Less common but more serious are sealed system problems like refrigerant leaks or compressor failure. These typically require professional repair or unit replacement. Let’s work through each cause systematically.
Dirty Condenser Coils
Condenser coils are responsible for releasing heat from your mini fridge. When they become coated in dust, pet hair, and debris, heat gets trapped inside the unit. Your compressor then runs continuously trying to compensate, but cooling efficiency drops dramatically.
I’ve seen countless fridges brought back to life simply by cleaning these coils. It’s the first thing you should check, especially if your mini fridge is more than a year old or placed in a dusty area.
Cleaning Your Condenser Coils:
- Unplug the fridge – Safety first, always disconnect power
- Locate the coils – Usually on the back or bottom behind a kick plate
- Use a vacuum with brush attachment – Gently remove loose debris
- Wipe with a damp cloth – For stubborn buildup, use mild soap and water
- Allow to dry completely – Before plugging back in
- Test cooling performance – Give it 2-4 hours to reach proper temperature
This simple maintenance task should be done every 6-12 months depending on your environment. A fridge with clean coils uses less energy and cools more effectively.
Blocked Airflow and Ventilation Issues
Your mini fridge needs proper airflow to function correctly. I’ve seen this issue countless times in cramped dorm rooms and crowded offices. Without adequate ventilation, heat builds up around the unit and cooling efficiency plummets.
Most mini fridges require at least 2-3 inches of clearance on all sides. This includes the back, sides, and top. When people shove these units into tight spaces or stack items on top, they essentially strangle the cooling system.
Inside the fridge, blocked air vents create similar problems. Every mini fridge has specific air circulation paths that shouldn’t be obstructed. Overstuffing your fridge or covering vents with food items prevents cold air from reaching all areas evenly.
Checking Your Airflow:
- Measure clearance around all sides of the unit
- Ensure nothing sits on top of the fridge
- Check that internal air vents aren’t covered by food containers
- Verify the bottom/front intake isn’t blocked by dust or debris
- Consider ambient temperature – garages and unconditioned spaces can exceed the fridge’s operating range
Improving ventilation alone can solve cooling issues in many cases. If your mini fridge is in a particularly tight spot, relocating it might be the simplest solution.
Faulty Thermostat or Temperature Control
The thermostat tells your mini fridge when to run and when to rest. When it fails, the compressor might not engage at all, or it could run continuously without achieving proper cooling. This is a common issue I see in older units and budget models.
Testing your thermostat is straightforward. First, locate the temperature control dial or digital display. Turn it to the coldest setting and listen for the compressor to kick on. If nothing happens after a few minutes, the thermostat might be faulty.
For analog dials, you can also test with a multimeter. Unplug the fridge, access the thermostat, and check for continuity. No reading means the thermostat needs replacement. Digital controls are trickier to diagnose and often require professional service.
Temperature Setting Guide:
Most people wonder about the optimal setting for their mini fridge. Here’s what works best:
- Setting 1-2: Warmest – good for items that don’t need much cooling
- Setting 3-4: Moderate – ideal for most beverages and perishable storage
- Setting 5-7: Coldest – best for maximum cooling, but watch for freezing
The “best” setting depends on your environment and contents. In warmer rooms, use higher numbers. In cooler spaces, lower settings prevent freezing. Most mini fridges maintain safe temperatures around 3-4 on a 1-7 scale.
Mini Fridge Not Cooling But Light Is On
This specific symptom tells us something important about the problem. When your mini fridge light works but cooling doesn’t, electrical power is reaching the unit. This points to a cooling system component failure rather than a power supply issue.
The most likely culprits in this scenario are the compressor start relay, overload protector, or the compressor itself. The start relay is a small component that sends power to the compressor when cooling is needed. When it fails, the compressor never engages despite having electricity.
I’ve diagnosed this issue countless times. You’ll typically hear the compressor attempt to start – a clicking sound every few minutes – but it never actually runs. This click is the relay trying to engage and failing.
Testing the Start Relay:
- Unplug the fridge and remove the access panel on the back
- Locate the start relay attached to the compressor
- Shake it gently – a rattling sound indicates failure
- Test with a multimeter for continuity if available
- If faulty, replacement parts cost $10-30 and are easy to install
The capacitor is another common failure point. This component provides the boost needed to start the compressor. Like the relay, it’s an affordable fix if you’re comfortable with basic appliance repair.
Door Seal and Gasket Problems
Door gaskets create the airtight seal that keeps cold air inside your mini fridge. Over time, these rubber seals can crack, warp, or accumulate debris that prevents proper sealing. Even a small gap can cause significant cooling problems.
I’ve seen brand-new fridges with cooling issues caused solely by door seal problems. This often happens during transport or if the fridge wasn’t stored properly. The good news? Testing and fixing door seals is straightforward.
The Dollar Bill Test:
This simple test reveals if your door seal is working properly:
- Close the door on a dollar bill (or piece of paper)
- Pull it out – you should feel resistance
- Test multiple locations around the door frame
- If it slides out easily anywhere, your seal needs attention
For dirty seals, thorough cleaning with warm soapy water often restores proper function. For warped or damaged gaskets, replacement is usually necessary. Most replacement seals cost $20-40 and install with basic tools.
Door alignment is another factor to check. If your mini fridge sits unevenly or the door has dropped slightly, the seal won’t engage properly. Adjusting the front leveling legs can often resolve this issue.
How to Reset Your Mini Fridge
Sometimes a simple reset resolves cooling issues. This is especially true if you’ve recently moved the fridge, experienced a power outage, or made temperature adjustments that didn’t seem to take effect.
The basic reset procedure is simple: unplug your mini fridge for 10-15 minutes, then plug it back in. This allows the compressor to fully depressurize and gives the control board a fresh start. After resetting, allow 4-6 hours for the fridge to reach proper temperature.
Important Moving Tip:
If you’ve recently transported your mini fridge, proper reset is critical. Refrigerant systems must settle after being moved. Always keep your mini fridge upright during transport and allow it to sit unplugged for at least 2-4 hours before plugging it in.
This waiting period allows the refrigerant and compressor oil to settle properly. I’ve seen countless cases where people plugged in a fridge immediately after moving it, only to have cooling problems or compressor failure. Patience during this step prevents permanent damage.
Digital control fridges sometimes have specific reset procedures. Check your owner’s manual for brand-specific instructions. Some models require holding certain buttons or following a particular sequence to reset the control board.
Signs of Compressor Failure
The compressor is the heart of your mini fridge’s cooling system. When it fails, repair costs often exceed the value of the unit. Recognizing compressor failure early helps you make an informed decision about repair versus replacement.
Compressor Failure Symptoms:
- Completely silent: No sound at all from the fridge, but the light works
- Loud clicking: Repeated clicking from the back without the compressor starting
- Constant running: Compressor never stops running but fridge stays warm
- Humming but no cooling: Compressor runs but refrigerant isn’t circulating
A humming compressor that doesn’t cool typically indicates a sealed system problem like a refrigerant leak. This is often caused by manufacturing defects, physical damage, or corrosion over time. Unfortunately, sealed system repairs are rarely cost-effective for mini fridges.
Compressor replacement typically costs $150-300 for parts alone, plus labor if you hire a professional. Considering most mini fridges cost $100-300 new, compressor failure usually means it’s time to replace the unit.
Brand-Specific Troubleshooting Tips
While most mini fridge problems are universal, some brands have known issues worth mentioning. These insights come from years of troubleshooting and community feedback.
Frigidaire Mini Fridge Not Cooling: Frigidaire models are reliable overall, but I’ve seen thermostat issues in their 6-can and smaller units. The temperature control knob can become disconnected internally, causing settings not to register properly. If adjusting the dial produces no change, the thermostat assembly likely needs replacement.
Haier Mini Fridge Issues: Haier’s compact models occasionally experience evaporator fan problems in freezer-containing units. You might hear the compressor running but notice no airflow inside. This $30-50 part is relatively easy to replace if you’re comfortable with basic repairs.
Hisense Mini Fridge Problems: Hisense units sometimes suffer from start relay failures, especially in units over 2-3 years old. The good news? This is a $15 fix that takes about 15 minutes. If your Hisense mini fridge clicks but doesn’t cool, start here.
Danby Mini Fridge Troubleshooting: Danby emphasizes the importance of proper setup after transport. Their manuals stress the upright rule more than most brands. If your Danby isn’t cooling after moving, ensure you let it sit upright for at least 6 hours before plugging in.
Regardless of brand, most troubleshooting steps remain the same. Start with the simple fixes – cleaning coils, checking airflow, testing the door seal – before assuming a major component failure.
When to Repair vs Replace Your Mini Fridge
Deciding between repair and replacement can be challenging. I use a simple guideline: if repair costs exceed 50% of a new unit’s price, replacement usually makes more sense. This accounting considers both parts and any professional labor required.
Average Mini Fridge Lifespan:
Most mini fridges last 5-10 years with proper maintenance. Budget models might fail earlier, while premium brands can last beyond a decade. If your unit is under 3 years old, repair is often worthwhile. Over 7 years, replacement typically provides better value.
Worth Repairing:
- Dirty condenser coils – free or minimal cost
- Faulty thermostat – $30-60 part
- Bad start relay – $10-30 part
- Door gasket replacement – $20-40 part
- Capacitor replacement – $15-25 part
Consider Replacing:
- Compressor failure – $150-300+ repair
- Sealed system leak – often unrepairable
- Multiple component failures
- Unit over 7 years old
- Rust or physical damage to the cabinet
Energy efficiency is another factor. Older mini fridges consume more electricity than newer Energy Star models. Upgrading can pay for itself through energy savings over 2-3 years of use.
Environmental impact also matters. If your unit is relatively new and the problem is minor, repair keeps it out of landfills. However, very old units might be candidates for recycling programs even if still functional.
Prevention and Maintenance Tips
Preventing cooling problems is far easier than fixing them. I recommend these simple maintenance steps to keep your mini fridge running efficiently for years.
Every 1-2 Months:
- Wipe down interior surfaces with mild soap
- Check door seal for debris and clean as needed
- Ensure vents aren’t blocked by food items
- Verify the fridge sits level on the floor
Every 6-12 Months:
- Vacuum or brush condenser coils
- Clean behind and underneath the unit
- Check and clean the drain pan (if accessible)
- Test door seal with the dollar bill test
- Defrost manually if needed (for non-frost-free models)
Best Practices:
- Allow warm foods to cool before refrigerating
- Don’t overfill – air needs to circulate
- Keep the door closed as much as possible
- Avoid placing in direct sunlight or near heat sources
- Use a surge protector to protect electronics
Following these guidelines extends your mini fridge’s lifespan and prevents most common cooling issues. A well-maintained unit consumes less energy and provides reliable service for years.
FAQ
How do you reset your mini fridge?
Unplug your mini fridge for 10-15 minutes to allow the compressor to fully depressurize and the control board to reset. After plugging back in, wait 4-6 hours for the fridge to reach proper temperature. If you recently moved the fridge, let it sit upright for 2-4 hours before plugging in.
What’s the average lifespan of a mini fridge?
Most mini fridges last 5-10 years with proper maintenance. Budget models typically last 5-7 years, while higher-quality brands can exceed 10 years. Regular cleaning of condenser coils and proper maintenance significantly extends lifespan.
Is a fridge colder on 1 or 5?
On a 1-7 temperature scale, 5 is colder than 1. Setting 1 is the warmest setting, while 7 is the coldest. For most mini fridges, the ideal setting is 3-4 for normal use. Adjust based on your room temperature and cooling needs.
How do I know if my mini fridge compressor is bad?
Signs of compressor failure include complete silence with the light working, repeated clicking without the compressor starting, constant running without cooling, or humming without cold air. If the compressor runs but the fridge doesn’t cool, you may have a refrigerant leak or sealed system problem.
Why is my mini fridge on but not getting cold?
This usually indicates a component failure rather than a power issue. Common causes include a faulty start relay, bad capacitor, thermostat failure, or compressor problems. The start relay is the most common culprit and costs only $10-30 to replace.
Conclusion
Dealing with a mini fridge not cooling is frustrating, but most problems have simple solutions. Start with the basics – check that the unit has power, clean the condenser coils, ensure proper airflow, and test the door seal. These simple steps resolve the majority of cooling issues.
For more serious problems like compressor failure or sealed system issues, use the 50% rule to decide between repair and replacement. Most minor fixes cost under $50 and can be completed in under an hour with basic tools.
Remember that proper prevention through regular maintenance keeps your mini fridge running efficiently for years. Clean those coils, check that door seal, and give your unit proper ventilation. Your cold drinks (and fresh food) will thank you.




Leave a Comment