
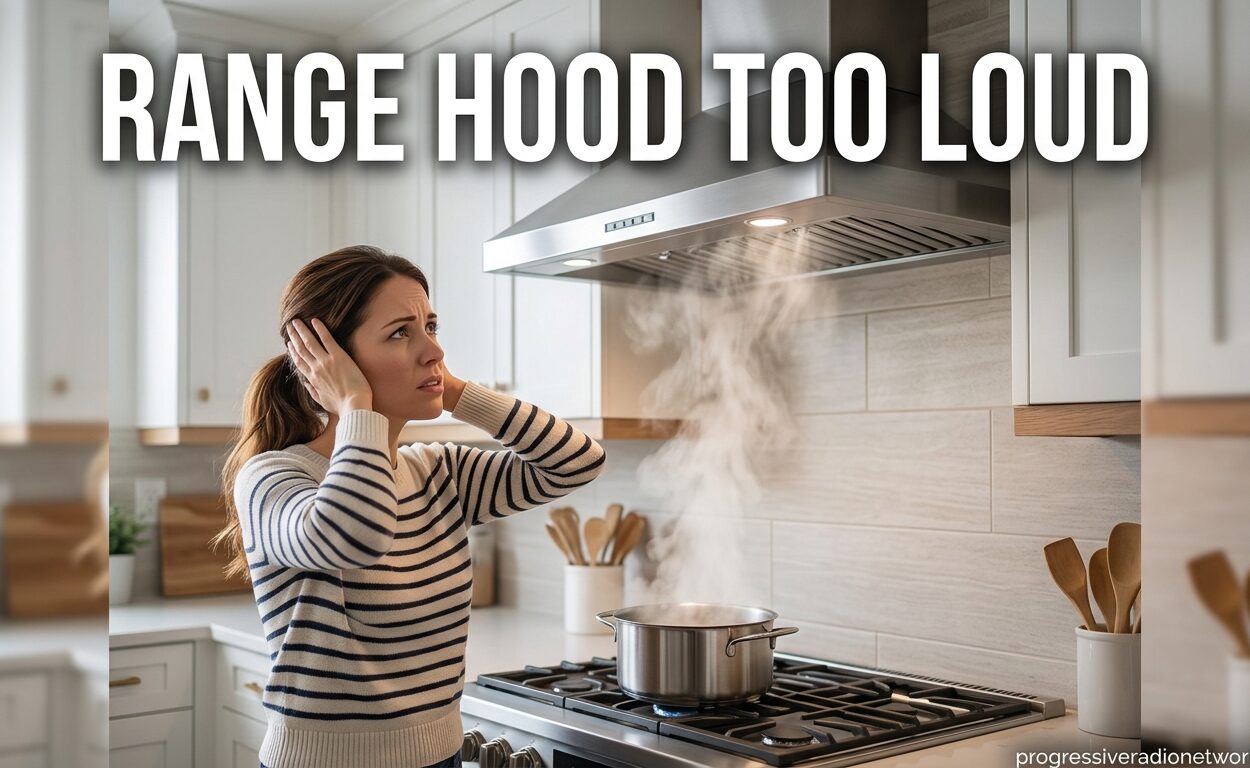
There’s nothing quite like the frustration of a range hood that sounds like a jet engine taking off in your kitchen. I’ve heard from countless homeowners who can’t hold a conversation, watch TV, or even hear their baby monitor while cooking dinner. A range hood that’s too loud isn’t just annoying—it often signals underlying problems that could be reducing performance and wasting energy.
The good news is that most noisy range hoods can be diagnosed and fixed without replacing the entire unit. After researching hundreds of user experiences and consulting with HVAC professionals, I’ve compiled this comprehensive guide to help you silence that kitchen racket once and for all.
How Range Hood Noise Is Measured
Before we dive into the causes, it helps to understand how range hood noise is measured. You’ll typically see noise ratings in two formats: sones and decibels (dB).
Sones use a linear scale that’s designed to match how humans perceive loudness. One sone equals the loudness of a quiet refrigerator. Each additional sone represents an equal increase in perceived loudness. A typical quiet range hood runs at 1-3 sones on low speed, while louder models might reach 7-9 sones on high.
Decibels use a logarithmic scale where every 10 dB increase represents a perceived doubling of loudness. A whisper is about 30 dB, normal conversation is 60 dB, and a loud motorcycle is 100 dB. Most residential range hoods operate between 40-70 dB depending on the setting.
Here’s a practical reference: if you need to raise your voice significantly to be heard over your range hood, it’s probably running at 7+ sones or 65+ dB—louder than necessary for most home kitchens.
5 Primary Causes of a Loud Range Hood
Based on my research across HVAC forums and homeowner communities, these five causes account for over 90% of excessive range hood noise complaints. Understanding which one applies to your situation is the first step toward a quieter kitchen.
1. Ductwork Issues (The #1 Culprit)
Restricted or poorly designed ductwork is by far the most common cause of noisy range hoods. When air can’t flow freely through your ducts, it creates turbulence, whistling, and that helicopter-like sound many homeowners describe.
The most frequent ductwork problems I see include:
Undersized ducting: Your range hood needs ductwork that matches its CFM (cubic feet per minute) rating. A 400 CFM hood requires at least 8-inch round ducting, while 600+ CFM units need 10-inch ducts. Squeezing high airflow through small pipes creates massive noise.
Flexible accordion duct: Those corrugated aluminum flexible ducts might be easy to install, but they’re noise disasters. The ridges create constant air turbulence, and the material can flap and vibrate. Rigid metal ducting is always quieter.
Too many elbows: Every 90-degree turn in your ductwork reduces airflow and increases noise. Most installations should have no more than two elbows. If your duct runs make multiple turns, you’re paying for it in sound.
Crushed or kinked ducts: I’ve seen countless installations where the duct gets crushed between joists or bent around obstacles. Even a partial restriction of 20% can dramatically increase noise levels.
2. Clogged Filters and Poor Maintenance
Grease and debris buildup in your filters restricts airflow and forces your fan to work harder. This creates two problems: increased noise from the motor straining, and whistling sounds as air squeezes through the gunk.
Metal mesh filters should be cleaned monthly for heavy cooking or quarterly for light use. If you can’t remember the last time you cleaned your filters, this is likely contributing to your noise problem.
Some symptoms of filter-related noise include: a gradual increase in noise over time, higher pitch sounds on high settings, and grease deposits visible on the filter surface.
3. Mechanical Failures
Over time, components wear out and create various types of noise. Identifying the specific sound can help pinpoint the problem:
Rattling or vibrating: Usually loose mounting screws, an unbalanced fan blade, or ductwork touching the hood. One Reddit user discovered their vent pipe was resting directly against the hood cabinet, causing a persistent rattle that disappeared after adding insulation.
Grinding or screeching: Typically indicates failing motor bearings. This is a serious issue that requires motor replacement or professional repair.
Humming or buzzing: Could be a failing capacitor, electrical issues, or the motor itself failing. Sometimes this worsens when the hood heats up from cooking.
4. Wrong CFM Size for Your Needs
Bigger isn’t always better. A range hood with excessive CFM for your cooktop will move more air than necessary, creating noise without meaningful benefit. Conversely, undersized hoods must run at maximum speed constantly to keep up with cooking.
For most home kitchens, 300-400 CFM is adequate for standard 30-inch cooktops. Professional-style ranges and high-heat cooking may need 600-900 CFM, but these should be paired with proper ductwork to handle the airflow.
5. Wind Noise at Exterior Vent Cap
This often-overlooked issue causes mysterious noise that only happens on windy days. The problem lies in your exterior vent cap—the flap or damper that prevents backdraft. When wind hits it, the damper can flutter and create whistling, rattling, or howling sounds that travel through your ductwork and into your kitchen.
I’ve seen homeowners lose sleep because their range hood howls every time the wind picks up at night. The solution is often a better-quality vent cap with a more secure damper design.
Quick Diagnostic Checklist
Before diving into repairs, use this quick checklist to identify your specific noise type and likely cause:
Listen to the sound:
– Rattling or vibrating: Loose components or ductwork contact
– Whistling or whooshing: Airflow restriction (ductwork or filters)
– Grinding or screeching: Motor bearings or mechanical failure
– Humming or buzzing: Electrical or motor issues
– Howling on windy days: Exterior vent cap problem
Notice when it happens:
– Only on high speed: May be normal for high CFM, or ductwork issues
– Gradually getting louder: Filter buildup or motor wear
– Started suddenly: Something came loose or failed
– Only when windy outside: Exterior vent cap issue
– Since installation: Ductwork or installation problem
Quick visual inspection:
– Check filters for grease buildup
– Look for loose screws on the hood and housing
– Inspect accessible ductwork for crushing or kinking
– Check if any duct touches the hood cabinet
– Verify the exterior cap moves freely but closes securely
Step-by-Step Troubleshooting Guide
Step 1: Clean Your Filters
This is the easiest fix and should be your first step regardless of your symptoms. Remove your metal mesh filters and inspect them.
For aluminum mesh filters: Soak in hot water with degreaser for 15-20 minutes, scrub gently, rinse thoroughly, and let dry completely before reinstalling.
For stubborn grease buildup: Use a mixture of baking soda and hot water, or a dedicated degreaser. Some homeowners run theirs through the dishwasher (top rack only), but check your manufacturer’s guidelines first.
If your filters are permanently clogged or damaged, replacement is inexpensive and can dramatically improve performance and reduce noise.
Step 2: Check for Loose Mounting
With the power off, visually inspect your range hood mounting. Look for gaps between the hood and the cabinet or wall. These gaps can allow vibration and movement that creates noise.
Tighten all accessible mounting screws. Pay special attention to the duct connection point—a loose connection here can cause significant rattling.
If you find the hood is vibrating against the cabinet, adding weatherstripping foam or rubber washers between surfaces can dampen the vibration transfer.
Step 3: Inspect Accessible Ductwork
If you have access to any exposed ductwork (in an attic, basement, or cabinet), inspect it carefully. Look for:
– Flexible accordion duct: Consider replacing with rigid metal ducting
– Crushed or kinked sections: These should be replaced
– Multiple elbows: Each turn adds noise—simplify the run if possible
– Duct touching the hood: Add insulation or reposition to prevent contact
One Reddit user discovered their plastic ductwork had warped from heat and was flapping in the airflow like a flag. Replacing it with rigid metal duct eliminated what they described as a “helicopter-like” noise.
Step 4: Test Different Speed Settings
Run your hood at each speed setting and note how the sound changes. This can reveal important clues:
– Noise increases proportionally with speed: Likely normal operation or ductwork issues
– Unusual sounds only on high speed: Could indicate ductwork can’t handle the airflow
– Unusual sounds on all speeds: Mechanical issue
– Delay between changing speed and sound change: Ductwork resonance issue
Step 5: Check Exterior Vent Cap
Go outside and locate your exterior vent cap. It should move freely in the breeze but close securely when not in use. Look for:
– Damaged or missing flaps: These should be replaced
– Loose mounting: Tighten screws and ensure a seal
– Obstructions: Clear any debris or nests
– Poor quality design: Consider upgrading to a quiet model designed for windy conditions
If your cap makes noise in wind, replace it with a model designed to prevent flutter. This simple fix can eliminate one of the most frustrating noise sources.
Step 6: Assess Your CFM Needs
Review your range hood’s CFM rating and compare it to your cooktop size and cooking style. As a general rule:
– Standard 30-inch electric cooktop: 300-400 CFM adequate
– Gas cooktops: Add 100 CFM per 12 inches of width
– High-heat cooking (wok, frequent searing): Consider 50% more CFM
– Island installations: Need 50% more CFM than equivalent wall-mounted hoods
If your hood is dramatically oversized for your needs, you may be living with unnecessary noise. If it’s undersized, the constant high-speed operation creates more noise than a properly sized unit running at medium speed.
Solutions and Fixes
Based on your diagnosis, here are the most effective solutions ranked from easiest to most involved:
Quick DIY fixes (same day):
1. Clean or replace filters
2. Tighten all mounting screws
3. Add weatherstripping between hood and cabinet
4. Clear exterior vent obstructions
Weekend projects:
1. Replace flexible duct with rigid metal ducting
2. Simplify ductwork by reducing elbows
3. Install a quieter exterior vent cap
4. Add duct insulation to reduce noise transfer
Professional upgrades:
1. Install an inline or remote blower (this can reduce noise by 50% or more)
2. Redesign ductwork for optimal airflow
3. Replace an undersized or failing unit
4. Add makeup air system for high-CFM installations
One of the most effective upgrades is moving the blower motor away from the kitchen. Inline blowers installed in the attic or remote blowers placed outside can reduce kitchen noise levels by over half. The fan still does the same work, but the sound is isolated away from your living space.
When to Repair vs Replace
Not every noisy range hood needs replacement. Consider these factors when deciding:
Repair makes sense when:
– The unit is less than 10 years old
– The problem is clearly identified and fixable (ductwork, filters, mounting)
– Repair cost is less than 50% of replacement cost
– The hood has adequate CFM for your cooking needs
Replacement makes sense when:
– Motor bearings or other internal components have failed
– The unit is over 15 years old
– The hood is dramatically undersized for your cooking
– Multiple components need repair
– You want to upgrade to a quieter design (inline blower, better technology)
A good rule of thumb: if three or more components need attention, replacement often makes more sense than repair. Modern range hoods are significantly quieter than models from even 10 years ago, so replacement can be an upgrade in both performance and peace.
Maintenance Tips to Prevent Future Noise
Once you’ve resolved your current noise issue, these habits will keep your range hood running quietly for years:
– Clean metal mesh filters monthly (or quarterly for light cooking)
– Inspect ductwork annually for any new restrictions or damage
– Tighten mounting screws if you notice any new vibration
– Listen for changes in sound—early detection prevents bigger problems
– Schedule professional cleaning every 2-3 years for heavy cooking households
FAQs
How to make a range hood quieter?
Start by cleaning or replacing clogged grease filters—this is the most common cause of increased noise over time. Check that all mounting screws are tight and add weatherstripping where the hood contacts the cabinet to reduce vibration transfer. If you have flexible accordion ductwork, replacing it with rigid metal ducting can dramatically reduce air turbulence noise. For persistent issues, consider installing an inline blower in the attic to move the motor sound away from your kitchen.
How to fix a noisy range hood?
First identify the type of sound: rattling usually means loose components or ductwork contact, whistling indicates airflow restriction, and grinding suggests motor bearing failure. Clean your filters thoroughly and inspect for loose screws. Check that your ductwork isn’t crushed or making too many turns. Exterior vent caps can flutter in wind—replace with a quality model designed for windy conditions. If you hear grinding or the motor is failing, professional repair or replacement is necessary.
Why is my range hood noisy when its windy?
Wind noise almost always originates at your exterior vent cap. The damper or flap that prevents backdraft can flutter in windy conditions, creating whistling, rattling, or howling sounds that travel through your ductwork. Inspect your exterior cap for damage or loose mounting. Replace it with a high-quality model designed specifically for windy conditions—look for features like reinforced dampers and aerodynamic designs that reduce wind-induced flutter.
What is considered normal range hood noise?
Normal residential range hoods operate between 1-3 sones (approximately 40-50 dB) on low speed and up to 7-9 sones (65-70 dB) on high speed. You should be able to have a normal conversation while running the hood on medium. If you need to raise your voice significantly or can’t hear someone across the kitchen, your range hood is louder than typical. Sudden changes in noise level or unusual sounds like grinding, screeching, or rattling always indicate a problem that needs attention.
Conclusion
A range hood that’s too loud is more than just an annoyance—it’s often a sign that your system isn’t working as efficiently as it should. By identifying the specific cause of your noise problem, whether it’s clogged filters, restrictive ductwork, or a failing motor, you can take targeted action to restore peace to your kitchen.
Start with the simple fixes: clean those filters, tighten the screws, and check your exterior vent cap. These basic steps resolve the majority of noise complaints and cost little more than your time. For persistent issues, consider upgrading to rigid ductwork or an inline blower—investments that pay dividends in daily comfort for years to come.
If your range hood is still too loud after trying these solutions, or if you’re hearing grinding or screeching sounds, it’s time to consult a professional. Sometimes the most cost-effective solution is replacing an outdated or failing unit with a modern, quiet model designed for 2026 kitchens.


Leave a Comment