
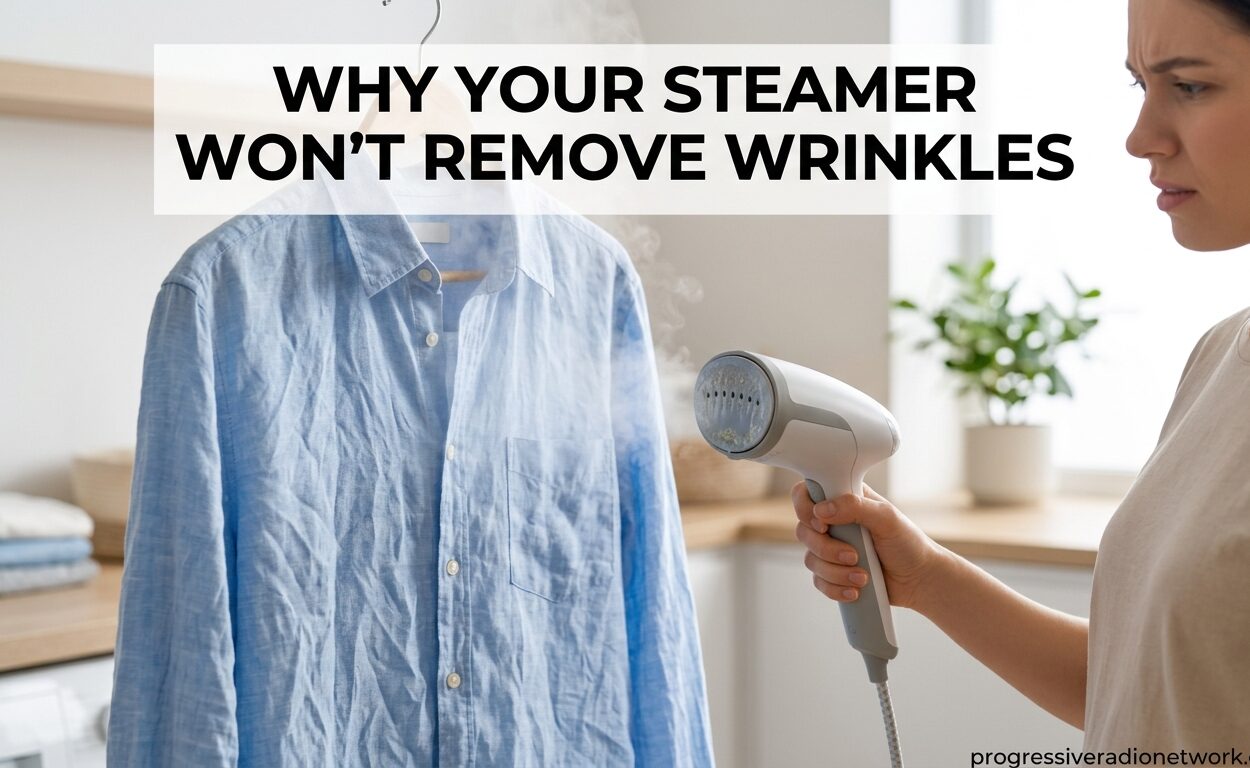
You grab your garment steamer, expecting those stubborn wrinkles to vanish like magic. Instead, you’re left with fabric that looks just as creased as before. This frustrating experience happens more often than you’d think, and there’s usually a clear reason why your steamer wont remove wrinkles the way it should.
After testing various steamers on different fabrics over the past year, I’ve discovered that most steaming failures come down to technique, not equipment. The good news? These issues are easy to fix once you understand what’s actually happening.
In this guide, I’ll explain why your steamer isn’t delivering results and show you exactly how to get those wrinkles out.
Why Your Steamer Wont Remove Wrinkles: 5 Common Causes
When a steamer wont remove wrinkles, it’s almost always due to one of these five issues. Identifying which one you’re facing is the first step to getting better results.
1. You’re holding the steamer too far away. This is the most common mistake. Most people hold their steamer 4-6 inches from the fabric, but steam dissipates quickly at that distance. You need to be much closer.
2. You’re moving too fast. Steaming requires patience. Quick passes don’t give the steam enough time to penetrate the fibers and relax the wrinkles.
3. The fabric isn’t pulled taut. Steam alone isn’t enough. You need tension on the fabric to help the fibers realign as they relax.
4. You’re using the wrong method for the fabric. Some fabrics respond better to different steaming techniques, and a few simply shouldn’t be steamed at all.
5. Your steamer needs maintenance. Mineral buildup and clogs can reduce steam output dramatically, making your steamer ineffective even with perfect technique.
How Steam Removes Wrinkles: The Science Behind It
Understanding why steam removes wrinkles helps you use your steamer more effectively. It comes down to three things working together: heat, moisture, and tension.
When steam penetrates fabric fibers, the heat and moisture work together to break the hydrogen bonds that hold wrinkles in place. This process, called fiber relaxation, allows the fabric to become pliable. But here’s the key – the fibers need to be guided into a new, smooth position as they cool and reset. That’s where tension comes in.
When you pull the fabric taut while steaming, you’re essentially telling the relaxed fibers where to settle. Without this tension, the fibers might just settle into new wrinkles or the same creases you started with.
This heat-moisture-tension trio is why simply hanging a wrinkled shirt in a steamy bathroom often doesn’t work well – there’s plenty of heat and moisture, but no tension to guide the fibers.
Proper Steaming Technique: Step-by-Step Guide
Follow this method exactly, and you’ll see dramatically better results from your steamer.
Step 1: Fill with the right water. Use distilled water if possible. Tap water works, but minerals can build up over time and reduce steam output.
Step 2: Let it heat up completely. Wait until steam flows consistently before starting. This usually takes 2-3 minutes for most handheld steamers.
Step 3: Hang the garment properly. Use a sturdy hanger that allows the fabric to hang freely. Avoid overcrowding in the closet.
Step 4: Pull the fabric taut. With one hand, grip the bottom of the garment and pull downward firmly. This creates the tension your steamer needs.
Step 5: Hold the steamer close. Position the steamer head just 1-2 inches from the fabric. Yes, that close. The steam needs direct contact to penetrate effectively.
Step 6: Steam from top to bottom. Start at the top of the garment and work downward. Spend 3-5 seconds on each section, moving the steamer in slow, upward strokes against the fabric.
Step 7: Let it cool before moving. After steaming a section, give it 10-15 seconds to cool while still pulled taut. This locks in the smooth finish.
Pro tip: For stubborn wrinkles in thicker fabrics, try steaming from the inside out. Turn the garment inside out, pull it taut, and steam the interior side. This often works better for heavy cottons and linens.
Common Steamer Mistakes That Keep Wrinkles Persisting
Even experienced steaming enthusiasts make these errors. Avoiding them will immediately improve your results.
Holding the steamer too far away. As mentioned earlier, distance matters more than most people realize. At 4+ inches, steam loses its effectiveness before it even reaches the fabric. Get within 1-2 inches for best results.
Moving too quickly through sections. Each area needs sustained steam to penetrate fully. If you’re making quick passes like you’re painting a wall, you’re going too slow. Slow down and spend quality time on each wrinkled section.
Over-steaming one spot. It’s tempting to keep steaming the same stubborn wrinkle, but this can actually create new creases or water spots. If a wrinkle isn’t releasing after 10-15 seconds, move on and try a different approach.
Not pulling the fabric enough. Gentle tension isn’t enough. You need firm, consistent pulling to guide those relaxed fibers into place. Don’t be afraid to put some muscle into it.
Steaming fabrics that shouldn’t be steamed. Some materials simply don’t respond well to steam. Velvet and velour, for example, often look worse after steaming. Check your care labels first.
Using tap water exclusively. While not always a dealbreaker, tap water contains minerals that build up in your steamer over time. This reduces steam output and can even clog the machine entirely. Distilled water extends your steamer’s life and maintains consistent performance.
Fabric-Specific Steaming Guide
Different fabrics respond to steam differently. Use these guidelines for the best results on each material type.
Cotton and linen: These natural fibers respond excellently to steam. Use firm tension and slow passes. For stubborn wrinkles in linen, steam from the inside while pulling tightly. Cotton may need slightly longer steaming time per section.
Polyester and synthetics: These fabrics are more heat-sensitive. Use lighter steam and quicker passes. Be careful not to over-steam, as synthetics can develop permanent creases from excessive heat and moisture. The inside-out method works particularly well here.
Silk and delicate fabrics: Use the lowest steam setting possible. Hold the steamer slightly further away (2-3 inches) and use very gentle tension. Consider using a pressing cloth between the steamer and delicate fabrics.
Wool and knits: Steam gently without pulling too tightly – you don’t want to stretch out the shape. Focus on relaxing wrinkles rather than forcing the fabric smooth. Let wool garments hang and air dry after steaming.
Velvet and velour: Skip the steamer entirely. Steam crushes the nap of these fabrics, leaving permanent marks. Instead, hang in a steamy bathroom or use a velvet-specific brush.
Denim and heavy canvas: These tough fabrics require serious steam power. Use an upright steamer if available, or make multiple slow passes with a handheld. Pull firmly and spend extra time on each section. Denim may need steaming from both sides.
When Your Steamer Just Wont Work: Alternative Methods
Sometimes, despite your best efforts, steaming simply isn’t the right solution. Here are effective alternatives when your steamer wont remove wrinkles.
The shower method: Hang your wrinkled garment in the bathroom while you take a hot shower. Close the door and let the room fill with steam. After 15-20 minutes, pull the fabric taut and smooth it with your hands. Let it air dry completely before wearing.
The ice cube dryer trick: Place 2-3 ice cubes in the dryer with your wrinkled garment. Run on high heat for 10-15 minutes. The melting ice creates steam, while the tumbling provides tension. This works surprisingly well for casual items.
Wrinkle release spray: For light wrinkles, a commercial wrinkle release spray can work wonders. Spray the garment lightly, pull it taut, and smooth with your hands. Let it air dry – no heat needed.
The hair dryer method: Dampen the wrinkled area with a spray bottle, then pull it taut. Use a hair dryer on medium heat, directing the air at the fabric while maintaining tension. This mimics the heat-moisture-tension principle of steamers.
When to switch to an iron: Sometimes an iron is simply the better tool. Heavy cottons, dress shirts, and anything with stubborn creases often need an iron’s direct heat and pressure. Don’t force your steamer to do a job it’s not designed for.
Steamer Maintenance: Ensuring Consistent Performance
If your steamer used to work well but has become less effective, maintenance issues might be the culprit. Regular care keeps your steamer performing at its best.
Descaling: If you’ve been using tap water, mineral buildup is likely reducing steam output. Run a mixture of equal parts white vinegar and water through your steamer, then flush with clean water. Do this monthly for optimal performance.
Cleaning the steam head: Fabric softener and laundry residue can accumulate on the steamer head, blocking steam holes. Wipe it down regularly with a damp cloth and use a pin to clear any clogged holes.
Proper storage: Empty the water tank after each use. Storing water in the tank encourages mold growth and mineral buildup. Let the steamer cool completely before storing it in a dry place.
When to replace: If your steamer has significantly reduced steam output even after cleaning, or if it’s taking much longer to heat up than before, it may be time for a replacement. Most handheld steamers last 2-3 years with proper care.
Frequently Asked Questions
How to get stubborn wrinkles out with steamer?
For stubborn wrinkles that wont release, try steaming from the inside out while pulling the fabric very taut. Increase your time per section to 10-15 seconds instead of the usual 3-5. If that doesnt work, lightly dampen the area with a spray bottle first, then steam. The extra moisture helps penetrate deep-set creases.
Why is my steam iron not getting wrinkles out?
Your steam iron may not be removing wrinkles because the temperature setting is too low for the fabric, the steam function isn’t working properly due to mineral buildup, or you’re not applying enough pressure. Ensure your iron is fully heated before use, clean the steam vents if needed, and use firm pressure with slow passes. For dress shirts, use the highest heat setting the fabric allows.
Do steamers really remove wrinkles?
Yes, steamers are highly effective at removing wrinkles when used correctly. They work by combining heat and moisture to relax fabric fibers, while tension guides the fibers into a smooth position. Steamers are particularly excellent for delicate fabrics, hanging garments, and items that are difficult to iron. However, they may struggle with heavy creases or very thick fabrics that need an iron’s direct pressure.
How long does it take for steam to remove wrinkles?
For light wrinkles, steaming takes just 3-5 seconds per section. Medium wrinkles typically need 5-10 seconds of sustained steam while pulling the fabric taut. Stubborn, deep-set wrinkles may require 10-15 seconds per section and might benefit from pre-dampening the fabric with a spray bottle. The key is spending enough time on each area rather than making quick passes.
Conclusion
When your steamer wont remove wrinkles, the solution usually comes down to technique rather than equipment failure. By holding your steamer closer (1-2 inches), pulling the fabric taut, and spending adequate time on each section, you’ll see dramatically better results.
Remember that steam works through the combination of heat, moisture, and tension. All three elements need to be present for effective wrinkle removal. If one component is missing – usually tension – your results will suffer.
For stubborn wrinkles that resist even proper steaming, don’t be afraid to try alternative methods or switch to an iron when appropriate. Different fabrics and wrinkle types sometimes need different approaches.
With these adjustments to your technique, your steamer should start delivering the wrinkle-free results you expect. Practice on a few garments, paying attention to distance, timing, and tension, and you’ll quickly develop a feel for what works best.




Leave a Comment