
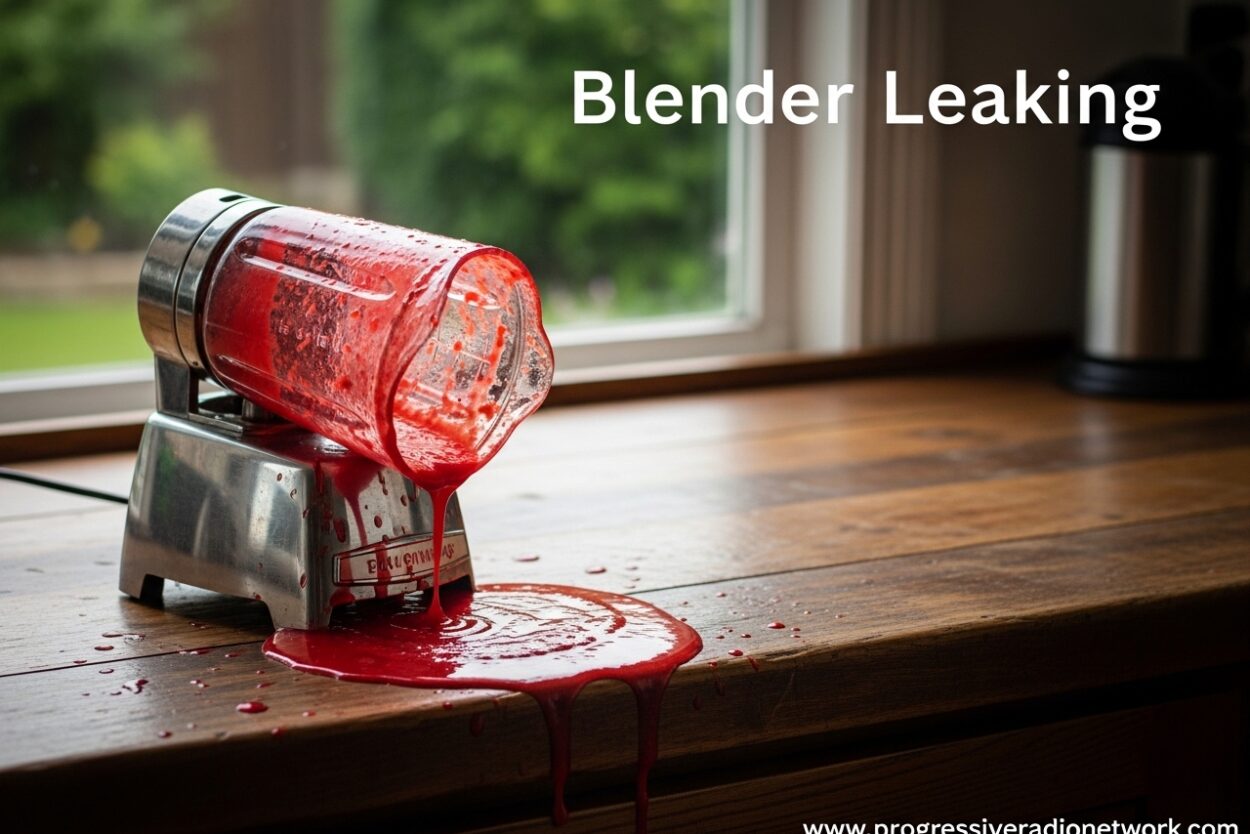
There’s nothing more frustrating than discovering your blender leaking all over your counter mid-smoothie. I’ve been there, and I know the mess it creates. A blender leaking is not just annoying—it can indicate serious problems that need immediate attention.
The good news is that most blender leaking issues are fixable at home with basic tools and replacement parts. After researching hundreds of user reports and consulting repair professionals, I’ll walk you through exactly what causes blender leaking and how to fix it for years to come in 2026.
Why Is My Blender Leaking?
A blender leaking is typically caused by a worn, missing, or improperly seated rubber gasket between the blade assembly and jar. When this seal fails, liquid escapes under pressure during blending. Other common causes include a loose blade assembly, cracked jar, overfilling, or in rare cases, motor base seal failure.
Is it normal for a blender to leak? No, a properly functioning blender should never leak. Even minor leaking indicates a problem that will worsen over time and could create electrical hazards if liquid reaches the motor.
Diagnosing Where Your Blender Is Leaking From
Before attempting any fixes, you need to identify exactly where the leak originates. This diagnosis will save you time and prevent unnecessary part purchases.
Leaking from the bottom: This is the most common type of blender leaking and usually indicates a worn gasket or loose blade assembly. You’ll notice liquid pooling beneath the blender jar where it connects to the base.
Leaking from the sides: Side leaks typically mean a crack in the blender jar itself. Run your finger along the outside while the jar is full to locate any hairline fractures.
Leaking from the lid: If liquid escapes around the lid during blending, you’re likely overfilling the jar or the lid seal is damaged.
Leaking from the motor base: This is the most serious type of blender leaking. If liquid enters the motor compartment, stop using the blender immediately to avoid electrical damage or fire hazard.
5 Common Causes of Blender Leaking
1. Worn or Damaged Rubber Gasket
The rubber gasket (also called an O-ring or sealing ring) is the #1 cause of blender leaking. This small rubber ring sits between the blade assembly and the blender jar, creating a watertight seal.
Over time, heat, frequent use, and harsh cleaning methods cause the gasket to degrade. A worn gasket may become brittle, cracked, or flattened, losing its ability to seal properly.
Where does the rubber gasket go on a blender? It sits on the jar edge first, then the blade assembly goes on top, followed by the retaining ring that screws into place. If the gasket is missing, dislodged, or damaged, you’ll experience immediate leaking.
Signs of gasket failure:
- Gasket appears cracked, flattened, or brittle
- Gasket is missing entirely
- Gasket has shifted out of position
- Leaking occurs immediately when pouring liquid into the jar
2. Loose Blade Assembly
A loose blade assembly is another frequent culprit behind blender leaking. The blade assembly screws into the bottom of the jar and must be tightened properly to compress the gasket against the jar.
Many users make the mistake of over-tightening, which can actually crack the jar or warp the assembly. The blade should be hand-tightened firmly—no tools required.
How to test for loose blade assembly:
- Grasp the blade assembly from inside the jar
- Try to rotate it clockwise
- If it turns easily, it’s too loose
- Hand-tighten until snug, but don’t force it
Forum users report that over-tightening can cause leaks initially—once they start, smoothie expansion inside the jar creates pressure that forces more liquid past the seal.
3. Cracked Blender Jar
Cracks in the blender jar are a common cause of blender leaking, especially in older units or those subjected to temperature extremes.
Plastic jars can develop hairline cracks from age, frequent hot liquid blending, or accidental drops. Glass jars may crack from thermal shock (adding hot liquid to a cold jar) or impact.
How to inspect for cracks:
- Fill the jar with water and set it on a dry counter
- Wait 5-10 minutes and check for moisture underneath
- Run a dry paper towel around the jar exterior while full
- Look for visible lines or fractures, especially near the bottom
Unfortunately, a cracked jar cannot be safely repaired and must be replaced. Using a cracked jar risks complete failure during blending, which could cause injury or damage.
4. Overfilling the Container
Overfilling is a user error that causes blender leaking, especially when blending hot liquids or expandable ingredients.
When you fill the jar past the max fill line, there’s no room for ingredients to circulate. The blending action creates pressure that forces liquid up and out, often through the lid or around the blade assembly.
Tips to avoid overfilling:
- Never fill past the max fill line
- When blending hot liquids, fill only halfway
- Leave extra room for expandable ingredients (oats, frozen fruit)
- Start on low speed to prevent splashing
Smoothie expansion during blending is a real issue reported by many users. As ingredients blend and air incorporates, the volume increases—which can force liquid past seals if the jar is too full.
5. Motor Base Seal Failure (Serious)
This is the most dangerous type of blender leaking and requires immediate attention. If liquid enters the motor base, it can cause electrical shorts, motor failure, or fire.
Motor base leaks typically indicate a serious seal failure around the drive shaft—the component that spins the blade. This is not a DIY repair for most users.
Warning signs of motor base leak:
- Liquid dripping from inside the motor base
- Electrical smell or smoke coming from the blender
- Blender stops working after a leak event
- Rust or corrosion visible inside the base
Brand-Specific Blender Leaking Issues
Different blender brands have unique leaking problems. Here’s what to watch for with popular manufacturers:
Ninja blenders: Ninja owners frequently report blender leaking from bottom, often accompanied by black residue. What is the black stuff coming out of a Ninja blender? It’s grease from the blade bearing assembly, which indicates bearing wear and failure. This requires blade assembly replacement.
Ninja blenders are also prone to developing cracks where the blade assembly meets the jar, especially in older models. The plastic can degrade from daily use and hot liquid blending.
Oster blenders: Oster units often leak when the sealing ring is misplaced during assembly. The O-ring must sit flat against the jar rim before the blade assembly is installed. If the ring gets pinched or twisted during reassembly, it won’t seal properly.
KitchenAid blenders: KitchenAid blender leaking from bottom usually indicates a worn blade assembly seal or loose coupling. These blenders use a drive socket that can wear down over time, creating gaps that allow liquid to escape.
Vitamix blenders: While Vitamix is known for durability, older units can develop leaks around the container gasket. The good news is that Vitamix offers replacement parts and excellent customer support for repairs.
How to Fix a Leaking Blender: Step-by-Step
Now that you’ve identified the cause, here’s how to fix blender leaking issues safely and effectively.
What you’ll need:
- Replacement gasket (if needed)
- Replacement blade assembly (if needed)
- Towels for cleanup
- Warm, soapy water
- Soft brush or sponge
Step 1: Unplug and disassemble
Safety first—always unplug your blender before any repair. Remove the jar from the base and empty any contents. Disassemble the blade assembly by unscrewing the retaining ring counter-clockwise.
Step 2: Inspect the gasket
Remove the rubber gasket and examine it closely. Look for cracks, flattening, brittleness, or distortion. If it shows any signs of wear, replace it—gaskets cost just a few dollars and are blender-specific.
Step 3: Clean all components
Wash the jar, blade assembly, retaining ring, and gasket (if reusing) in warm, soapy water. Use a soft brush to remove any food debris from the gasket groove and blade assembly threads. Dry all parts thoroughly.
Step 4: Reassemble correctly
Place the gasket flat inside the groove on the jar rim. Ensure it’s seated evenly without twists or pinches. Insert the blade assembly on top of the gasket. Screw on the retaining ring by hand—tighten until snug, but don’t over-tighten.
Step 5: Test the seal
Fill the jar with water and set it on a dry counter. Wait 5 minutes and check for any moisture underneath. If dry, run a quick blend cycle on low speed. If no leaking occurs, you’ve successfully fixed the problem.
Step 6: Address blade assembly issues
If the blade itself is damaged or the assembly is warped, you’ll need to replace the entire blade assembly. These are brand-specific and range from $15-40 depending on your blender model.
Safety warning: Never attempt to disassemble the motor base or internal drive components. These require professional service and contain sharp parts and electrical components.
When to Repair vs Replace Your Blender
How do you know if your blender is broken beyond repair? Here’s a quick guide to help you decide:
Repair if:
- Gasket replacement fixes the leak
- Blade assembly is available for your model
- Jar replacement is reasonably priced
- Blender is less than 5 years old
- Motor still runs smoothly
Replace if:
- Jar is discontinued and unavailable
- Motor shows signs of failure (smoke, burning smell, unusual noises)
- Multiple components are failing
- Repair costs exceed 50% of replacement cost
- Blender is over 7 years old
What is the life expectancy of a blender? Most quality blenders last 5-7 years with regular use. Budget models may fail within 2-3 years, while high-end brands like Vitamix and Blendtec can last 10+ years with proper care.
If you see smoke coming from your blender, stop using it immediately. Why is smoke coming out of my blender? This usually indicates motor winding failure or electrical short—both serious hazards that require replacement, not repair.
How to Prevent Blender Leaks
Prevention is easier than repair. Follow these tips to avoid blender leaking issues in the future:
- Hand-wash gaskets: Dishwashers can degrade rubber quickly. Wash gaskets by hand with mild soap and warm water.
- Check seals monthly: Inspect the gasket for wear and replace at the first sign of damage.
- Don’t over-tighten: Tighten the blade assembly by hand only—no tools needed.
- Avoid extreme temperatures: Let hot liquids cool slightly before blending, and don’t blend frozen ingredients in a cold jar.
- Respect fill lines: Never exceed the max fill line, especially with hot or expandable ingredients.
- Replace parts proactively: If your blender is 3+ years old, consider replacing the gasket and blade assembly as preventive maintenance.
Frequently Asked Questions
What is the life expectancy of a blender?
Most quality blenders last 5-7 years with regular use. Budget models typically fail within 2-3 years, while premium brands like Vitamix can last 10+ years with proper care and maintenance.
Where does the rubber gasket go on a blender?
The rubber gasket sits inside the groove on the jar rim first. Then the blade assembly is placed on top of the gasket, followed by the retaining ring that screws into place. The gasket must be flat and untwisted to create a proper seal.
Why is smoke coming out of my blender?
Smoke from your blender indicates motor failure or electrical short—both serious hazards. Stop using immediately. This usually means the motor windings have burned out or liquid has entered the motor base. The blender should be replaced, not repaired.
How do you know if your blender is broken?
Signs your blender is broken include unusual noises, burning smells, smoke, failure to start, jar leaking from cracks, blade not spinning, or poor blending performance despite proper technique. If you experience multiple issues, replacement is often more cost-effective than repair.
Is it normal for a blender to leak?
No, a properly functioning blender should never leak. Any leaking indicates a problem with the gasket, blade assembly, jar, or seals. Even minor leaks will worsen over time and could create electrical hazards if liquid reaches the motor.
What is the black stuff coming out of my Ninja blender?
The black residue from Ninja blenders is grease from the blade bearing assembly. This indicates the bearings are wearing down and failing. You’ll need to replace the entire blade assembly to fix the issue. Continuing to use it may cause complete blade failure.
Conclusion
Dealing with a blender leaking is frustrating, but most issues are fixable with basic troubleshooting and inexpensive replacement parts. Start by identifying where the leak originates, then check the gasket, blade assembly, and jar for damage.
Remember that blender leaking is never normal and should be addressed immediately to prevent electrical hazards and further damage. With proper maintenance and regular gasket replacement, your blender can provide years of leak-free service through 2026 and beyond.
If you’ve tried these fixes and your blender is still leaking, it may be time to invest in a replacement. Sometimes the cost and hassle of repeated repairs outweigh the expense of a new, more reliable unit.




Leave a Comment