
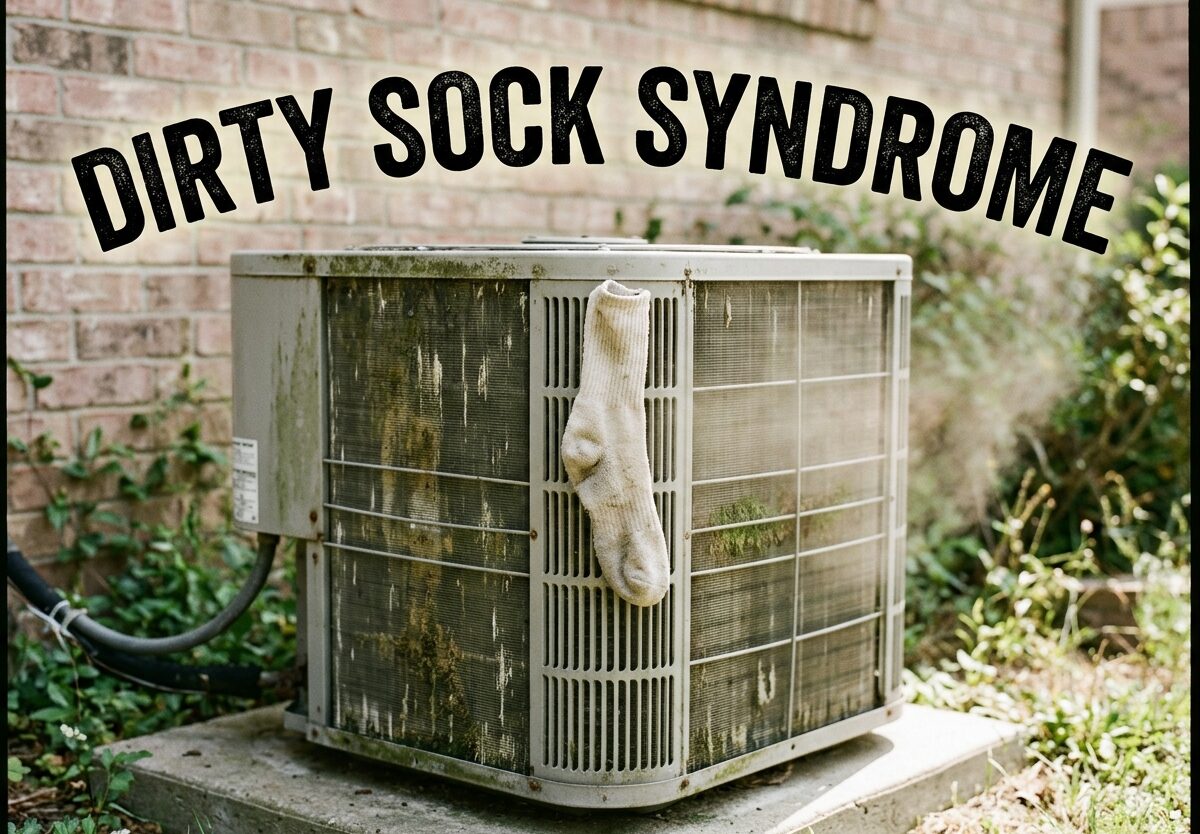
That unmistakable dirty sock smell wafting from your air vents isn’t just unpleasant—it’s a sign your HVAC system needs attention. Dirty Sock Syndrome affects countless homeowners, especially during seasonal transitions when switching between heating and cooling modes. I’ve seen this frustrate people for years, particularly those with newer systems in humid climates.
What you’re experiencing is real, it has a name, and most importantly, it’s fixable. This guide will walk you through exactly what’s causing that smell and how to eliminate it for good.
What Is Dirty Sock Syndrome?
Dirty Sock Syndrome is a foul, moldy-smelling odor emitted from air conditioning and heat pump systems when mold and bacteria buildup on the evaporator coil. HVAC professionals use this term to describe the dank, musty smell that emanates from your system when it first turns on.
The odor occurs when biological growth accumulates on your evaporator coil and is then dispersed throughout your home by the airflow. While the smell is reminiscent of dirty gym socks, the actual cause is microbial growth thriving in the dark, moist environment inside your air handler.
This phenomenon typically happens during seasonal transitions—particularly spring and fall—when your system switches between heating and cooling modes. The changing conditions create perfect breeding grounds for mold and bacteria.
What Causes Dirty Sock Syndrome?
Understanding the root cause helps you target the right solution. Dirty Sock Syndrome develops when moisture combines with organic material on your evaporator coil, creating an ideal environment for microbial growth.
Evaporator Coil Buildup
Your evaporator coil is the primary culprit. As air passes through this component, dust, pollen, and other organic particles accumulate on its surface. When combined with moisture from the cooling process, these deposits feed mold and bacteria. Older copper coils were less prone to this issue, but modern aluminum coils have a more porous surface that traps contaminants more easily.
Heat Pump Defrost Cycle
Heat pump systems are particularly susceptible to Dirty Sock Syndrome. During the defrost cycle, your system briefly switches to heating mode, which warms up the evaporator coil. Any ice melts into water, and this moisture combines with existing debris to accelerate biological growth. When the system returns to cooling mode, that musty smell gets distributed throughout your ductwork.
Humid Climate Factors
Living in a humid climate significantly increases your risk. More moisture in the air means more condensation on your evaporator coil. Homeowners in the Southeast and other humid regions report higher instances of Dirty Sock Syndrome, especially during spring when humidity levels rise but temperatures still fluctuate.
Restricted Airflow
Dirty air filters, closed vents, or undersized ductwork restrict airflow across your evaporator coil. Reduced airflow prevents the coil from properly drying out between cycles, leaving it damp and inviting for microbial growth. This is why regular filter changes are crucial for prevention.
How to Identify Dirty Sock Syndrome
Recognizing Dirty Sock Syndrome early helps you address it before it worsens. The hallmark symptom is that distinctive dirty sock or dirty gym clothes odor when your system first turns on.
The smell typically lasts for 10-30 minutes after startup and then diminishes, only to return the next time your system cycles on. You’ll notice it most during seasonal transitions or after your system has been idle for an extended period.
Unlike other HVAC odors like burning electrical smells or rotten egg odors (which indicate gas leaks), Dirty Sock Syndrome smells distinctly moldy and musty. It’s unpleasant but not immediately dangerous like some other HVAC issues.
How to Fix Dirty Sock Syndrome
Eliminating Dirty Sock Syndrome requires a multi-step approach. While some homeowners opt for professional help, many cases can be addressed with DIY methods first.
Step 1: Replace Your Air Filter
A clogged air filter restricts airflow and allows more dust to reach your evaporator coil. Start by checking your filter—if it’s been more than 30 days or you can’t see light through it, replace it immediately. Choose a filter with at least a MERV 8 rating for better particle capture without restricting airflow.
Step 2: Clean the Evaporator Coil
Accessing your evaporator coil requires turning off power to your system and removing the access panel. Use a commercial coil cleaner specifically designed for HVAC systems—avoid bleach or harsh chemicals that can damage the coil. Apply the cleaner according to manufacturer instructions, typically letting it sit for 10-15 minutes before rinsing with water.
For tough buildup, a soft brush can help gently remove deposits without damaging the aluminum fins. This process may take 1-2 hours for thorough cleaning.
Step 3: Check the Condensate Drain
A clogged condensate drain allows water to back up into your system, increasing moisture levels. Locate your drain line (usually a PVC pipe near your indoor unit) and flush it with a mixture of warm water and vinegar. This helps clear algae and slime buildup while killing bacteria.
If you suspect a stubborn clog, a wet/dry vacuum can help suction out the blockage. Professional drain cleaning costs between $75 and $150 if DIY methods fail.
Step 4: Apply an Anti-Microbial Treatment
After cleaning your coil, applying an anti-microbial spray specifically designed for HVAC systems can help prevent regrowth. These products create an inhospitable environment for mold and bacteria. Reapply every 3-6 months for ongoing protection, especially before peak cooling season.
Step 5: Consider UV Light Installation
UV-C lights installed near your evaporator coil are one of the most effective long-term solutions. These lights kill mold and bacteria on contact, preventing biological growth from establishing itself. Installation costs between $500 and $1,200, but many homeowners report permanent elimination of odors within weeks.
UV lights are particularly effective for humid climates and homes with recurring issues. The lights require annual bulb replacement but otherwise operate automatically with your system.
When to Call a Professional
If DIY cleaning doesn’t resolve the issue after 2-3 attempts, or if you’re uncomfortable working with electrical components, it’s time to call an HVAC professional. Professional coil cleaning typically costs $150-$300 and includes more thorough equipment and chemical treatments.
Consider professional help if you notice reduced cooling performance, higher energy bills, or if the smell persists despite your efforts. These signs may indicate a more serious issue requiring expert diagnosis.
How to Prevent Dirty Sock Syndrome
Preventing Dirty Sock Syndrome is easier than treating it. Regular maintenance is your best defense against recurring odors.
Maintain Consistent Filter Changes
Check your air filter monthly and replace it at least every 90 days—or more frequently if you have pets, allergies, or live in a dusty area. This simple step prevents debris from reaching your evaporator coil where it can feed microbial growth.
Schedule Annual Professional Maintenance
Annual tune-ups typically cost $75-$150 and include thorough coil cleaning, system inspection, and minor adjustments. This regular attention prevents issues from developing and catches problems early. Most manufacturers require professional maintenance to maintain warranty coverage.
Control Indoor Humidity
Keep indoor humidity between 30-50% using a dehumidifier if necessary. Excessive humidity increases condensation on your coil, creating more moisture for biological growth. Dehumidifiers are especially helpful in basements or during humid summer months.
Consider Upgrading Your Air Purification
Whole-home air purifiers with HEPA filtration capture particles before they reach your coil. Some systems include ionization technology that neutralizes biological contaminants. While more expensive upfront ($1,000-$3,000 installed), these systems provide comprehensive indoor air quality benefits beyond just odor prevention.
Health Risks and Indoor Air Quality
While Dirty Sock Syndrome is primarily a nuisance, it does indicate potential indoor air quality concerns. Mold and bacteria in your HVAC system can circulate allergens and irritants throughout your home.
Individuals with asthma, allergies, or respiratory conditions may experience worsened symptoms. The EPA estimates indoor air can be 2-5 times more polluted than outdoor air, and a contaminated HVAC system contributes significantly to this problem.
Prolonged exposure to mold spores can trigger respiratory issues, headaches, and fatigue in sensitive individuals. Children, the elderly, and those with compromised immune systems are particularly vulnerable.
However, Dirty Sock Syndrome is not immediately dangerous like a gas leak or electrical issue. It’s a gradual problem that worsens over time without proper maintenance. Addressing it promptly prevents more serious indoor air quality issues.
Cost Considerations for Repairs
Addressing Dirty Sock Syndrome can range from minimal DIY costs to significant professional investment. Understanding your options helps you budget appropriately.
DIY solutions start at under $50 for coil cleaner and a new filter. Complete DIY coil cleaning with anti-microbial treatment typically costs $30-$100 in supplies.
Professional coil cleaning ranges from $150-$300 depending on system accessibility and severity of buildup. This service usually includes thorough cleaning with commercial-grade equipment and preventive treatments.
UV light installation costs $500-$1,200 for equipment and professional installation. While this represents a larger upfront investment, many homeowners find it eliminates recurring issues permanently.
Severe cases may require evaporator coil replacement, costing $1,200-$2,500 or more. This is typically only necessary when coils are damaged beyond cleaning or have persistent problems despite multiple treatments.
For comparison, a complete HVAC system replacement costs $5,000-$12,000. Some homeowners facing persistent Dirty Sock Syndrome in problematic systems may consider replacement if the unit is nearing the end of its 15-20 year lifespan anyway.
Frequently Asked Questions
How do you fix dirty sock syndrome?
Fixing Dirty Sock Syndrome involves cleaning the evaporator coil with a commercial coil cleaner, replacing clogged air filters, clearing the condensate drain, and applying anti-microbial treatments. For persistent issues, UV light installation near the coil provides ongoing protection by killing biological growth. Professional cleaning costs $150-$300 if DIY methods don’t work after 2-3 attempts.
Can dirty sock syndrome make you sick?
Dirty Sock Syndrome can aggravate allergies and respiratory conditions in sensitive individuals. The mold and bacteria causing the odor circulate through your home as allergens, potentially triggering asthma symptoms, headaches, and fatigue. However, it’s not immediately dangerous like a gas leak and most healthy people don’t experience serious illness from it.
Will dirty sock syndrome go away on its own?
Dirty Sock Syndrome rarely resolves on its own and typically worsens without intervention. While the smell may temporarily diminish, the underlying biological growth continues accumulating on your evaporator coil. Each seasonal cycle usually brings the odor back stronger than before. Professional cleaning or DIY treatment is necessary for permanent resolution.
How much does it cost to fix dirty sock syndrome?
DIY solutions cost $30-$100 for coil cleaner, filters, and anti-microbial treatments. Professional evaporator coil cleaning ranges from $150-$300 depending on accessibility and severity. UV light installation costs $500-$1,200 but provides permanent prevention. Complete coil replacement (rarely necessary) costs $1,200-$2,500 or more.
Will a UV light get rid of dirty sock syndrome?
UV lights are highly effective for eliminating Dirty Sock Syndrome when installed near the evaporator coil. UV-C radiation kills mold and bacteria on contact, preventing the biological growth that causes odors. Most homeowners report smell elimination within weeks of installation. UV lights cost $500-$1,200 installed and require annual bulb replacement.
What is the $5000 AC rule?
The $5000 AC rule is a general guideline suggesting that if repair costs exceed half the cost of a new system (typically around $5,000), replacement may be more economical. For Dirty Sock Syndrome specifically, replacement is rarely necessary unless the system is already near the end of its 15-20 year lifespan or has multiple significant issues beyond just odor problems.
Conclusion
Dirty Sock Syndrome is frustrating but entirely treatable. Whether you tackle it yourself with coil cleaning and filter replacement or invest in UV light protection for permanent results, you don’t have to live with that musty odor forever. Regular maintenance is your best prevention—change those filters, schedule annual tune-ups, and address moisture issues promptly.
Most homeowners successfully eliminate Dirty Sock Syndrome within 1-2 weeks of proper treatment. If you’re still struggling after DIY attempts, don’t hesitate to call an HVAC professional. Your nose—and your indoor air quality—will thank you.


Leave a Comment