
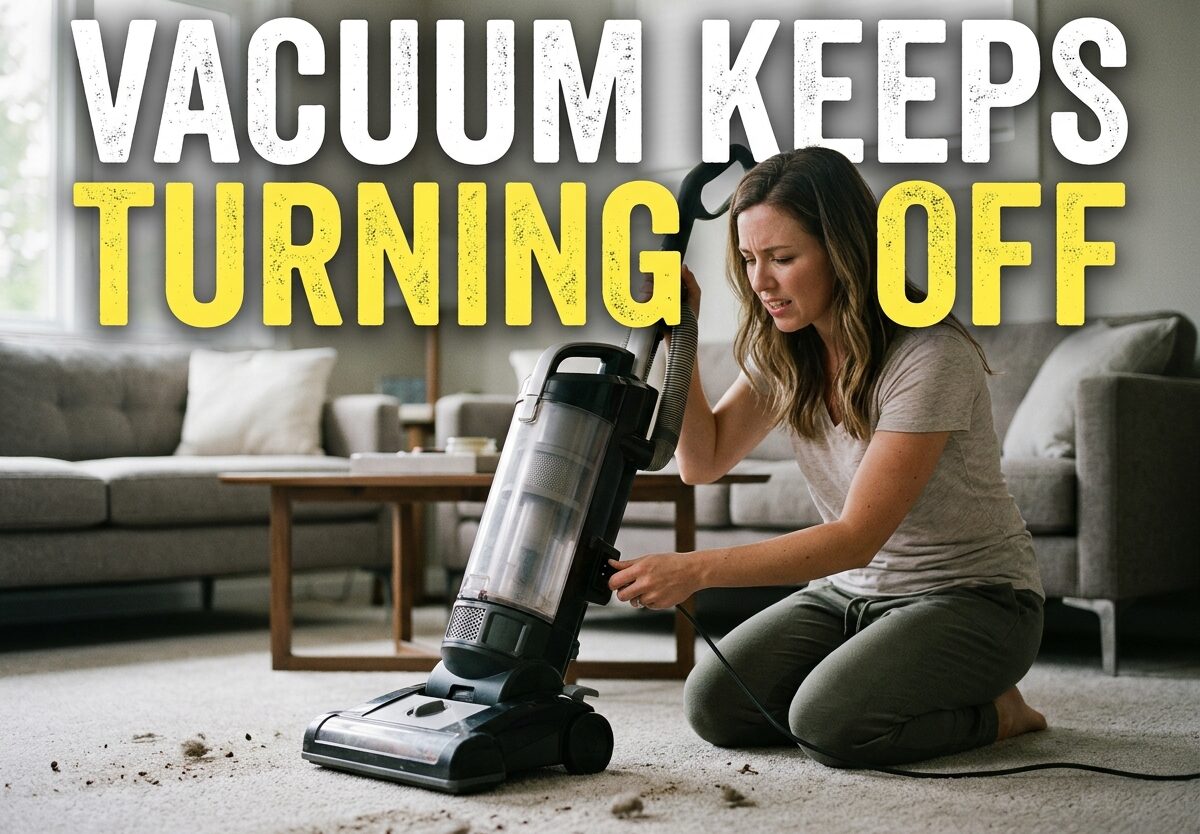
There’s nothing more frustrating than your vacuum shutting down halfway through cleaning sessions. I’ve been there – you’re in the middle of tackling a messy room, and suddenly your vacuum dies without warning. The problem of a vacuum that keeps turning off is one of the most common issues I see across all vacuum brands and types.
Whether you have a corded upright, a cordless stick vacuum, or even a robot vacuum, unexpected shutdowns typically point to a few specific causes. The good news? Most of these issues are fixable at home in under 30 minutes, and some take just minutes to resolve. In this comprehensive guide, I’ll walk you through exactly why your vacuum keeps turning off and how to fix it.
Why Does My Vacuum Keep Turning Off?
When your vacuum repeatedly shuts off during use, it’s almost always a protective mechanism at work. Modern vacuums have built-in safety features designed to prevent permanent damage to the motor and internal components. Here are the seven most common reasons your vacuum keeps turning off:
1. Overheating – The motor is getting too hot due to restricted airflow or heavy use
2. Clogged Filters – Dirty or blocked filters prevent proper airflow and strain the motor
3. Blockages – Debris stuck in the hose, wand, or brush roll area creates airflow restrictions
4. Brush Roll Issues – Hair, string, or debris wrapping around the roller causes motor strain
5. Electrical Problems – Faulty power switches, damaged cords, or failing motors
6. Battery Problems – Cordless vacuums may have aging batteries or dirty battery contacts
7. Full Dust Container – An overflowing dust bin or bag blocks airflow and triggers shutdown
Overheating Issues: The Most Common Culprit
Overheating is by far the leading cause of unexpected vacuum shutdowns. Every modern vacuum has a thermal cutoff switch – a safety device that automatically shuts off power when the motor reaches dangerous temperatures. This feature protects your vacuum from permanent damage and potential fire hazards.
The thermal protection typically activates when internal temperatures exceed 150-200°F. When triggered, your vacuum will suddenly stop running and may feel hot to the touch, especially near the motor housing. This isn’t a defect – it’s your vacuum doing exactly what it was designed to do.
What causes overheating? The most common culprit is restricted airflow. When your vacuum can’t pull air through properly, the motor works harder and generates excessive heat. This happens when filters are dirty, the dust container is full, or there’s a blockage somewhere in the airflow path. Heavy-duty cleaning sessions, like deep cleaning thick carpet, can also trigger overheating in vacuums not designed for prolonged intense use.
When your vacuum overheats, you’ll need to let it cool down before attempting to use it again. This typically takes 30-60 minutes. I recommend unplugging the vacuum, removing any blockages, and setting it in a well-ventilated area. Never try to bypass the thermal protection or force the vacuum to run while it’s overheating – this can cause permanent motor failure.
Filter Problems: Clogged and Dirty Filters
Filters are the silent workhorses of your vacuum, trapping dust and allergens while letting air pass through. When filters become clogged, they can’t do their job properly, and your vacuum responds by shutting down to protect the motor.
Most vacuums have at least two filters: a pre-motor filter that protects the motor from incoming debris, and a post-motor filter (often a HEPA filter) that captures fine particles before exhaust air is released. The pre-motor filter is particularly critical – when it becomes clogged, airflow to the motor is restricted, causing overheating and shutdown.
I recommend checking your filters every 1-3 months depending on usage. If you have pets or vacuum frequently, you may need to check monthly. Many filters are washable – simply rinse them with warm water and let them air dry completely for 24 hours before reinstalling. Never put filters back in wet, as this can damage the motor and create mold issues.
Some signs your filter is the problem: reduced suction power before shutdown, the vacuum shutting off after just a few minutes of use, or visible dust and debris caked on the filter material. HEPA filters typically need replacement every 6-12 months, while foam filters can often be washed and reused multiple times.
Blockages and Airflow Restrictions
Blockages are frustratingly common and can occur anywhere in your vacuum’s airflow path. I’ve seen everything from large debris like socks and toys to smaller items like coins, paperclips, and even plastic bag pieces causing complete blockages.
The most common blockage locations include the vacuum hose, the wand or extension tube, the brush roll intake area, and the connection between the dust container and the motor. Even a partial blockage can restrict airflow enough to trigger overheating and shutdown.
To detect blockages, start by visually inspecting these areas. Remove the hose and check for obstructions – you can use a broom handle or straightened coat hanger to gently push through any clogs. Check the brush roll area for wrapped hair or debris that might be preventing proper airflow. Some vacuums have clear sections that let you see blockages, while others require disassembly.
Preventing blockages is easier than dealing with them. I recommend picking up large debris before vacuuming, checking pockets before vacuuming clothing or fabrics (if using a handheld), and being mindful when vacuuming near small objects. Regular maintenance like removing wrapped hair from the brush roll also prevents buildup that can lead to blockages.
Brush Roll and Roller Brush Issues
The brush roll (also called a roller brush or beater bar) is what agitates carpet fibers to loosen dirt for pickup. When this component can’t spin freely, it strains the motor and often triggers a shutdown. Many modern vacuums even have specific brush roll sensors that will shut off power if they detect obstruction.
Hair wrapping is the most common brush roll issue. Long hair, pet fur, and carpet fibers wrap tightly around the brush roll bearings and ends, eventually preventing rotation. String, thread, and ribbons can also wrap around the brush roll and create significant resistance. I’ve seen cases where the accumulated hair was so thick it looked like another brush!
To fix brush roll issues, you’ll typically need to remove the bottom plate of your vacuum (usually held by screws or clips) to access the brush roll. Cut away wrapped material using scissors or a seam ripper, being careful not to damage the brush roll bristles. Check both ends of the brush roll – hair often accumulates in the bearings and can be difficult to see without removing the brush roll entirely.
Some vacuums have a brush roll shutoff feature for hard floor cleaning. If your vacuum’s brush roll stops spinning on hard floors but the main motor keeps running, this is normal operation. However, if the entire vacuum shuts off when the brush roll is obstructed, you’re dealing with a safety shutdown that requires attention.
Electrical and Power Problems
While less common than overheating issues, electrical problems can cause your vacuum to shut off unexpectedly. The power switch itself can fail over time, especially in older vacuums. I’ve seen cases where the switch works intermittently – the vacuum might run for a while before shutting off, or it might only work in certain positions.
Power cord damage is another electrical issue to watch for. Cords can become frayed, internally broken, or damaged at stress points like where the cord enters the vacuum body. If your vacuum shuts off when you move the cord into certain positions, you likely have an internal break in the cord wiring. This is a safety hazard that should be addressed immediately.
Motor failure is the most serious electrical issue. Signs of motor failure include burning smells, unusual grinding or whining noises, smoke, or the vacuum running weakly before shutting off. If your vacuum motor has failed, you’ll need to decide between professional repair and replacement. Motor repairs typically cost $80-150 for parts and labor, which may not be worth it for older or budget vacuums.
Testing for electrical issues often requires a multimeter to check for continuity in switches and cords. If you’re not comfortable with electrical testing, this is a good time to consult a professional repair technician. Electrical problems can be dangerous if you’re not experienced with safe troubleshooting practices.
Cordless Vacuum Battery Issues
Cordless vacuums have their own set of shutdown issues related to battery health and power delivery. I’ve worked with many cordless vacuum owners who experience frustrating shutdown patterns – some vacuums cut out after just a few minutes of use, while others work inconsistently with different batteries.
Battery contact points are a common culprit I see frequently. The metal contacts where the battery connects to the vacuum can accumulate dirt, corrosion, or residue over time. This creates poor electrical connection and causes intermittent shutdowns. Cleaning these contacts with a cotton swab and isopropyl alcohol often resolves the issue in under 5 minutes.
Battery aging is another factor. Lithium-ion batteries, which power most cordless vacuums, typically last 2-3 years with regular use. As batteries age, their capacity decreases and they may struggle to deliver consistent power under load. If your cordless vacuum ran for 30 minutes when new but now shuts off after 5-10 minutes, battery aging is likely the cause.
Charging problems can also mimic shutdown issues. If your battery isn’t charging fully due to a faulty charger or dirty charging contacts, your vacuum will shut off prematurely as it drains what little charge it has. Try cleaning all charging contacts and testing with a different charger if available.
For those with multiple batteries, test each one separately to see if the issue follows a specific battery. If one battery performs significantly worse than another, you’ve identified the problematic unit. Many cordless vacuum owners find that replacing just the failing battery extends their vacuum’s life by several years.
Reset Buttons and Safety Features
Many vacuums include reset buttons designed to restore power after a thermal shutdown. These are typically small, recessed buttons that require a paperclip or similar tool to press. The location varies by brand – Shark vacuums often have reset buttons near the motor base, while Dyson places them on the handle or main body depending on the model.
The reset button doesn’t fix the underlying problem – it simply restores power after the thermal protection has been triggered. Before pressing reset, you should address whatever caused the shutdown in the first place. Clean filters, remove blockages, and let the vacuum cool down for at least 30 minutes before attempting to reset.
If your vacuum continues to shut off immediately after reset, you haven’t addressed the root cause. This is actually a good thing – it means the safety features are working properly to protect your vacuum from damage. Continue troubleshooting through the common causes until you find the issue.
Some vacuums don’t have physical reset buttons but instead reset automatically after cooling down. If you don’t see a reset button on your vacuum, consult your owner’s manual – the reset procedure may involve a specific button combination or simply waiting for the thermal protection to reset itself.
Step-by-Step Troubleshooting Guide
Ready to fix your vacuum? Follow this step-by-step guide to diagnose and resolve the issue. I’ve organized these checks from most likely to least likely, based on my experience helping vacuum owners troubleshoot shutdown problems.
Step 1: Check the Dust Container – A full dust bin is the easiest fix. Remove and empty the dust container or replace the bag if your vacuum uses bags. This takes under 1 minute and resolves roughly 15% of shutdown cases.
Step 2: Inspect and Clean Filters – Remove all filters and check for clogs. Wash washable filters and let them dry completely. Replace disposable filters if they’re visibly dirty or damaged. This takes 5-10 minutes and resolves about 30% of cases.
Step 3: Check for Blockages – Disconnect the hose and check for obstructions. Use a flashlight to inspect the wand, brush intake, and all connections. Remove any debris you find. This takes 5-15 minutes depending on what you find.
Step 4: Inspect the Brush Roll – Flip the vacuum over and check the brush roll. Remove the bottom plate if needed to access it fully. Cut away any wrapped hair, string, or debris. Ensure the brush roll spins freely. This takes 10-15 minutes.
Step 5: Let It Cool Down – If the vacuum feels hot, unplug it and let it cool for 30-60 minutes. This allows the thermal protection to reset. While cooling, double-check that all vents are clear of dust and debris.
Step 6: Test Power Components – For corded vacuums, check the power cord for damage and test different outlets. For cordless vacuums, clean battery contacts and test with different batteries if available. This takes 5-10 minutes.
Step 7: Attempt Reset – If your vacuum has a reset button, press it after completing the above steps. If no reset button, wait the full cooling period before trying to power on again.
If your vacuum still shuts off after completing all seven steps, you may be dealing with a motor failure or more serious electrical issue. At this point, I recommend consulting a professional repair technician or considering replacement, especially for older vacuums.
When to Repair vs Replace Your Vacuum
Not every vacuum shutdown issue is worth fixing. The average vacuum cleaner lasts 7-10 years with proper maintenance, and repair costs can add up quickly. So how do you decide whether to repair or replace?
As a general rule, I recommend repairs if the cost is less than half the price of a comparable replacement and your vacuum is less than 5 years old. Simple repairs like filter replacement, brush roll cleaning, or even minor electrical work typically cost $20-100 and can add years to your vacuum’s life.
Motor replacements are the gray area. At $80-150 for parts and labor, motor repairs make sense for mid-range to premium vacuums that are otherwise in good condition. For budget vacuums that cost under $200 new, motor replacement rarely makes economic sense.
Signs it’s time to replace: your vacuum is over 7 years old, you’ve already paid for multiple repairs, replacement parts are discontinued, or the repair cost exceeds 50% of a new vacuum’s price. Also consider replacement if you’re frequently frustrated by your vacuum’s performance even when it’s working – a new high-quality multi-floor vacuum might be a better investment than continued repairs.
Prevention Tips: Keep Your Vacuum Running Strong
The best way to deal with vacuum shutdowns is to prevent them from happening in the first place. Based on my experience maintaining vacuums over the years, here are the most effective prevention strategies.
Establish a regular cleaning schedule. Empty the dust container after every 2-3 uses, or whenever it reaches the fill line. Clean or replace filters every 1-3 months depending on usage. If you have pets or allergies, monthly filter maintenance is worthwhile. These simple habits prevent the most common shutdown causes.
Perform monthly brush roll maintenance. Flip your vacuum over and check for wrapped hair and debris. This takes just 2-3 minutes but prevents the buildup that leads to brush roll strain and shutdown. For vacuums with brush roll anti-tangle features, this maintenance is still important, though less frequent.
For cordless vacuum owners, proper battery care is essential. Don’t leave batteries on the charger continuously once fully charged – this can degrade battery health over time. Store batteries at moderate temperatures and clean the contacts monthly. If you have multiple batteries, rotate them evenly to extend overall battery life.
Watch for early warning signs. Reduced suction, unusual noises, or a vacuum that feels hotter than normal are all indicators that something needs attention. Addressing these signs early prevents shutdowns and more serious problems down the road.
Finally, use your vacuum appropriately. If you have a lightweight stick vacuum, don’t expect it to handle heavy-duty deep cleaning of thick carpet. Similarly, don’t use your vacuum to pick up large debris that should be swept up first. Matching your vacuum to appropriate tasks prevents strain and shutdown issues.
FAQs
Why does my vacuum turn off by itself?
Vacuums turn off by themselves as a protective measure when the motor overheats or detects airflow restriction. This is usually caused by clogged filters, blockages, or a full dust container preventing proper airflow.
Why does my vacuum stop working after a few minutes?
When your vacuum stops after just a few minutes, it typically indicates the thermal protection is triggering due to overheating. Common causes include dirty filters, blockages in the hose or brush roll, or a full dust bin restricting airflow to the motor.
Do vacuums have a reset button?
Many vacuums do have reset buttons, though the location varies by brand. Shark vacuums typically place the reset button near the motor base, while Dyson locates it on the handle or main body. The reset button restores power after a thermal shutdown but doesn’t fix the underlying cause.
What happens if a vacuum cleaner overheats?
When a vacuum overheats, the thermal cutoff switch activates and shuts off power to prevent motor damage or fire hazards. The vacuum will feel hot to touch and requires 30-60 minutes to cool down before it can safely restart. Repeated overheating can cause permanent motor failure.
How long does it take for a vacuum to cool down?
Most vacuums need 30-60 minutes to cool down completely after overheating. During this time, unplug the vacuum and place it in a well-ventilated area. Never attempt to bypass the thermal protection or force the vacuum to run while it’s still hot.
What is the average lifespan of a vacuum?
The average vacuum cleaner lasts 7-10 years with proper maintenance. Factors affecting lifespan include build quality, frequency of use, and how well it’s maintained. Regular filter cleaning, brush roll maintenance, and proper storage can extend your vacuum’s life beyond the average.
Conclusion
Dealing with a vacuum that keeps turning off is frustrating, but in most cases, the problem is solvable with basic troubleshooting. The issue is almost always related to overheating from restricted airflow, clogged filters, or blockages – all problems you can fix yourself in under 30 minutes.
Start with the simple checks: empty the dust container, clean the filters, and inspect for blockages. These three steps resolve roughly 60% of all vacuum shutdown issues. If the problem persists, move on to checking the brush roll and allowing proper cooling time. For cordless vacuums, battery contact cleaning is another quick fix that often resolves intermittent shutdowns.
Remember that shutdowns are usually your vacuum’s way of protecting itself from damage. The thermal protection that’s causing your frustration is actually preventing more serious problems. By addressing the root cause and maintaining your vacuum properly, you’ll prevent future shutdowns and extend your vacuum’s lifespan significantly.
Have you tried these troubleshooting steps? If your vacuum still keeps turning off after working through this guide, it may be time to consult a professional repair technician or consider an upgrade to a newer model.
Leave a Comment