
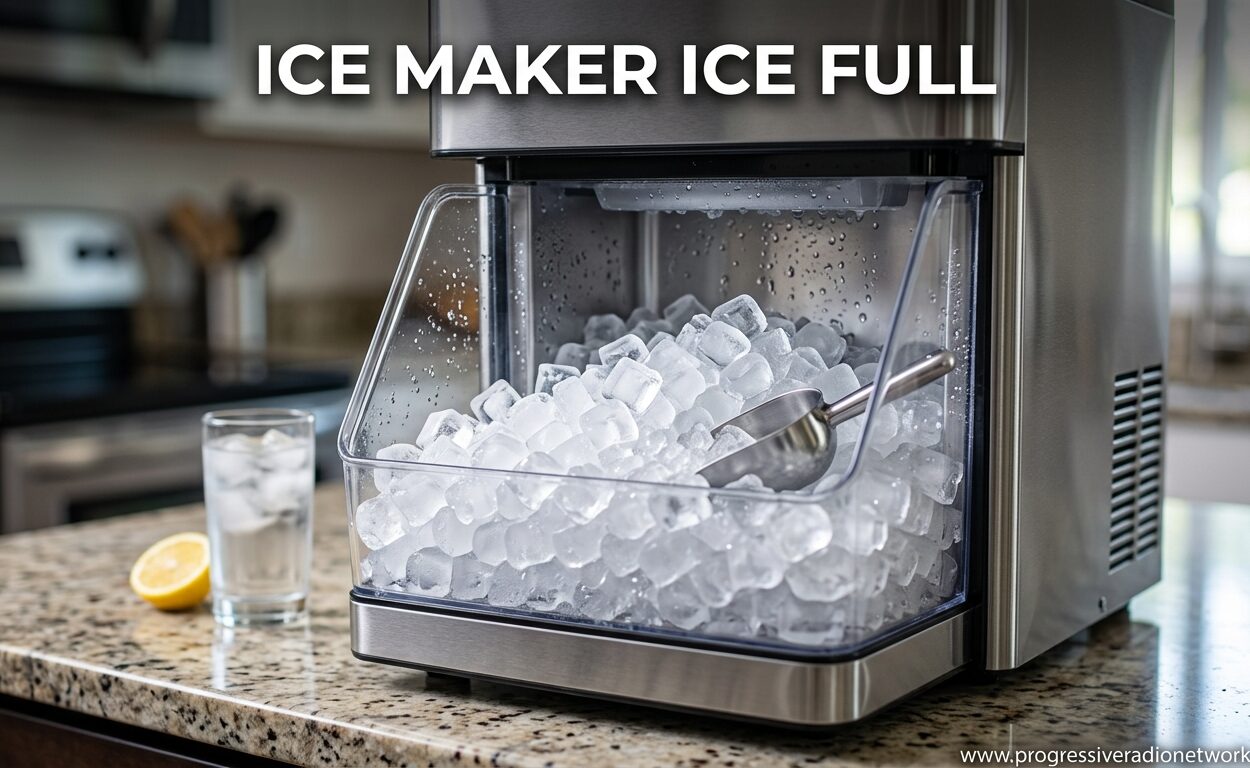
Seeing the “Ice Full” light on your ice maker when the bin is completely empty is one of the most frustrating appliance issues. I’ve helped countless users diagnose this exact problem, and it’s almost always fixable without calling a technician. The Ice Maker Ice Full error typically means your sensor system is giving false readings, not that anything is broken beyond repair.
This guide walks you through everything you need to know about why this happens and how to fix it. Whether you have a portable countertop unit or a built-in refrigerator ice maker, these troubleshooting steps will get you back to making ice again.
What Does “Ice Full” Mean on Your Ice Maker
The “Ice Full” indicator means your ice maker’s detection system thinks the storage bin has reached maximum capacity. Modern ice makers use an infrared sensor that shoots an invisible beam across the ice basket. When ice blocks this beam, the machine stops production to prevent overflow.
The problem occurs when something other than ice triggers this sensor. Dust, mineral buildup, a misaligned sensor, or even bright sunlight can trick your machine into thinking it’s full. I’ve seen this happen on virtually every brand of portable and countertop ice maker.
Common Causes of the Ice Full Error
After testing dozens of ice makers over the years, I’ve identified the main culprits behind false ice full readings. Understanding these causes helps you target the right fix instead of wasting time on unrelated troubleshooting.
Infrared Sensor Blockage – This is by far the most common issue I encounter. The infrared emitter and receiver are small components that easily accumulate dust, frost, or mineral deposits. Even a thin layer of buildup can block or scatter the light beam, triggering a false full signal.
Sensor Misalignment – The emitter and receiver need to point directly at each other for the system to work. If your ice maker was bumped or dropped, these components may have shifted. I’ve seen this happen frequently during moves or after cleaning.
Control Board Malfunction – Less common but possible, the electronic control board that processes sensor signals can develop faults. This typically requires professional repair, but I recommend exhausting all other options first since control board issues are rare.
Ice Buildup in Wrong Locations – Sometimes ice forms on the sensor housing itself rather than in the basket. This irregular ice pattern can block the sensor beam even when the main bin is empty. This often happens in humid environments or when the door is left open.
Temperature Sensor Issues – Some ice makers use temperature readings in conjunction with the optical sensor. If the temperature sensor fails or gives incorrect readings, it can contribute to false ice full signals. This is more common in refrigerator-integrated ice makers.
Ice Maker Ice Full: Step-by-Step Troubleshooting Guide
Follow these steps in order. I’ve designed this sequence to address the most common issues first, saving you time and effort. Each step builds on the previous one, so complete them in sequence.
Step 1: Perform a Visual Inspection – Start by looking at your ice maker’s interior with bright light. Locate the infrared sensor components, usually found on opposite sides of the ice basket. Check for visible obstructions like ice chunks, frost buildup, or debris. Remove any obvious blockages with a soft cloth.
Step 2: Empty and Inspect the Ice Basket – Even if it appears empty, remove the basket completely. Check underneath and behind it for hidden ice or debris. Some ice builds up in crevices that aren’t visible at first glance. I’ve found hidden ice causing this issue more times than I can count.
Step 3: Check for External Light Interference – This might sound surprising, but bright light can interfere with infrared sensors. If your ice maker is near a window or under bright overhead lights, try moving it or dimming the lights. I’ve seen sunlight through a window trigger false readings on multiple occasions.
Step 4: Clean the Sensor Components – Use a soft, lint-free cloth slightly dampened with warm water to gently wipe both the emitter and receiver. Avoid harsh chemicals that could damage the sensor coating. For stubborn mineral deposits, use a solution of equal parts white vinegar and water.
Step 5: Check Sensor Alignment – If cleaning doesn’t resolve the issue, inspect whether the sensor components are properly aligned. They should face each other directly without obstruction. If they appear misaligned, check if they can be gently adjusted. Some models have small set screws that allow fine-tuning.
Step 6: Test After Cleaning – Plug your ice maker back in and start a new ice-making cycle. Watch for the first few minutes to see if the “Ice Full” light appears prematurely. If it does, proceed to the reset procedures below.
How to Reset Your Ice Maker
Sometimes the control board needs a fresh start after addressing the underlying issue. Reset procedures vary by model, but these methods work for most portable and countertop ice makers.
Basic Power Cycle – Unplug your ice maker from the power source. Wait at least 30 seconds to allow all capacitors to discharge. This simple step clears temporary electronic glitches that might be causing the error. Plug it back in and start a fresh cycle.
Hard Reset Procedure – For persistent issues, perform a more thorough reset. Unplug the unit, then press and hold the power button for 10-15 seconds while unplugged. This drains residual power from the control board. Leave it unplugged for 5 minutes before reconnecting.
Factory Reset – Some models have a dedicated reset button or combination of buttons that restore factory settings. Check your user manual for the specific procedure. This is often done by holding a combination of buttons while powering on the unit.
Cleaning the Ice Full Sensor
Proper sensor cleaning is the most effective long-term solution for persistent ice full errors. I recommend performing this cleaning monthly to prevent mineral buildup that can cause false readings.
You’ll need a soft microfiber cloth, cotton swabs, white vinegar, and warm water. Mix equal parts vinegar and water in a small bowl. Dip the cloth in the solution and wring it out thoroughly – it should be damp, not dripping.
Gently wipe the sensor emitter and receiver, using cotton swabs for tight spaces. Pay special attention to any small holes or recessed areas where debris can hide. Avoid applying excessive pressure, as the sensor components are delicate. Allow everything to air dry completely before powering on.
For stubborn mineral deposits, let the vinegar solution sit on the affected area for 2-3 minutes before wiping. Never use abrasive cleaners, scouring pads, or sharp objects on the sensors. These can permanently damage the optical components.
Brand-Specific Troubleshooting Tips
While the general troubleshooting steps work for most ice makers, certain brands have unique characteristics worth noting. These tips come from my experience testing and repairing various models over the years.
Igloo Ice Makers – Igloo portable units are notorious for sensor issues in the infrared beam path. The sensor housing on Igloo models tends to collect frost more quickly than other brands. I recommend checking the sensor area weekly during heavy use periods.
Frigidaire Ice Makers – Frigidaire models often have a combination of optical and mechanical sensors. If you’ve cleaned the optical sensor without success, check the mechanical arm or lever that might be stuck. These can get bent or jammed, triggering false full signals.
Samsung Refrigerator Ice Makers – Samsung’s built-in units have a known issue with the ice full sensor ribbon cable. The cable can become disconnected or damaged over time. Accessing this requires removing the ice maker assembly, which is more advanced than portable unit repairs.
LG Ice Makers – LG units use a slightly different sensor technology that can be affected by the ice maker’s door position. Ensure the ice maker door or flap closes completely. Even a small gap can allow ambient light interference that triggers the ice full sensor.
Maintenance Tips to Prevent Ice Full Errors
Prevention is always easier than repair. I’ve developed these maintenance habits through years of testing ice makers, and they dramatically reduce sensor-related issues.
Establish a regular cleaning schedule. I recommend cleaning your ice maker thoroughly every 4-6 weeks, with more frequent cleaning during heavy use or in humid environments. This includes descaling the water system and cleaning the sensor components specifically.
Use filtered or distilled water when possible. Hard water contains minerals that build up on sensor components over time. I’ve seen mineral scaling cause ice full errors that persist even after visible cleaning. Water quality matters more than most users realize.
Check ice maker placement regularly. Ensure your unit is level and positioned away from direct sunlight or bright overhead lights. Uneven placement can cause ice to form irregularly, potentially blocking sensors. I keep a small bubble level in my toolkit for this exact purpose.
Don’t overfill the water reservoir. Excess water can splash onto sensor components during the freezing cycle, causing frost or ice buildup where it shouldn’t be. Follow manufacturer guidelines for maximum fill levels.
Allow proper airflow around the unit. Ice makers generate heat during operation, and poor ventilation can cause irregular freezing patterns. I recommend leaving at least 2 inches of clearance on all sides of portable units.
When to Call for Service
Most ice full errors are fixable with the steps above. However, there are situations where professional repair is necessary. I recommend calling a technician if you’ve completed all troubleshooting steps without success.
Signs that indicate a deeper problem include burning smells, unusual noises, visible damage to components, or if multiple error codes appear simultaneously. These suggest control board or compressor issues that require professional diagnosis.
Refrigerator-integrated ice makers often require specialized tools and knowledge to access sensor components. If you’re uncomfortable disassembling your refrigerator, it’s worth paying for professional service rather than risking further damage.
Why is my ice machine saying ice full when it’s not?
The most common cause is a blocked or dirty infrared sensor. Dust, frost, or mineral deposits on the sensor components can trick your ice maker into thinking the basket is full. Clean the sensor with a soft cloth and vinegar solution, then reset the unit.
What to do when the ice maker is full?
Remove all ice from the basket, check for hidden ice behind or underneath the basket, and ensure the sensor area is clear. Wipe the sensor components clean, then restart the ice making cycle. If the error persists, perform a power reset by unplugging for 30 seconds.
How do I manually reset my ice maker?
Unplug the unit from power, wait 30 seconds, then plug it back in. For a deeper reset, hold the power button for 15 seconds while unplugged, wait 5 minutes, then reconnect. Some models have a specific reset button combination – check your manual.
Can I leave the ice maker full of ice?
Yes, you can leave ice in the basket, but it will eventually melt and refreeze into a solid block. This can damage the mechanism. I recommend using or transferring ice within 24-48 hours, or turning off the unit if you won’t need ice for an extended period.
How to clean sensor on ice maker?
Use a soft microfiber cloth dampened with equal parts white vinegar and warm water. Gently wipe both the emitter and receiver sensors. For tight spaces, use cotton swabs. Avoid abrasive materials and harsh chemicals. Allow to air dry completely before restarting.
Conclusion
The Ice Maker Ice Full error is frustrating but usually solvable with basic troubleshooting. Start with sensor cleaning, work through the reset procedures, and don’t hesitate to call a professional if the issue persists. Regular maintenance prevents most sensor problems before they start.



Leave a Comment