
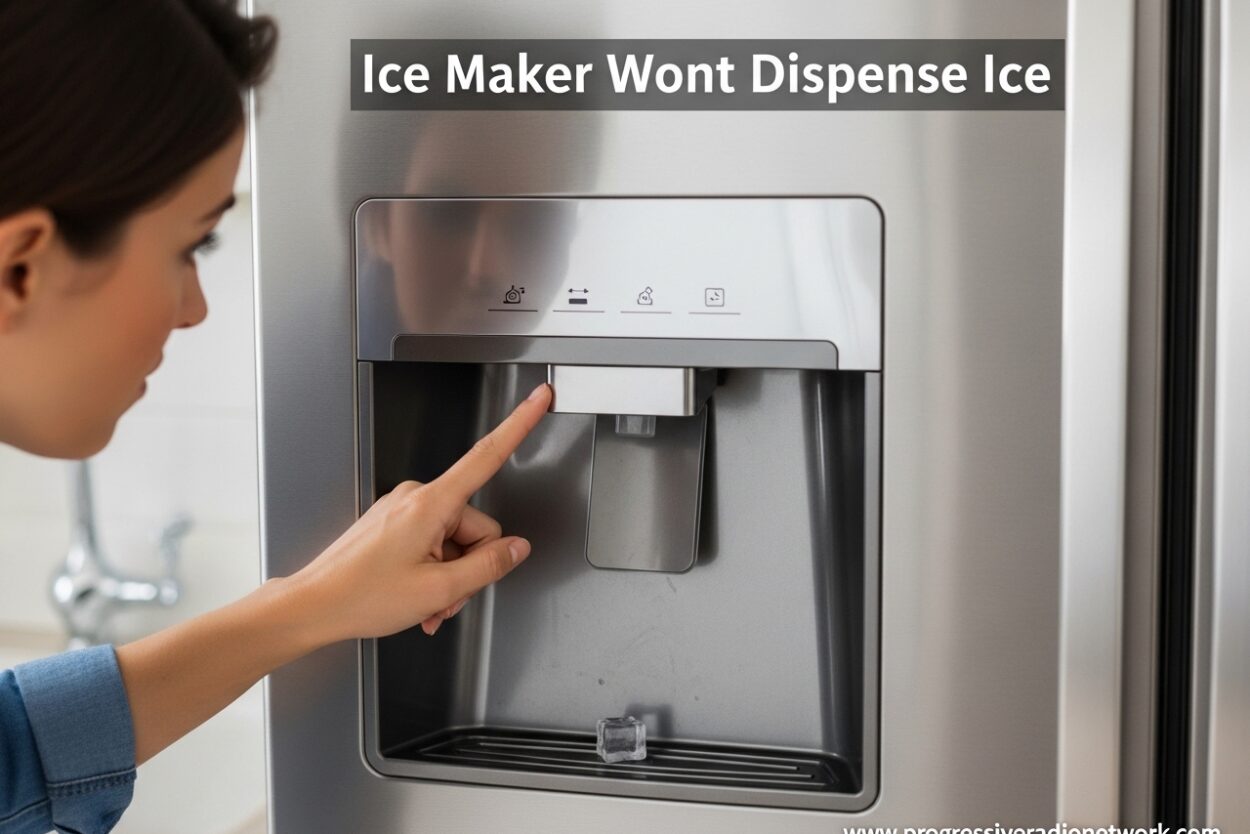
There’s nothing quite like the frustration of a full ice bin that refuses to dispense a single cube. I’ve been there – pressing the paddle against the glass, hearing the motor click, but getting nothing but disappointment. When your ice maker won’t dispense ice, it’s usually one of several fixable issues that you can tackle yourself without calling a technician.
In this guide, I’ll walk you through every troubleshooting step I’ve learned from repairing refrigerator ice dispensers over the past 15 years. We’ll cover the simple fixes first (the ones that solve 80% of cases) before moving on to more complex repairs.
Whether you have a Whirlpool, Samsung, Frigidaire, LG, or GE refrigerator, these solutions apply to most modern ice makers. Let’s get your ice dispenser working again.
Quick Troubleshooting Checklist
Before diving into detailed repairs, run through this quick checklist. These five checks resolve most ice maker dispensing issues in under five minutes:
- Check if ice is actually being made – Open the freezer and verify the ice bin has ice in it
- Test the water dispenser – If water works but ice doesn’t, the issue is specifically with the ice dispensing mechanism
- Look for Control Lock or Sabbath Mode – Check your display panel for lock icons
- Inspect the ice bin – Remove it and check for large clumps or jams
- Listen for sounds – Press the dispenser paddle and note clicking, humming, or silence
This quick diagnostic will point you toward the right solution. If you’re still unsure after these checks, continue reading for detailed troubleshooting steps.
Is Your Ice Maker Actually Making Ice?
This is the first question to answer because it determines your entire troubleshooting path. An ice maker won’t dispense ice for two very different reasons:
Scenario A: The ice bin is empty or nearly empty
Your problem is with ice production, not dispensing. The dispenser mechanism is probably fine – there’s just no ice to dispense. This points to issues like water supply problems, a clogged water filter, or a faulty ice maker module.
Scenario B: The ice bin is full but nothing comes out
This is a true dispensing problem. Your ice maker is producing ice perfectly, but something is preventing it from reaching your glass. This is what we’ll focus on in this guide.
To verify production, open your freezer door and look at the ice maker. Is the mold filled with water? Is the ejector arm in the right position? A working ice maker cycles every 90-120 minutes. If it’s been hours and no new ice appears, you have a production issue.
Quick Test:
Fill the ice mold manually with water using a cup or turkey baster. Wait 2-3 hours. If the ice ejects into the bin, your ice maker works – the issue is water supply. If it doesn’t eject, the ice maker itself needs repair.
Ice Maker Won’t Dispense Ice – Reset and Restart Procedure
A simple reset fixes many ice dispensing problems, especially after power outages, door left open, or if the dispenser has been unused for a while. Here’s how to reset your ice maker properly:
Basic Reset Method (Works for Most Brands)
- Locate the power cord – Find where your refrigerator plugs into the wall
- Unplug the refrigerator – Pull the plug directly from the outlet
- Wait 60 seconds – A full minute allows the capacitors to discharge completely
- Plug back in – Reinsert the plug firmly into the outlet
- Wait 3 hours – Give the ice maker time to complete a full cycle and produce the first batch of ice
- Test the dispenser – Press the paddle and see if ice dispenses
Brand-Specific Reset Procedures
Some manufacturers have dedicated reset methods:
Whirlpool, Maytag, KitchenAid: Open the freezer door, locate the on/off switch on the side of the ice maker, turn it off for 15 seconds, then back on.
Samsung: Press and hold the ice type button (cubed/crushed) for 10 seconds until you hear a chime. This resets the ice maker function.
LG: Unplug for 30 seconds, then plug back in. Open the door and press the ice maker reset button (usually a small button near the ice maker) for 3 seconds.
GE: Turn off the ice maker using the switch, wait 30 seconds, turn it back on. Some models have a reset button on the ice maker itself.
Important:
After resetting, your ice maker needs 3-6 hours to produce the first batch of ice. Don’t test the dispenser immediately – you’ll just be frustrated that there’s no ice to dispense yet.
Check for Jammed or Clumped Ice
This is the single most common cause I’ve seen in my years of appliance repair. Ice clumps together, forms a solid block around the auger (the metal spiral that pushes ice), and prevents anything from moving.
Why Ice Clumps Form
When your freezer door is opened frequently, warm air enters and melts the surface of ice cubes slightly. When the door closes, this melted water refreezes, fusing cubes together into a solid mass. Power outages can cause the same problem – ice partially melts, then refreezes into a block.
How to Clear Ice Jams
- Remove the ice bin – Pull it straight out from the freezer
- Inspect the auger – Look at the metal spiral in the center. Is it surrounded by a solid block of ice?
- Break up clumps – Use a wooden spoon or plastic utensil to break apart large clumps. Never use metal tools – you could damage the bin or auger.
- Check the dispenser chute – Look inside the freezer door where ice exits. Clear any visible ice blockages with a plastic utensil.
- Empty stubborn bins – If ice is frozen solid, empty the entire bin into a sink or cooler. Let it thaw, wash the bin with warm water, dry thoroughly, and reinstall.
- Test the dispenser – Reinstall the bin and test. If it works, problem solved!
Preventing Future Ice Clumping
Use ice regularly: An unused ice maker is prone to clumping. Run the dispenser even if you don’t need ice, just to keep the auger moving.
Check door seals: Worn gaskets let warm air in, causing melting and refreezing. Replace seals if they’re torn or not sealing properly.
Adjust freezer temperature: If your freezer is set too warm (above 0°F/-18°C), ice may partially melt. Set it between -2°F and 0°F (-19°C to -18°C).
Dispenser Motor and Components Inspection
If you’ve checked for ice jams and reset the system but still hear clicking without ice dispensing, the motor or related components may be faulty. This is where troubleshooting gets more technical.
Understanding How the Dispenser Works
When you press the dispenser paddle, a switch sends power to the dispenser motor. The motor turns the auger, which pushes ice through the chute and into your glass. Several components must work together:
- Dispenser switch/actuator: Detects when you press the paddle
- Dispenser control board: Receives the signal and activates the motor
- Dispenser motor: Rotates the auger to push ice
- Auger: Metal spiral that moves ice forward
- Solenoid (for crushed ice): Opens the crusher flap
Diagnosing Motor Issues
Symptom 1: You hear a click but no motor sound
The relay on the control board is activating, but the motor isn’t running. This usually indicates a failed motor. In my experience, this is the most common motor failure mode.
Symptom 2: Complete silence when pressing paddle
No clicking, no humming, no sound at all. This often points to the dispenser switch or actuator rather than the motor itself.
Symptom 3: Motor runs but ice doesn’t move
You hear the motor whirring, but ice stays put. The auger may be disconnected from the motor shaft, or the drive coupling is broken.
Testing the Dispenser Motor (Advanced)
Tools Needed:
- Multimeter
- Insulated screwdriver
- Needle-nose pliers
Safety Warning:
Always unplug the refrigerator before accessing electrical components. Capacitors can hold dangerous charges even when unplugged.
- Unplug the refrigerator – Safety first!
- Access the dispenser – Remove the dispenser cover on the front of the freezer door (usually pops off with gentle prying)
- Locate the motor – It’s typically behind the dispenser housing, connected to the auger
- Disconnect the wiring harness – Note the wire positions for reconnection
- Test for continuity – Set your multimeter to ohms. Touch probes to the motor terminals. A reading between 200-500 ohms indicates a good motor. Infinite resistance means the motor is bad.
- Test voltage supply – With the refrigerator plugged back in (be careful!), have someone press the dispenser paddle while you test for voltage at the motor connection. If voltage is present but motor doesn’t run, the motor is faulty.
When to Replace the Motor
If your motor tests confirm failure, replacement is usually straightforward. The motor typically costs $40-80 and can be replaced in under an hour. Always use OEM parts for the best reliability.
Control Lock and Sabbath Mode Issues
Sometimes the solution is embarrassingly simple. Many modern refrigerators have lockout features that prevent dispensing – and they’re easy to activate accidentally.
Control Lock
The Control Lock (also called Child Lock) disables all dispenser functions to prevent children from making messes or accidentally changing settings. It’s often activated by holding a button for 3-5 seconds.
Symptoms: The display shows a lock icon, and neither water nor ice dispenses.
Solution: Look for a button labeled “Lock,” “Control Lock,” or with a padlock icon. Hold it for 3-5 seconds until the lock icon disappears from the display.
Sabbath Mode
Designed for religious observance, Sabbath Mode disables certain electrical functions including ice and water dispensing. Many people activate this feature by mistake while exploring settings.
Symptoms: The display may show “Sabbath” or the letter “S,” and dispensing is disabled.
Solution: The deactivation method varies by brand. For most models, press and hold the “Sabbath” button or check your owner’s manual for the specific combination to exit this mode.
Ice Maker Won’t Dispense Ice – Ice Bin Installation Verification
After removing the ice bin to check for jams, improper reinstallation is a common issue. The bin must align perfectly with the auger motor drive for everything to work.
Proper Ice Bin Installation
- Locate the drive coupling – Look at the back of the freezer where the bin sits. You’ll see a metal or plastic drive mechanism.
- Check the auger – On the bottom of the ice bin, the auger should have a matching receptacle or notch.
- Align the auger – Position the bin so the auger receptacle lines up with the drive coupling.
- Push firmly – Slide the bin in completely. You should feel it engage with a slight resistance or click.
- Test for proper fit – Try to wiggle the bin. It should feel secure, not loose.
- Test the dispenser – Press the paddle gently. Ice should dispense smoothly.
Common Installation Mistakes
Auger rotation: If the auger spun while the bin was out, it may no longer align with the drive. Remove the bin and rotate the auger back to its original position.
Bin not fully inserted: The bin must click into place or meet the back of the freezer compartment. If it feels loose, push it in further.
Wrong bin for your model: If you recently replaced the bin, verify it’s the correct part for your refrigerator model. Slight differences can prevent proper engagement.
Brand-Specific Troubleshooting Tips
While most ice makers work similarly, each brand has unique quirks. Here’s what I’ve learned from years of repairing different manufacturers:
Whirlpool Ice Maker Problems
Whirlpool ice makers are generally reliable, but the dispenser motor is a common failure point. I’ve replaced more Whirlpool dispenser motors than any other brand. If you hear clicking but no motor operation, the motor (part number W10246871 for many models) is likely the culprit.
Whirlpool also uses an “accelerated ice” feature that can cause jams if not used properly. Make sure your ice bin level sensor isn’t blocked.
Samsung Ice Maker Not Dispensing
Samsung refrigerators often have a known issue with the ice bucket assembly. The plastic auger can crack or strip, preventing it from engaging with the motor drive. Samsung issued service bulletins for several models regarding this issue.
Samsung’s flex-tray ice makers are also prone to freezing up. If you see frost buildup on the ice maker itself, a defrost cycle may help.
Frigidaire Ice Maker Troubleshooting
Frigidaire’s “EvenFresh” and “Arctic Air” models sometimes have issues with the dispenser arm mechanism. The plastic arm that connects to the paddle can break internally, so it appears to work but doesn’t actually activate the switch.
Check the dispenser housing for cracks – Frigidaire plastic becomes brittle over time and can develop hairline fractures that affect operation.
LG Ice Maker Issues
LG ice makers are generally well-designed, but the ice maker fan can fail, causing ice to clump together. If you notice the freezer compartment is warmer than usual, a bad fan may be the root cause.
LG also uses a unique inverter system on some models. If your dispenser seems weak or slow, the inverter board may be failing rather than the motor itself.
When to Call a Professional Technician
After trying all the above steps, you may need professional help. Here’s when I recommend calling a technician rather than continuing DIY repairs:
Call a Pro If:
- You’re uncomfortable working with electricity – Dispenser motor replacement involves working with wiring. If you’re not confident, don’t risk it.
- The problem is with the sealed system – If your ice maker isn’t producing ice at all and you’ve verified water supply, the issue may be with the sealed refrigeration system, which requires EPA-certified technicians.
- Your refrigerator is still under warranty – DIY repairs can void your warranty. Check your coverage before attempting major repairs.
- You’ve replaced parts and the problem persists – If you’ve tried motor, switch, and control board replacements without success, the issue may be deeper in the system.
Cost Considerations
A typical service call runs $80-150 just for diagnosis. Parts add to the cost: a dispenser motor runs $40-80, a control board $100-200. For refrigerators over 10 years old, consider whether repair is worth the investment versus replacement.
Money-Saving Tip:
Many appliance repair services offer free phone diagnostics. Describe your symptoms accurately – if you can tell them “I hear the relay clicking but the motor doesn’t run,” they’ll likely diagnose it as a motor failure before even arriving.
Finding a Qualified Technician
Look for factory-authorized service providers for your brand. They have training specific to your refrigerator and access to genuine parts. Always get a written estimate before authorizing repairs.
FAQ
Why is my ice maker making ice but not dispensing ice?
The most common cause is jammed or clumped ice blocking the auger. Remove the ice bin and break apart any large clumps. Also check that the bin is properly aligned with the drive coupling. If ice is loose but still won’t dispense, you may have a failed dispenser motor or faulty dispenser switch.
How to fix an ice maker not dumping ice?
First, verify the ice maker is actually producing ice by checking the ice bin. If full, try resetting the ice maker by unplugging the refrigerator for 60 seconds. Check for ice jams around the auger and break up clumps. If these don’t work, test the dispenser motor with a multimeter or call a professional technician.
How do I manually reset my ice maker?
Unplug your refrigerator from the wall outlet and wait 60 seconds. Plug it back in and wait 3-6 hours for the ice maker to complete a cycle. Some brands have specific reset procedures: Whirlpool uses an on/off switch, Samsung requires holding the ice type button for 10 seconds, and LG has a dedicated reset button near the ice maker.
Why is my Whirlpool ice maker not dumping ice?
Whirlpool ice makers commonly fail due to a bad dispenser motor. If you hear clicking but no motor operation when pressing the dispenser paddle, the motor (typically part number W10246871) likely needs replacement. Also check for ice jams, verify the Control Lock isn’t activated, and ensure the ice bin is properly seated and aligned with the drive coupling.
Conclusion
When your ice maker won’t dispense ice, it’s frustrating but usually fixable. Start with the simple checks – verify ice production, look for clumps, and try a reset. These basic steps solve most problems.
If you’ve worked through this guide and still can’t identify the issue, don’t hesitate to call a professional. A qualified technician can diagnose the problem quickly and get your ice dispenser working again.
Remember to perform regular maintenance: use ice regularly to prevent clumping, check door seals annually, and keep your freezer at the proper temperature. These simple habits will help prevent future ice maker dispensing problems.



Leave a Comment