
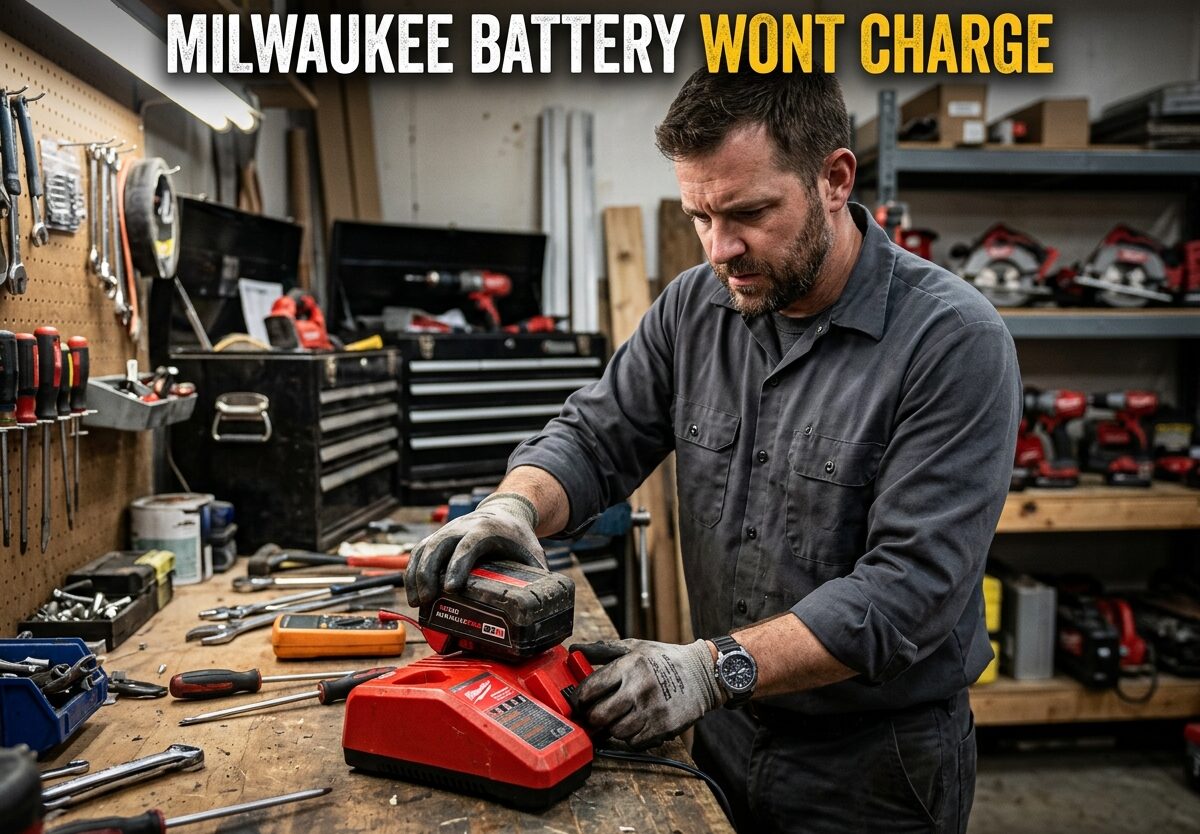
You reach for your Milwaukee drill, press the battery pack onto the charger, and wait. Nothing happens. Or worse, you get that frustrating flashing red and green light pattern. If your Milwaukee battery wont charge, you’re not alone. I’ve seen this issue hundreds of times across M18 and M12 platforms, and in most cases, you can fix it without buying a replacement.
This guide will walk you through exactly why Milwaukee batteries stop charging, what those LED indicator lights mean, and the jump-start method that has revived countless “dead” batteries. I’ve tested these techniques over years of using Milwaukee tools professionally, and I’ll show you when a battery can be saved versus when it’s time to claim that warranty.
Common Symptoms of Milwaukee Battery Wont Charge Issues
Before diving into fixes, let’s identify what you’re experiencing. Milwaukee batteries show clear symptoms when something goes wrong with the charging process.
Flashing Red and Green Lights
The most common complaint I hear is the charger alternating between red and green lights. This pattern indicates the charger is trying to communicate with the battery but something isn’t right. It could mean the battery voltage is too low for the charger to recognize, or there’s a cell imbalance issue.
Instant Green Light Without Charging
You slide your battery onto the charger and the light immediately turns green, but the battery shows zero bars when you check it. This tells me the battery has likely entered protection mode or the voltage has dropped below the charger’s detection threshold.
No Response From Charger
The charger shows no lights at all when you insert the battery. This symptom usually points to either a dirty contact issue, a faulty charger, or in some cases, a battery that has gone into deep sleep mode.
Partial Charge Then Stops
Your battery charges for a few minutes, maybe shows one or two bars, then stops charging. This indicates that one or more cells in the battery pack have failed or the Battery Management System (BMS) has detected an issue and cut off charging to prevent damage.
Why Your Milwaukee Battery Wont Charge: Common Causes
Understanding why your Milwaukee battery wont charge helps you choose the right fix. After working with these batteries for years, I’ve identified the main culprits.
Deep discharge is the leading cause. When a battery sits unused for months, the voltage slowly drops. Milwaukee’s REDLINK electronics protect the battery by shutting it down once voltage hits a critical threshold. The problem is, sometimes the voltage drops just below what the charger can detect.
Cell imbalance occurs when one or more cells in the pack discharge faster than others. The BMS monitors all cells and will prevent charging if the difference between cells exceeds safe limits. This often happens in batteries that have seen heavy use or extreme temperatures.
The Battery Management System itself can sometimes get confused. These electronic circuits monitor voltage, temperature, and cell balance. Occasionally, they need to be reset, especially after the battery has been stored or exposed to temperature extremes.
Physical damage or corrosion on the battery contacts prevents proper electrical connection. I see this often with batteries used on job sites with lots of dust and debris. The contacts look fine at a glance, but oxidation builds up over time.
Milwaukee Battery Wont Charge: Step-by-Step Troubleshooting
Step 1: Check the Charger and Power Source
Before blaming the battery, verify your charger is working. Plug it into a different outlet you know works. If you have access to another Milwaukee battery, test it on the charger. A working battery charges while your problematic one doesn’t confirm the battery is the issue, not the charger.
Step 2: Inspect and Clean Battery Contacts
The metal contacts on both the battery and charger can develop oxidation or corrosion that prevents proper charging. Use a clean cloth or cotton swab with rubbing alcohol to clean the contacts on both the battery and charger. Pay special attention to the metal rails and terminals.
For stubborn corrosion, a pencil eraser works surprisingly well. Gently rub the eraser over the contacts to remove buildup without damaging the metal surface.
Step 3: Test With a Different Battery or Charger
If you have access to another Milwaukee battery, try charging it on your charger. This tells you immediately whether the problem is your charger or your battery. Similarly, testing your battery on a known-good charger isolates the issue.
Step 4: Check Temperature Conditions
Milwaukee batteries have built-in temperature protection. If the battery is too hot from recent use or too cold from storage in a garage, it won’t charge. Bring the battery to room temperature for at least 30 minutes before attempting to charge it again.
Step 5: Try Extended Charge Time
Sometimes batteries that appear dead just need more time to wake up. Leave the battery on the charger for 30 minutes to an hour, even if no lights appear initially. The charger may be slowly bringing the voltage up to a detectable level.
Step 6: Attempt the Jump-Start Method
If the above steps don’t work, try the jump-start technique. This method uses a known-good battery to transfer enough charge to wake up the sleeping battery. I’ll detail this process in the next section.
Jump-Start Method: How to Revive a Dead Milwaukee Battery
The jump-start method has saved me from buying countless new batteries. Here’s how to safely wake up a Milwaukee battery that wont charge.
Understanding the Jump-Start Technique
The concept is simple: use a charged Milwaukee battery to transfer a small amount of power to your dead battery, bringing its voltage up to a level where the charger can recognize it. This works because Milwaukee batteries communicate through the same contacts used for charging.
Safety First: Important Warnings
Before attempting this method, understand the risks. Only jump-start Milwaukee batteries with other Milwaukee batteries of the same voltage. Never mix M12 and M18 batteries. Never use a car battery or other power source. The process should take 5-10 seconds maximum.
Detailed Jump-Start Procedure
- Identify the contact points: On Milwaukee batteries, you’ll see multiple metal contacts. The two outermost contacts are the positive and negative terminals used for charging.
- Position the batteries: Place both batteries on a non-conductive surface. Never let the contacts touch metal surfaces.
- Make the connection: Using jumper wires or even carefully positioned metal tools, connect the positive terminal of the good battery to the positive terminal of the dead battery. Then connect negative to negative.
- Hold for 5-10 seconds: Keep the connection for no more than 10 seconds. You might see a small spark when connecting, which is normal.
- Immediately place on charger: Remove the connection and put the revived battery on the charger within 30 seconds.
- Monitor the charging: If successful, you should see normal charging lights. If not, repeat the process once more.
Alternative: Power Wheels Adapter Method
Some users report success using a Power Wheels battery adapter or similar 12V power source to wake up stubborn batteries. This method is riskier and should only be attempted if the battery-to-battery method fails. Use a voltage-limited power supply and monitor closely.
Understanding Milwaukee Charger LED Light Codes
Your Milwaukee charger communicates through LED lights. Understanding what these patterns mean helps diagnose problems faster.
Solid Red: Battery is charging normally. The charger is actively charging the battery.
Solid Green: Battery is fully charged and ready to use.
Flashing Red: Battery is too hot or too cold to charge. Remove from charger and let reach room temperature.
Flashing Red and Green: Charger detected a battery issue. This could be low voltage, cell imbalance, or a communication error between charger and battery.
Rapid Flashing Green: Battery is in maintenance mode. This occurs after a full charge and helps maintain battery health.
No Lights: No battery detected, charger issue, or battery voltage is too low for charger to recognize.
Milwaukee Battery Wont Charge: Prevention and Maintenance
Preventing charging issues is easier than fixing them. After replacing and reviving countless batteries, I’ve developed habits that keep my Milwaukee batteries healthy.
Proper Storage Practices
Store batteries at about 50% charge for long-term storage. Never store fully depleted batteries, as this increases the risk of deep discharge. Keep batteries in a climate-controlled area between 50-80°F. Avoid storing in garages or vehicles where temperatures fluctuate.
Regular Usage Helps
Lithium-ion batteries need regular use to stay healthy. Rotate through your battery collection rather than using the same one repeatedly. If you have batteries that sit unused for months, put them on the charger for a few hours every 2-3 months to maintain voltage.
Keep Contacts Clean
Make it a habit to wipe battery contacts with a clean cloth monthly. For job site use, inspect and clean contacts weekly. Prevention is much easier than dealing with corrosion-related charging issues.
Avoid Extreme Temperatures During Use
Don’t leave batteries in direct sunlight or in vehicles during hot weather. Cold temperatures below freezing can also cause temporary charging issues. If you must work in extreme conditions, rotate batteries frequently and keep spares at room temperature.
Don’t Deplete Completely
While Milwaukee batteries have protection circuits, regularly running them until tools stop isn’t ideal. When you notice reduced power, swap batteries and charge the depleted one promptly.
When to Replace: Warranty and Next Steps
Sometimes a Milwaukee battery that wont charge simply can’t be saved. Knowing when to cut your losses saves time and frustration.
Milwaukee Battery Warranty Coverage
Milwaukee offers different warranty terms depending on the battery line. Standard M18 and M12 batteries typically carry a 2-year warranty. High Output and High Demand batteries often have 3-year coverage. Milwaukee XC batteries may have up to 5 years of warranty protection.
The warranty covers defects in materials and workmanship, including cells that fail prematurely or Battery Management System issues. Physical damage from drops or water exposure is not covered.
How to Claim Warranty
Contact Milwaukee Tool directly through their website or call their customer service. Have your battery’s serial number ready, which is printed on the pack. Describe the issue clearly and mention the troubleshooting steps you’ve already attempted.
Many Milwaukee service centers will test the battery and replace it on the spot if it’s under warranty. Some retailers that sell Milwaukee tools also handle warranty exchanges, so check where you purchased the battery.
Signs Your Battery Is Beyond Repair
If a battery gets physically hot during attempted charging, smells like burning plastic, or shows visible swelling, do not attempt to charge it again. These are signs of internal cell failure and potential safety hazards. Safely recycle the battery at a designated facility.
Batteries that consistently fail to hold a charge even after successful revival are nearing end of life. While they might accept a charge, they’re no longer practical for job site use.
FAQs
How do you reset the battery on a Milwaukee?
Milwaukee batteries don’t have a physical reset button. To reset a Milwaukee battery, remove it from the charger and tool, clean the contacts with rubbing alcohol, then reinsert it into the charger. If this doesn’t work, try the jump-start method using a known-good battery to wake up the BMS.
Why aren’t my Milwaukee batteries charging?
Common reasons include deep discharge from long storage, dirty or corroded contacts preventing electrical connection, extreme temperatures triggering protection mode, cell imbalance detected by the BMS, or charger failure. Start by cleaning contacts and testing with a different charger to isolate the problem.
Can you fix a Milwaukee battery that is flashing red and green?
Yes, the flashing red and green pattern often indicates a battery that can be revived. Try cleaning contacts first, then attempt the battery-to-battery jump-start method. If these steps don’t work after 2-3 attempts, the battery may have internal cell damage requiring replacement or warranty claim.
How do you get a lithium battery out of protection mode?
Lithium batteries enter protection mode when voltage drops below safe thresholds. To wake a Milwaukee battery from protection mode, use the jump-start method: connect it briefly to a charged battery for 5-10 seconds, then immediately place it on the charger. The brief voltage boost brings it above the protection threshold.
Why does my Milwaukee charger turn green immediately?
An instant green light means the charger isn’t detecting the battery properly, usually because voltage is too low for recognition. The battery likely entered deep sleep mode from extended storage. Try the jump-start method to raise the voltage to a detectable level before attempting normal charging.
Can a completely dead Milwaukee battery be revived?
Many seemingly dead Milwaukee batteries can be revived using the jump-start method. However, batteries that are physically damaged, swollen, or won’t hold a charge after revival should be recycled. True death occurs when internal cells have failed, which revival techniques cannot fix.
How long do Milwaukee batteries last?
Milwaukee M18 and M12 batteries typically last 3-5 years with regular use before capacity drops noticeably. Professional contractors may see 2-3 years of heavy use. Proper storage, regular charging cycles, and avoiding extreme temperatures maximize battery lifespan.
Is it safe to leave Milwaukee batteries on the charger?
Yes, Milwaukee chargers feature REDLINK intelligence that stops charging when batteries are full and switches to maintenance mode. You can leave batteries on the charger indefinitely without overcharging concerns. However, removing batteries after charging is recommended for long-term storage.
Conclusion
Dealing with a Milwaukee battery that wont charge is frustrating, but most charging issues have solutions. Start with the basics: check your charger, clean those contacts, and verify temperature conditions. If those don’t work, the jump-start method has saved countless batteries from the recycling bin.
The key is patience and systematic troubleshooting. Don’t assume your battery is dead until you’ve tried these methods. And when all else fails, Milwaukee’s warranty coverage provides backup for genuine battery failures. Keep your contacts clean, store batteries properly, and rotate through your collection to maximize their lifespan.
Have you tried the jump-start method on a stubborn Milwaukee battery? Share your experience in the comments and let others know what worked for you.






Leave a Comment