
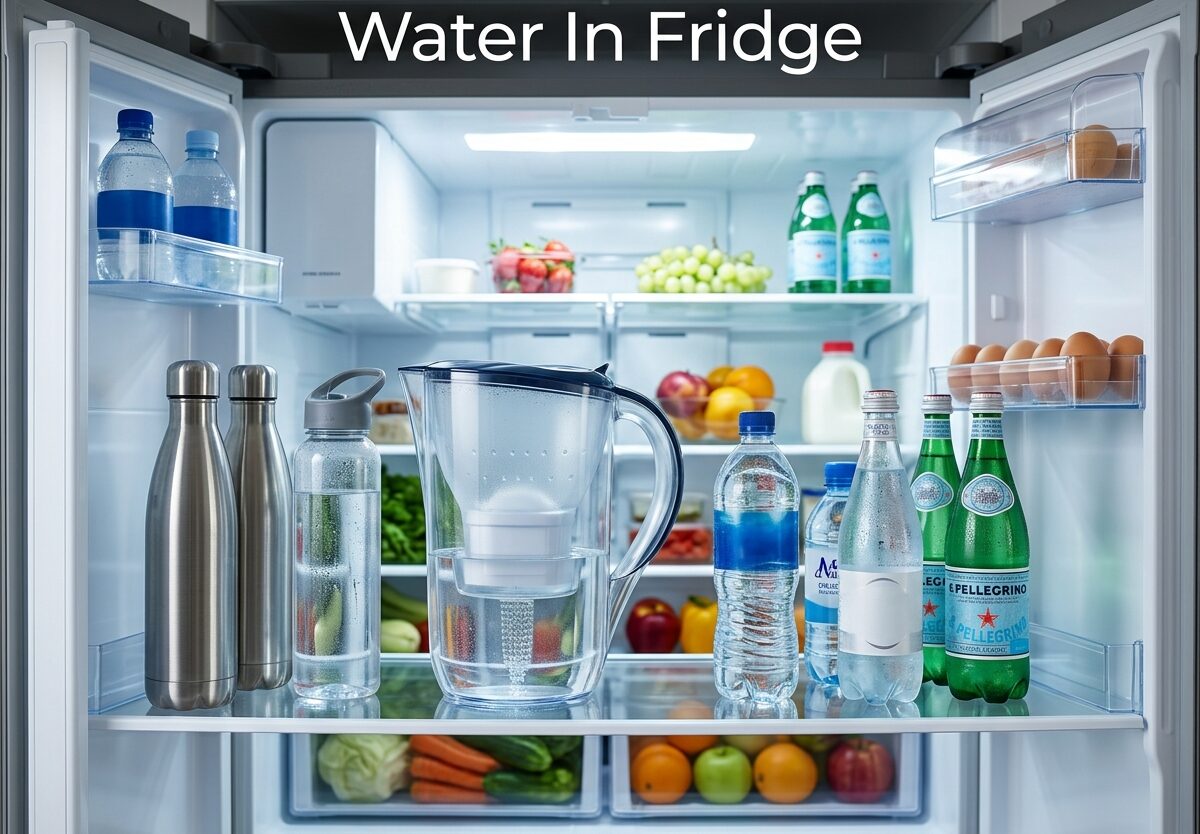
Finding water pooling in your refrigerator is frustrating and confusing. I’ve dealt with this issue multiple times over the years, and I know how concerning it can be to open your fridge and discover water where it shouldn’t be. Whether it’s collecting under the vegetable drawers, on the middle shelf, or even leaking onto your kitchen floor, water in fridge problems are more common than you might think.
The good news is that most causes of water buildup are DIY-fixable with basic tools and a bit of patience. Understanding why water accumulates is the first step toward solving the problem permanently.
In this guide, I’ll walk you through the most common causes of water pooling in your refrigerator, show you exactly how to identify the source, and provide step-by-step instructions for fixing each issue. We’ll also cover when it’s time to call a professional and how to prevent future water problems.
Quick Fix Summary: Most Common Causes
Before diving into detailed troubleshooting, here’s a quick overview of the five most common reasons you’re finding water in your refrigerator:
1. Blocked Defrost Drain (80% of cases) – Small hole at the back of the fridge gets clogged with food particles or ice, preventing proper drainage.
2. Damaged Door Seal – Worn or cracked gasket lets warm air in, causing excess condensation that pools inside.
3. Wrong Temperature Settings – Fridge set too cold causes excessive frost and condensation, leading to water buildup.
4. Water Dispenser or Filter Issues – Leaking lines or clogged filters can cause water to drip inside the fridge.
5. High Humidity Environment – Excess moisture in your home or improper fridge placement creates more condensation than normal.
Why Is There Water In My Fridge?
Understanding how your refrigerator handles water helps explain why problems occur. Your fridge has a defrost cycle that runs several times per day to melt frost from the evaporator coils. This meltwater should drain through a small hole at the back of the fridge compartment, travel down a tube, and collect in a drain pan near the compressor where it evaporates.
When any part of this drainage system fails, water has nowhere to go but pool inside your fridge. The most common failure point is the defrost drain, which can become blocked by food particles, ice buildup, or debris. Other causes include mechanical issues with water dispensers, problems with door seals allowing excess moisture in, or incorrect temperature settings creating abnormal condensation.
Normal condensation happens in every refrigerator, but excessive water pooling indicates a problem that needs attention. Let’s examine each cause in detail and how to fix it.
Blocked Defrost Drain – Most Common Cause
A blocked defrost drain is responsible for approximately 80% of water pooling issues in refrigerators. I’ve personally fixed this problem three times across different refrigerators, and it’s always the same culprit. The defrost drain is a small hole located at the back of the fridge compartment, usually near the bottom. When this drain gets clogged, water from the defrost cycle has nowhere to go and collects in the bottom of your fridge.
Signs your defrost drain is blocked:
- Water pooling under the vegetable drawers
- Water appearing shortly after the defrost cycle runs
- Ice buildup near the drain hole
- Musty smell from standing water
Tools you’ll need:
- Turkey baster or large syringe
- Warm water
- Pipe cleaner or flexible brush
- Towels for cleanup
- Flashlight
Step-by-step fix:
1. Locate the drain hole at the back of the fridge interior, usually at the bottom center or slightly to one side. You may need to remove the bottom shelf or vegetable drawers to access it.
2. Clear any visible debris from around the drain opening using a paper towel or cloth.
3. Fill your turkey baster with warm (not boiling) water and flush it into the drain hole. Repeat this several times to help melt any ice blocking the tube.
4. If the water doesn’t drain freely, use a pipe cleaner or flexible brush to gently probe the drain hole. Be careful not to damage the drain tube.
5. Flush with more warm water using the turkey baster until water flows freely through the drain.
6. Clean up any remaining water and test by checking for pooling after the next defrost cycle.
This fix typically takes 15-30 minutes and resolves the issue permanently in most cases. If the problem recurs within weeks, you may have a deeper issue requiring professional attention.
Damaged or Dirty Door Seal
Your refrigerator door seal, also called a gasket, creates an airtight barrier that keeps warm air out and cold air in. When this seal becomes damaged, dirty, or worn, warm humid air enters the fridge and condenses on cold surfaces, creating excess water that can pool on shelves and in drawers.
I’ve seen door seals fail in multiple ways over the years – from physical cracks and tears to simple buildup of grime that prevents proper sealing. The good news is that many door seal issues can be resolved without replacing the entire gasket.
How to test your door seal:
The dollar bill test is a simple way to check if your seal is working properly. Close a dollar bill in the door so half is inside and half is outside. Pull gently – if it slides out easily, your seal isn’t creating a proper seal. Test multiple spots around the door perimeter.
Cleaning the seal:
Sometimes a dirty seal is the culprit. Clean the gasket thoroughly with warm soapy water, paying special attention to the folds where debris accumulates. Rinse well and dry completely. Apply a thin layer of petroleum jelly to help maintain flexibility and create a better seal.
When to replace:
If your seal has visible cracks, tears, or has become hard and brittle, replacement is necessary. Door seals are available for most fridge models and can be installed as a DIY project. Simply peel off the old seal (it’s usually held by clips or adhesive) and press the new one into place, working around the door perimeter.
Incorrect Temperature Settings
Your refrigerator temperature settings directly affect how much condensation forms inside. When set too cold, the compressor runs excessively and creates more frost during the defrost cycle than the drainage system can handle. Conversely, temperatures that are too warm may not cool properly and can still cause excess moisture.
Optimal temperature settings:
- Refrigerator compartment: 35-38°F (1.7-3.3°C)
- Freezer compartment: 0°F (-18°C)
Most modern refrigerators have digital displays showing the actual temperature. If yours has a dial with numbers (usually 1-9), setting it to 4 or 5 typically provides the correct temperature range.
Ambient temperature matters:
The temperature of your kitchen affects how hard your refrigerator works. In warmer months or if your fridge is near a heat source like an oven or radiator, the appliance must work harder and may produce more condensation. Ensure proper ventilation around the refrigerator and avoid placing heat-generating appliances nearby.
What to check:
Verify your temperature settings with an appliance thermometer placed in a glass of water inside the fridge. This gives you an accurate reading compared to the fridge’s built-in sensor, which might be affected by door openings or placement.
Water Dispenser and Filter Issues
If your refrigerator has a water dispenser or ice maker, these components can be sources of water leaks inside the fridge. I’ve traced several water pooling issues back to problems with water lines, filters, and dispenser components.
Common water dispenser problems:
A cracked or disconnected water line inside the fridge can leak slowly, causing water to accumulate. These lines are typically located behind the crisper drawers or along the back wall. Inspect all visible water connections for moisture or obvious damage.
Filter issues:
Clogged or improperly installed water filters can cause water to back up and leak. Replace your refrigerator water filter every six months or according to your manufacturer’s recommendations. When installing a new filter, ensure it clicks firmly into place and run several gallons of water through it to clear air bubbles.
Ice maker complications:
A malfunctioning ice maker can leak water into the freezer or fridge compartment. Check the fill tube where water enters the ice maker – if it’s frozen or misaligned, water may spill rather than fill the ice tray properly.
DIY vs professional repair:
Simple filter replacements and visible line inspections are DIY-friendly. However, internal water line repairs behind the refrigerator or ice maker component replacements may require professional service, especially if they involve soldering connections or accessing sealed components.
Drain Pan Problems
The drain pan sits beneath your refrigerator and collects water from the defrost cycle. This water normally evaporates due to the heat from the compressor. However, if the pan becomes damaged, cracked, or overflows, water can end up on your floor instead of properly evaporating.
Locating the drain pan:
Access the drain pan by removing the grille at the front bottom of your refrigerator or by pulling the unit away from the wall to access from behind. The pan is typically made of plastic or metal and sits directly under the compressor.
Common issues:
Cracks in plastic drain pans are common as refrigerators age. Metal pans may develop rust holes that cause leaks. Additionally, if the pan becomes full of debris or the evaporator fan isn’t working properly, water may not evaporate quickly enough and can overflow.
Solutions:
Clean the drain pan with warm soapy water to remove any buildup that might prevent proper evaporation. If the pan is cracked or damaged, replacement pans are available for most refrigerator models. This is typically a straightforward DIY repair that involves removing the old pan and sliding in the new one.
Humidity and Condensation Factors
Some water in fridge issues stem from environmental factors rather than mechanical problems. High humidity in your home or improper placement of the refrigerator can cause excessive condensation that mimics more serious issues.
Seasonal considerations:
I notice more water pooling issues during summer months when humidity is higher. If you live in a humid climate, your refrigerator naturally produces more condensation. Using a dehumidifier in your kitchen can significantly reduce this problem.
Proper food storage:
Storing uncovered liquids and moist foods releases humidity inside your refrigerator. Always cover containers and let hot foods cool before placing them in the fridge. This reduces the overall moisture load on your appliance.
Refrigerator placement:
Your refrigerator needs space around it for proper airflow. Leave at least 2-3 inches of clearance on all sides, especially the back where the compressor releases heat. Poor ventilation forces the compressor to work harder and can increase condensation.
Normal vs excessive condensation:
Some condensation on the back wall or near the door is normal, especially during humid weather. However, water actively pooling, dripping, or forming large puddles indicates a problem that needs attention.
Seasonal Maintenance Checklist
Preventing water issues before they start is easier than fixing them later. Based on my experience maintaining multiple refrigerators over the years, here’s a simple seasonal checklist that can prevent most water pooling problems.
Monthly quick checks:
- Wipe down door seals and clean with warm soapy water
- Check for any water pooling under drawers or shelves
- Verify temperature settings are correct
- Ensure nothing is blocking interior vents
Quarterly deep cleaning:
- Clean the defrost drain with warm water using a turkey baster
- Vacuum condenser coils to improve efficiency
- Inspect and clean the drain pan
- Check water filter and replace if needed
- Test door seal with dollar bill test
Annual inspection:
- Replace water filter regardless of appearance
- Check all water lines for signs of wear or leaks
- Inspect door gasket for cracks or deterioration
- Consider professional service if refrigerator is over 10 years old
Seasonal adjustments:
In summer, you may need to adjust temperature settings slightly colder to compensate for warmer ambient temperatures. In winter, the opposite may be true. Also pay attention to humidity levels in your home and run a dehumidifier if needed during humid months.
When to Call a Professional
While most water in fridge issues can be resolved with DIY methods, some situations require professional expertise. I’ve learned the hard way that attempting repairs beyond your skill level can turn a minor problem into a major expense.
Call a professional if:
- Water contains refrigerant (appears oily or has strong chemical smell)
- Multiple attempts to clear the drain haven’t resolved the issue
- The refrigerator is making unusual noises alongside water problems
- Electrical components are wet or you notice any sparking
- The compressor is running continuously but the fridge isn’t cooling properly
- You’ve identified a leak in sealed system components
- The refrigerator is under warranty and you don’t want to void coverage
Cost considerations:
Professional refrigerator repairs typically cost $150-400 depending on the issue. For refrigerators over 10 years old, replacement might be more cost-effective than major repairs. Get multiple quotes and ask about warranty on repairs before committing.
Frequently Asked Questions
Why is my fridge making water inside?
Your fridge is making water inside most commonly due to a blocked defrost drain. During the defrost cycle, meltwater should drain through a small hole at the back of the fridge. When this drain becomes clogged with food particles, ice, or debris, water accumulates in the bottom of the refrigerator compartment. Other causes include damaged door seals allowing excess moisture in, incorrect temperature settings, or issues with water dispensers and ice makers.
How do I stop water build up in my fridge?
To stop water build up in your fridge, first clear the defrost drain using warm water and a turkey baster or pipe cleaner. Check and clean the door seals thoroughly, replacing them if cracked or damaged. Verify temperature settings are between 35-38°F for the fridge and 0°F for the freezer. Reduce humidity by covering food containers, letting hot food cool before refrigerating, and ensuring proper ventilation around the appliance. Perform regular maintenance including quarterly drain cleaning and annual water filter replacement.
Can you drink water that has been in the fridge for 2 weeks?
Water stored in a clean, covered container in the refrigerator is safe to drink for several weeks. However, an open container may absorb odors from other foods and can develop a stale taste. For best quality, drink refrigerated water within 1-2 weeks. If the water has been sitting in a puddle at the bottom of your fridge, do not drink it as it may contain bacteria, food particles, or other contaminants from the refrigerator environment.
How to fix water pooling in fridge?
To fix water pooling in fridge, start by locating the defrost drain hole at the back bottom of the fridge compartment. Clear visible debris, then flush with warm water using a turkey baster. If blocked, gently probe with a pipe cleaner. For door seal issues, clean the gasket with warm soapy water and test with the dollar bill method – replace if damaged. Check temperature settings are correct (35-38°F). Inspect water lines and filters if your fridge has a dispenser. Clean the drain pan beneath the refrigerator. If problems persist after attempting these fixes, contact a professional technician.
Is a fridge leaking water dangerous?
A fridge leaking water is generally not dangerous but should be addressed promptly. Standing water can promote mold and bacteria growth, create slip hazards on floors, and potentially damage flooring or cabinetry. Water near electrical components poses a shock risk and requires immediate attention. If the leaking water appears oily or has a chemical odor, it may contain refrigerant and requires professional service immediately. Otherwise, most water leaks are nuisance issues that can be fixed with basic troubleshooting and maintenance.
Conclusion
Water in fridge problems are frustrating but almost always fixable. From my experience, the blocked defrost drain is the culprit in the vast majority of cases, and this simple fix takes less than 30 minutes with basic tools. Understanding how your refrigerator handles water and moisture helps you identify problems quickly and take action before they cause damage.
Regular maintenance is key to preventing water issues before they start. By following the seasonal checklist and addressing problems promptly when they arise, you can keep your refrigerator running efficiently and avoid the mess and frustration of water pooling inside.
Most importantly, don’t ignore water buildup in your refrigerator. What starts as a minor annoyance can lead to mold growth, food spoilage, increased energy bills, and even floor damage if left untreated. Take action today to identify and fix the source of your water in fridge problem.


Leave a Comment